
asianman35
Well-known member
- Thread starter
- #1
I’ll start the review off by saying I paid for these with my own moneys.
So the story starts with us going from Baltimore to OBX and having to have a 4x4 because the house we rented was about 10 miles up the beach, with no paved roads. So I wanted to of course take the lightning, but my wife was against having to stop twice to charge. So we ended up renting a Dodge Ram Longhorn. It was a great truck, had the Hurricane High Output engine, massaging seats, passenger screen, but we were most impressed by the power running boards. I hadn’t really considered them before because of the price of the Amp ones ($1800ish). But after having them for a week on the Ram, I was considering it, and my wife even gave the OK.
So I started doing some research and found that the Rough Country and Wolfbox ones were much cheaper. I saw that the Rough Country ones opened and closed with a magnet system and I didn’t want that so I went with the Wolfbox ones. I couldn’t see any real differences between them and the much more expensive AMP ones.
So I received them and did the install this morning. Took me about 3 hours and that included removing the old running boards (had a set of tremor/raptor ones on the truck). I had some experience running a wiring harness along the frame because I have the Putco rear lightbar (I have a Pro with no OEM lightbar). So that part wasn’t scaring me at all, I was just a little hesitant about tapping into the BCM wires so the unit could tell when the doors were open/closed.
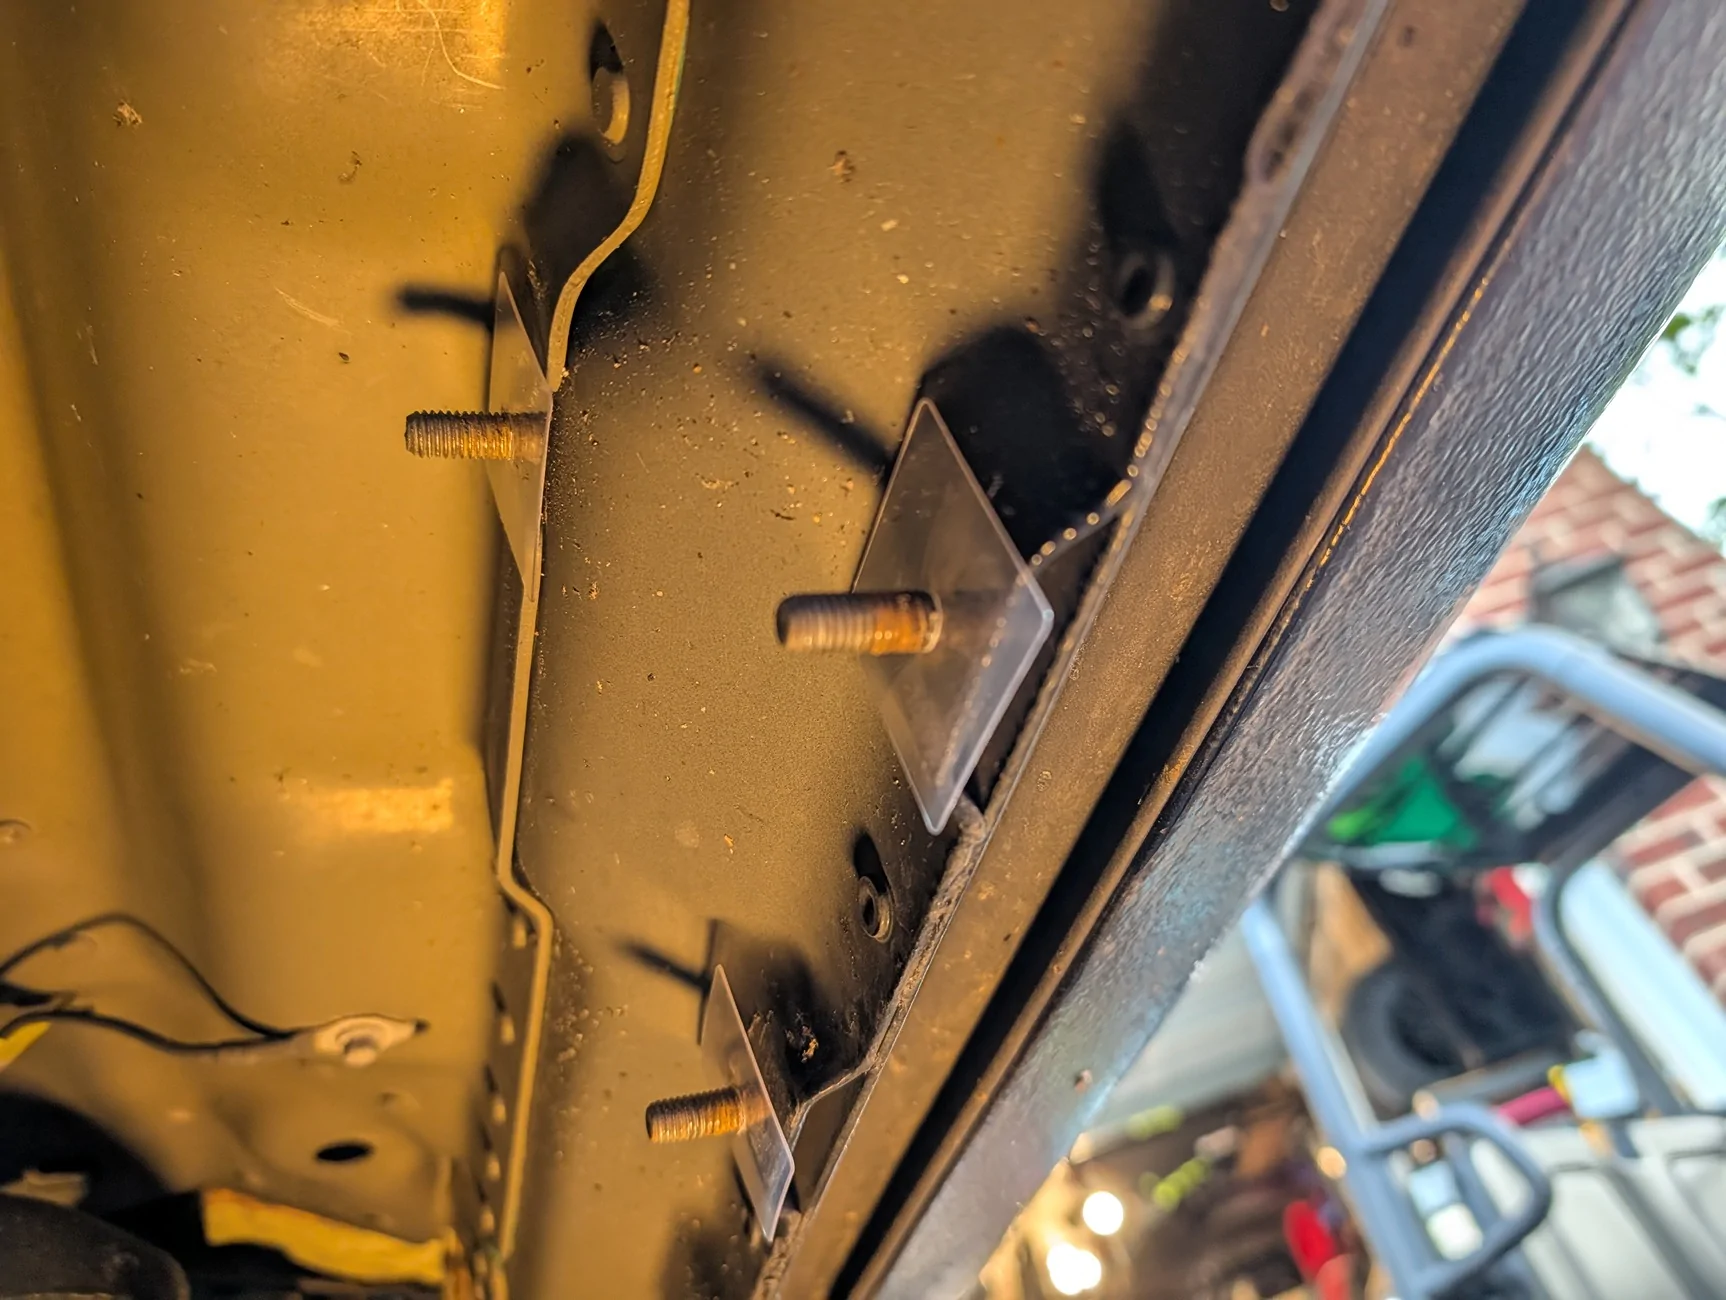
So after removing the old running boards, you stick these pieces of clear plastic on the studs, my guess is so that metal doesn't touch metal? Not really sure.

Then you attach the motor unit to the front studs on each side and the non-motor units to the rear studs on each side, easy. Comes with all needed hardware. I didnt tighten them down yet until everything was installed and sat right.
Next was running the wiring harnesses to each motor through the wheel well. I have a fiberglass wire running kit and that made it super easy to run the harnesses. I hid them behind the plastic wheel well liner so theres no risk of touching the tires. On the driver side, you also run the wires that hook into the BCM. Heres a pic of the mess near the battery once this was done.

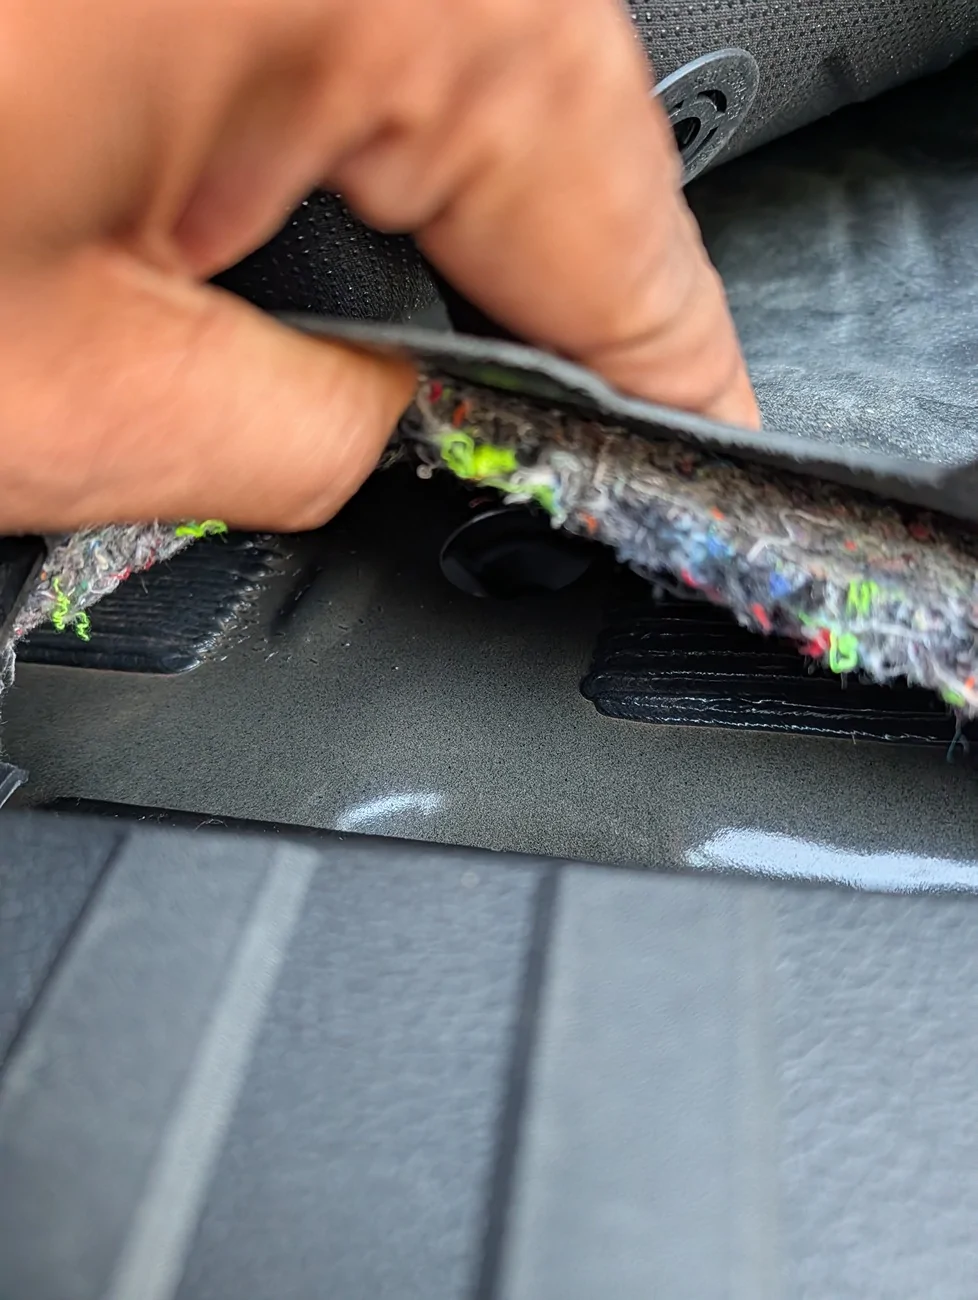
Ok the motors are plugged in, I had screwed the 2 leads to the battery positive and negative, and ive ran the BCM cable down to the bottom of the cab. Now you need to find the rubber grommet that’ll get you under the drivers footwell, you poke a hole in the grommet and run the wires up, i then ran them straight to the step panel and up behind the weather stripping, up the side of the kick panel to where the BCM is.
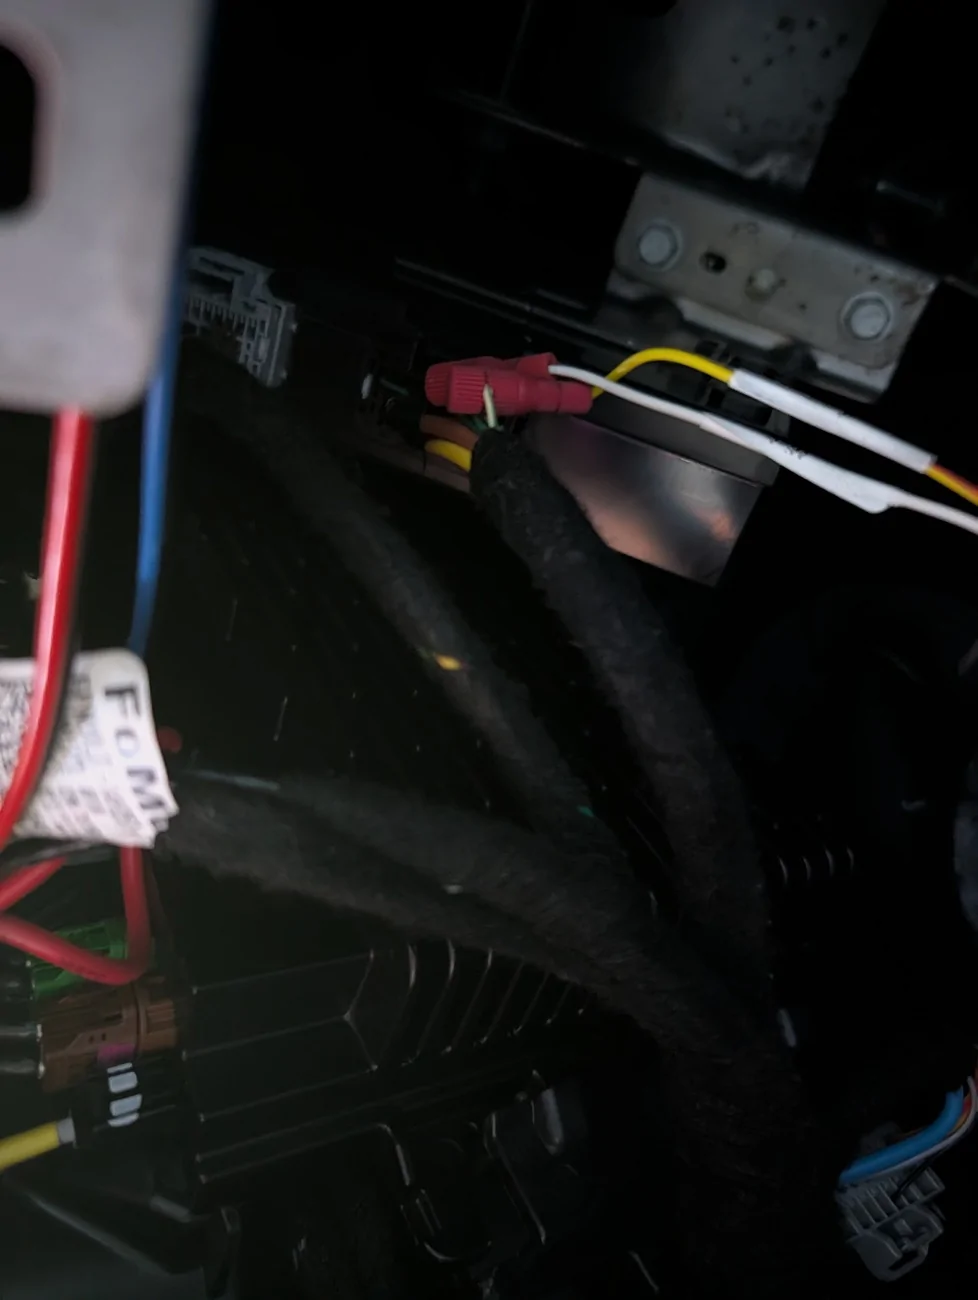
Now they provide with some plastic pieces that can tap into the BCM wires but I had a hell of a time getting them to close, even with pliers, they just wouldn't stay closed. Luckily, I had some posi taps laying around and used those. Those are so much simpler to use. You find the green/blue and white/green wires or something in the BCM Black cable, there were 2 of each in my truck, so i just chose one and tapped into them with the posi taps. Then inserted the 2 wires from the wolfbox harness into those.
OK, now I was ready to test out the motor units by opening and closing the doors and WALLAH (sp?), worked on the first try. Did it a few times on each side and they worked great, opened quickly and closed after like 2 seconds.
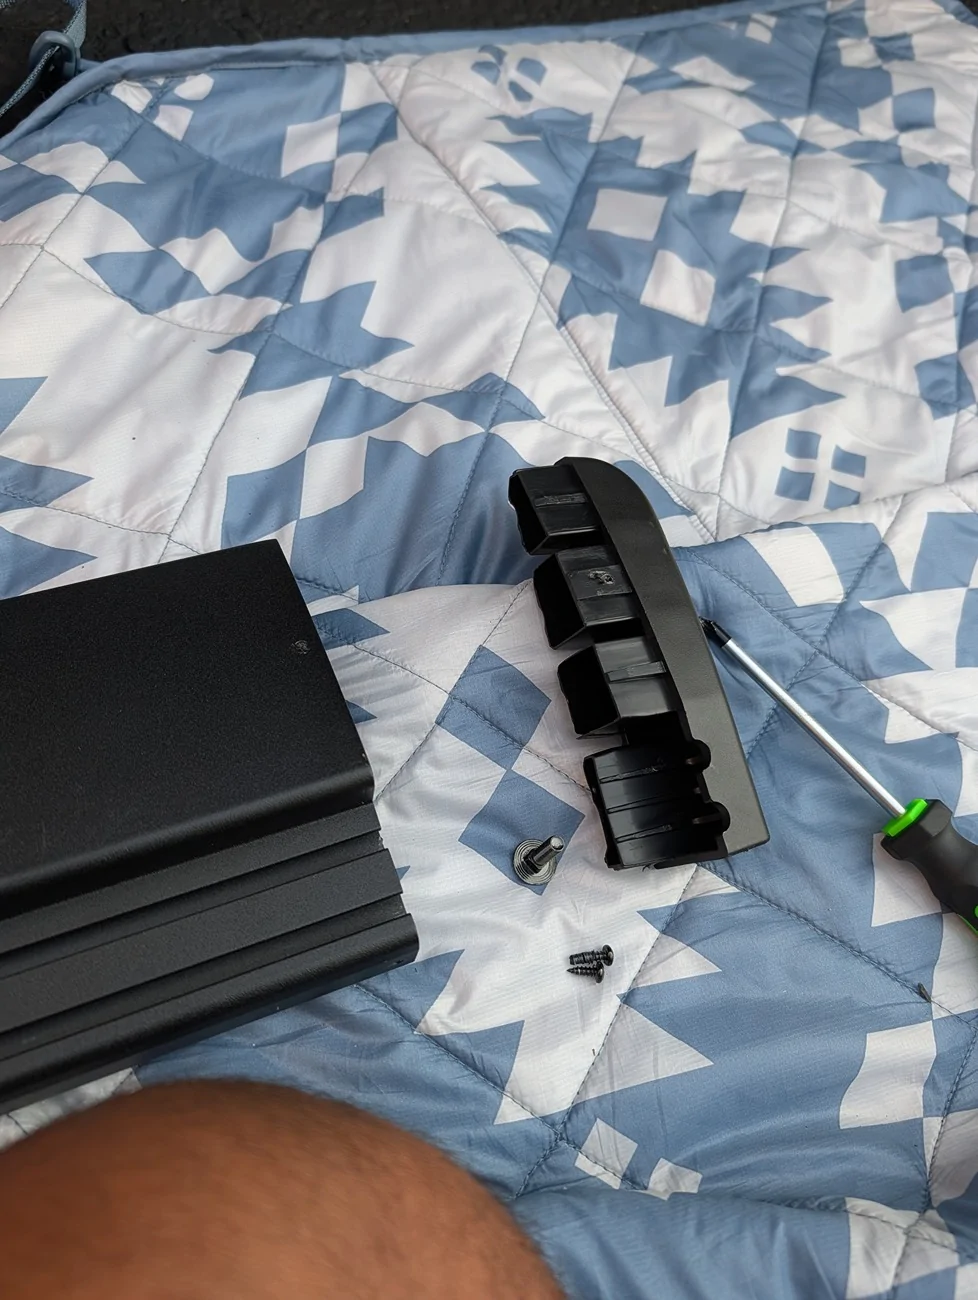
Now onto the last step, attaching the actual running boards. I had a hell of a time getting the T-bolts onto the running boards, So I ended up taking off the end cap (2 screws) and that made it much easier. Slid in 8 bolts on each board and laid under them and lined them up with the units and bolted them on. No issue after I got the T-bolts on there. Now I didn't tighten them up yet. I opened and closed each side a few times to get everything to rest in its final resting place and then tightened everything up.
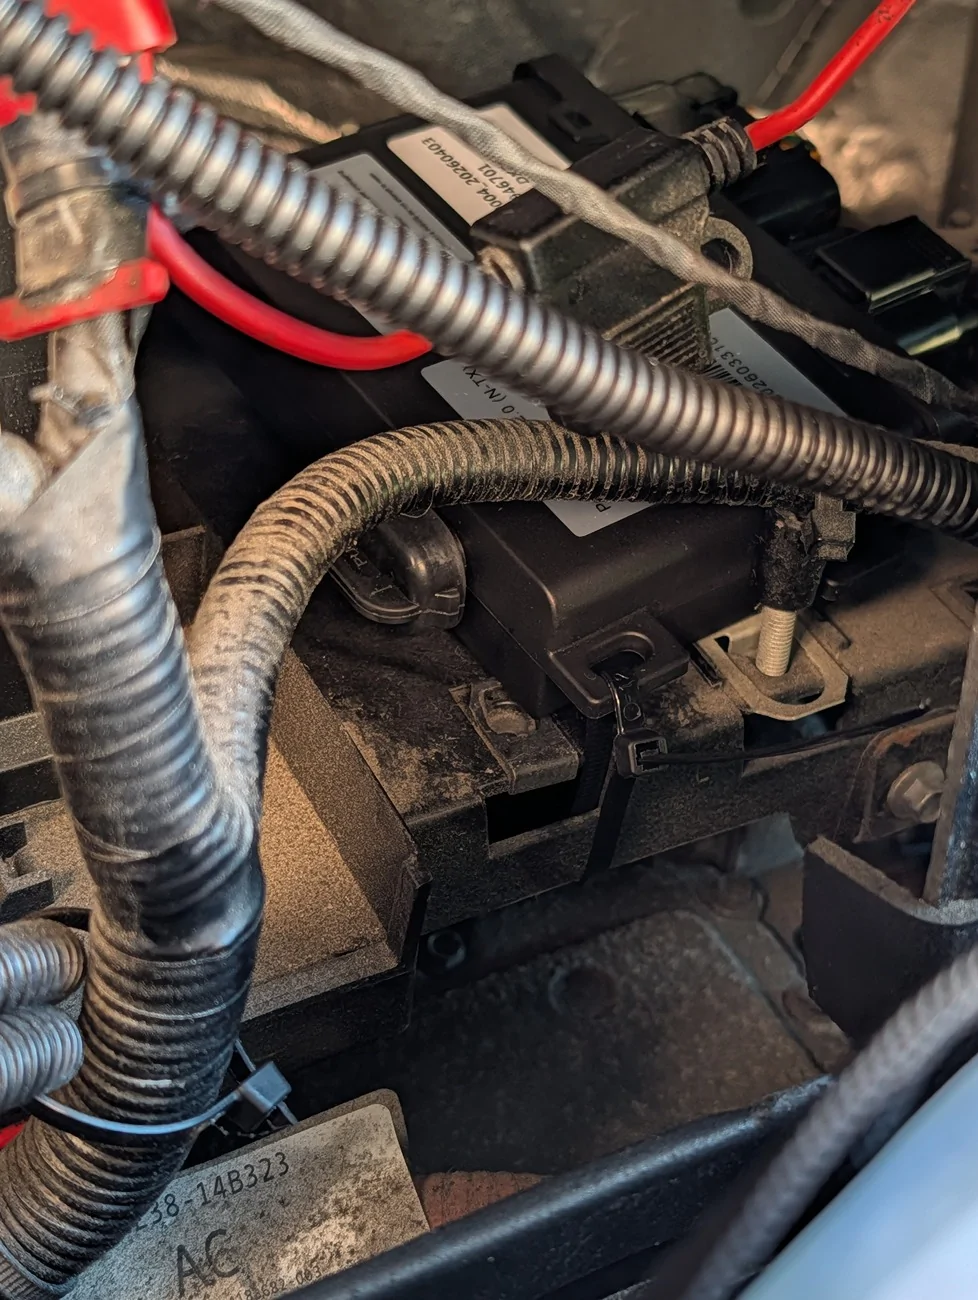
The last last step was cleanup. Zip tying all the wires and then placing the ‘brains’ unit to the right of the battery, here is where I placed it and tied up all the wiring. Kinda messy but you never see it. There was plenty of room in the battery bay. I actually zip tied the brains to the plastic bay if you look closely.
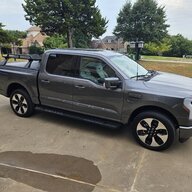
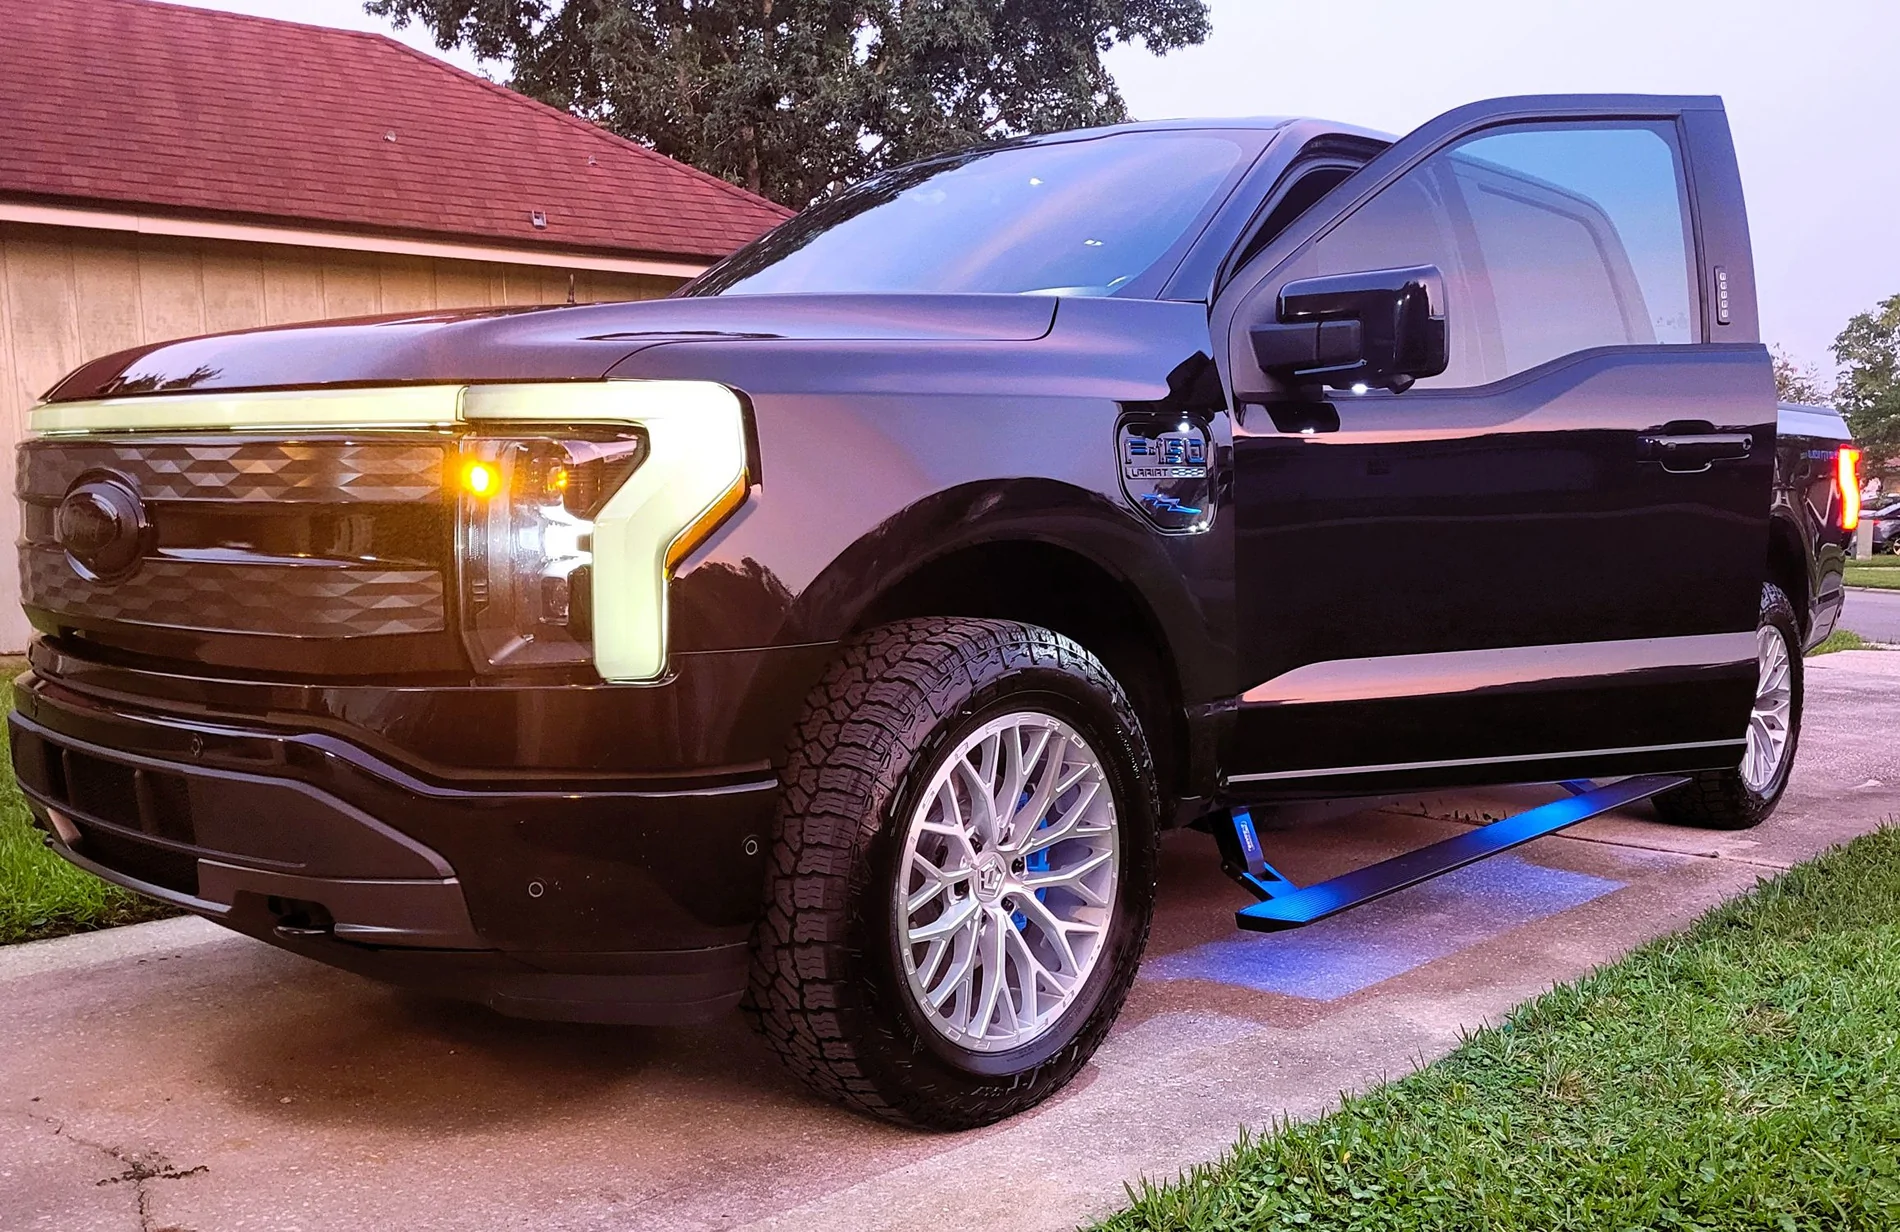
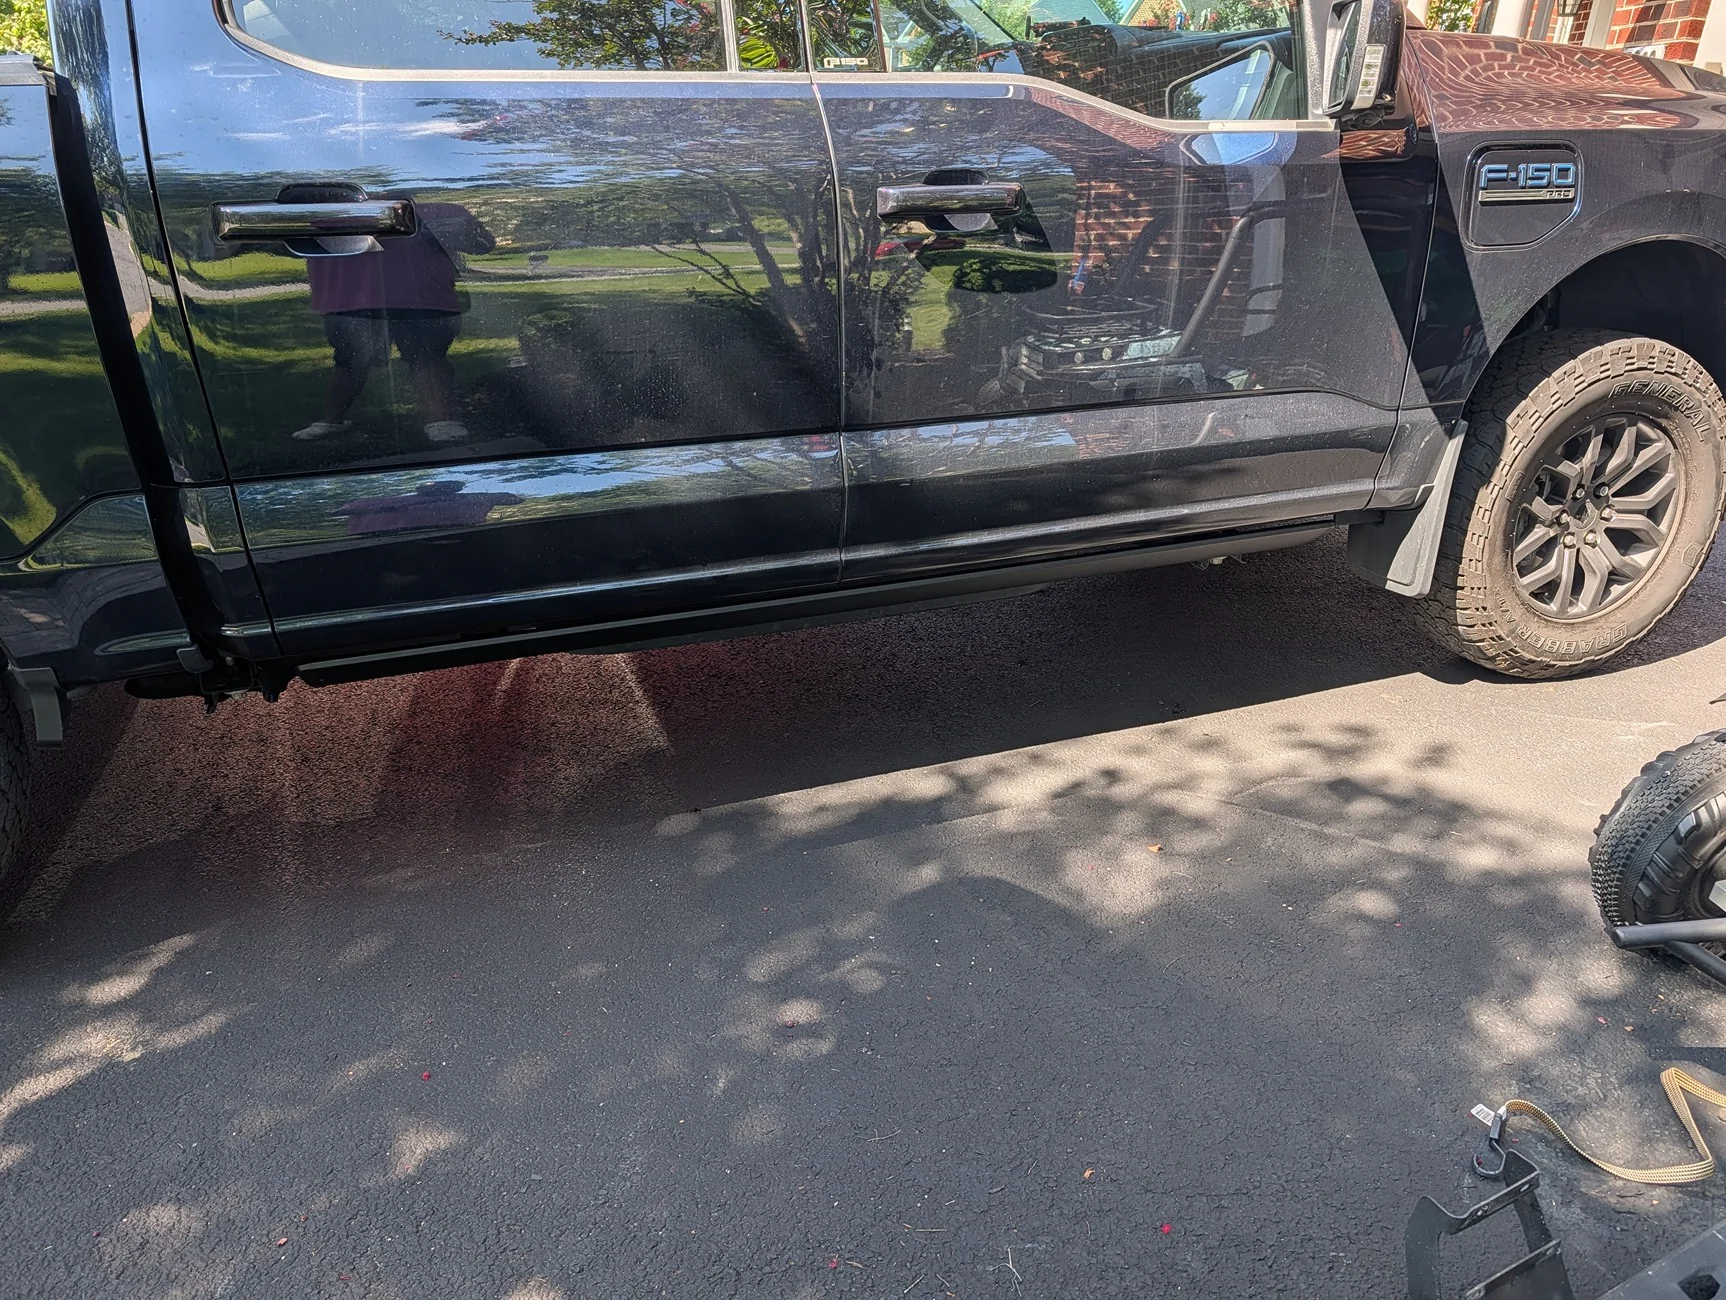
After tightening everything up, they look amazing. They are super quiet, work right away, and I don't have to worry about the finickyness of magnets. Great job @Wolfbox!
I should also mention they come with LED lights that you can wire up too, but I didn't install those because I have LED strips already installed under there, hooked up to the place where the stock running board lights hook into.
So the story starts with us going from Baltimore to OBX and having to have a 4x4 because the house we rented was about 10 miles up the beach, with no paved roads. So I wanted to of course take the lightning, but my wife was against having to stop twice to charge. So we ended up renting a Dodge Ram Longhorn. It was a great truck, had the Hurricane High Output engine, massaging seats, passenger screen, but we were most impressed by the power running boards. I hadn’t really considered them before because of the price of the Amp ones ($1800ish). But after having them for a week on the Ram, I was considering it, and my wife even gave the OK.
So I started doing some research and found that the Rough Country and Wolfbox ones were much cheaper. I saw that the Rough Country ones opened and closed with a magnet system and I didn’t want that so I went with the Wolfbox ones. I couldn’t see any real differences between them and the much more expensive AMP ones.
So I received them and did the install this morning. Took me about 3 hours and that included removing the old running boards (had a set of tremor/raptor ones on the truck). I had some experience running a wiring harness along the frame because I have the Putco rear lightbar (I have a Pro with no OEM lightbar). So that part wasn’t scaring me at all, I was just a little hesitant about tapping into the BCM wires so the unit could tell when the doors were open/closed.
So after removing the old running boards, you stick these pieces of clear plastic on the studs, my guess is so that metal doesn't touch metal? Not really sure.
Then you attach the motor unit to the front studs on each side and the non-motor units to the rear studs on each side, easy. Comes with all needed hardware. I didnt tighten them down yet until everything was installed and sat right.
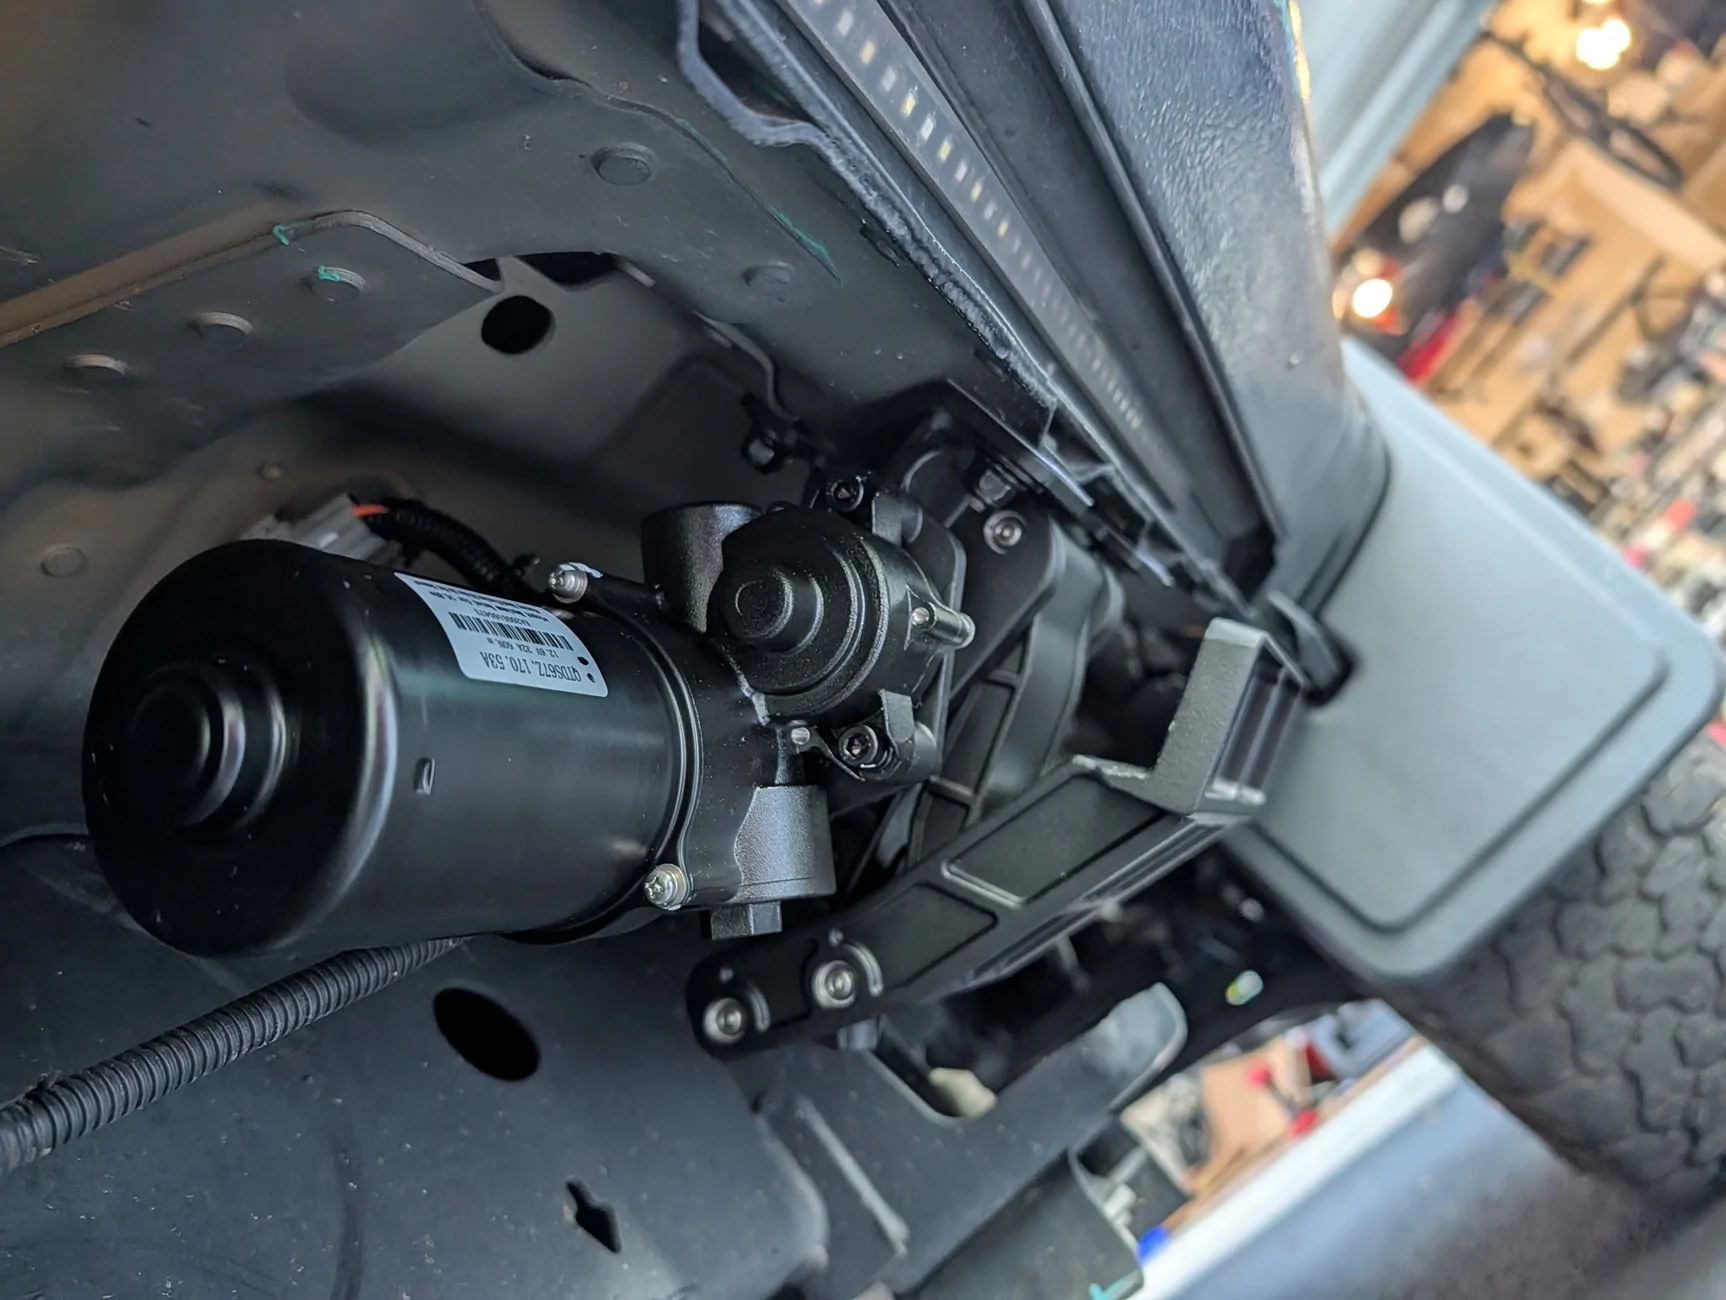
Next was running the wiring harnesses to each motor through the wheel well. I have a fiberglass wire running kit and that made it super easy to run the harnesses. I hid them behind the plastic wheel well liner so theres no risk of touching the tires. On the driver side, you also run the wires that hook into the BCM. Heres a pic of the mess near the battery once this was done.
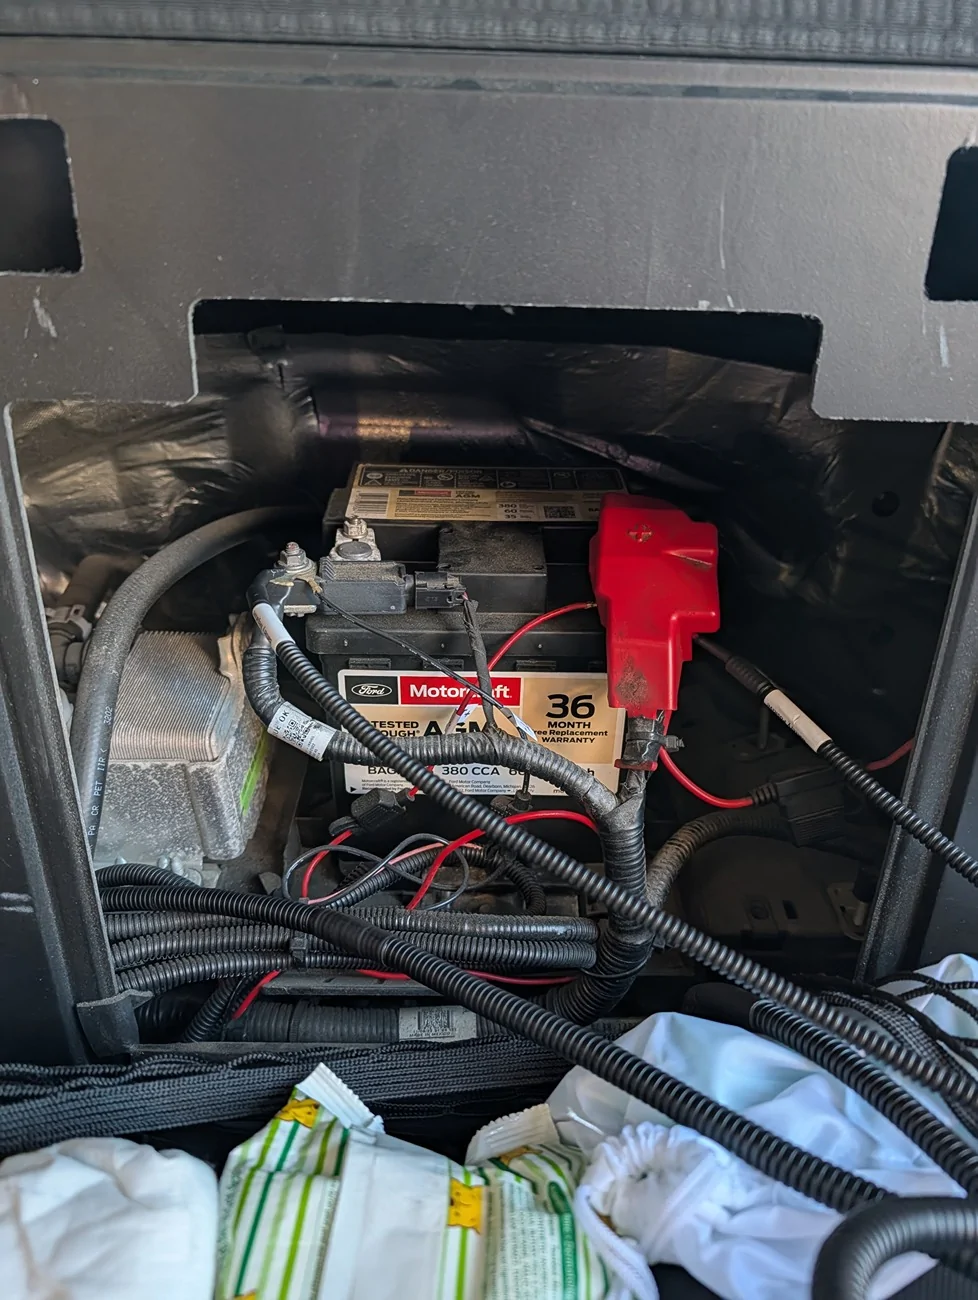
Ok the motors are plugged in, I had screwed the 2 leads to the battery positive and negative, and ive ran the BCM cable down to the bottom of the cab. Now you need to find the rubber grommet that’ll get you under the drivers footwell, you poke a hole in the grommet and run the wires up, i then ran them straight to the step panel and up behind the weather stripping, up the side of the kick panel to where the BCM is.
Now they provide with some plastic pieces that can tap into the BCM wires but I had a hell of a time getting them to close, even with pliers, they just wouldn't stay closed. Luckily, I had some posi taps laying around and used those. Those are so much simpler to use. You find the green/blue and white/green wires or something in the BCM Black cable, there were 2 of each in my truck, so i just chose one and tapped into them with the posi taps. Then inserted the 2 wires from the wolfbox harness into those.
OK, now I was ready to test out the motor units by opening and closing the doors and WALLAH (sp?), worked on the first try. Did it a few times on each side and they worked great, opened quickly and closed after like 2 seconds.
Now onto the last step, attaching the actual running boards. I had a hell of a time getting the T-bolts onto the running boards, So I ended up taking off the end cap (2 screws) and that made it much easier. Slid in 8 bolts on each board and laid under them and lined them up with the units and bolted them on. No issue after I got the T-bolts on there. Now I didn't tighten them up yet. I opened and closed each side a few times to get everything to rest in its final resting place and then tightened everything up.
The last last step was cleanup. Zip tying all the wires and then placing the ‘brains’ unit to the right of the battery, here is where I placed it and tied up all the wiring. Kinda messy but you never see it. There was plenty of room in the battery bay. I actually zip tied the brains to the plastic bay if you look closely.
After tightening everything up, they look amazing. They are super quiet, work right away, and I don't have to worry about the finickyness of magnets. Great job @Wolfbox!
I should also mention they come with LED lights that you can wire up too, but I didn't install those because I have LED strips already installed under there, hooked up to the place where the stock running board lights hook into.
Sponsored