Gato Meoow
Active member
- Thread starter
- #1
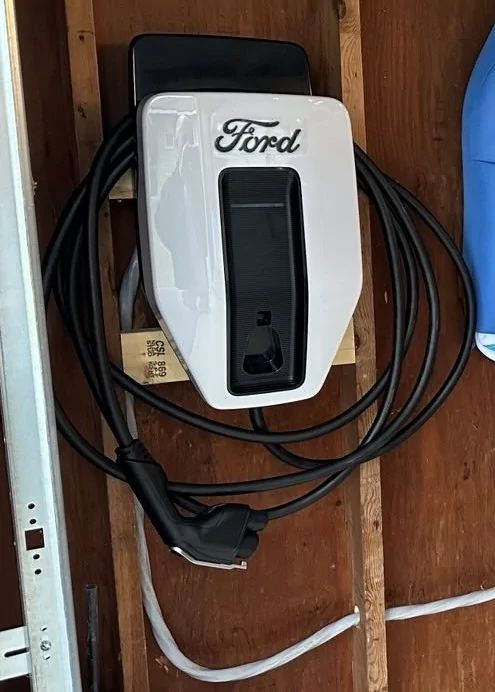
I am installing the Ford Pro Charger, this is my 3rd charger install and doing the rear entry makes no sense.
I have 1” conduit coming directly out of the house where it comes out into the cutout of the base.
The charger has that 1” opening which has a rubber grommet. So I can
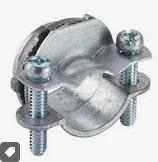
A) how to I terminate the PVC conduit with just the wires coming out and then to the grommet. I guess I could use some kind of foam watertight collapsing fitting? This is a pain to find.
B) why can’t you do the obvious which is have a fitting that goes straight in when you slide back the charger on to the base. But the fitting is set at a 45’ angle so tha can’t happen.
anyone else do there rear install? How did you do it.
I have 1” conduit coming directly out of the house where it comes out into the cutout of the base.
The charger has that 1” opening which has a rubber grommet. So I can
A) how to I terminate the PVC conduit with just the wires coming out and then to the grommet. I guess I could use some kind of foam watertight collapsing fitting? This is a pain to find.
B) why can’t you do the obvious which is have a fitting that goes straight in when you slide back the charger on to the base. But the fitting is set at a 45’ angle so tha can’t happen.
anyone else do there rear install? How did you do it.
Sponsored