Storx
Well-known member
- Thread starter
- #1
I'm sharing this guide to help others in the Apple ecosystem. It took me quite a while to figure this out and get it working reliably on my own devices — but once I did, the exact same steps worked perfectly on both my MacBook Pro (M3) and my kids' MacBook Air (M1).
Hardware:
I went with the golden recommendation:
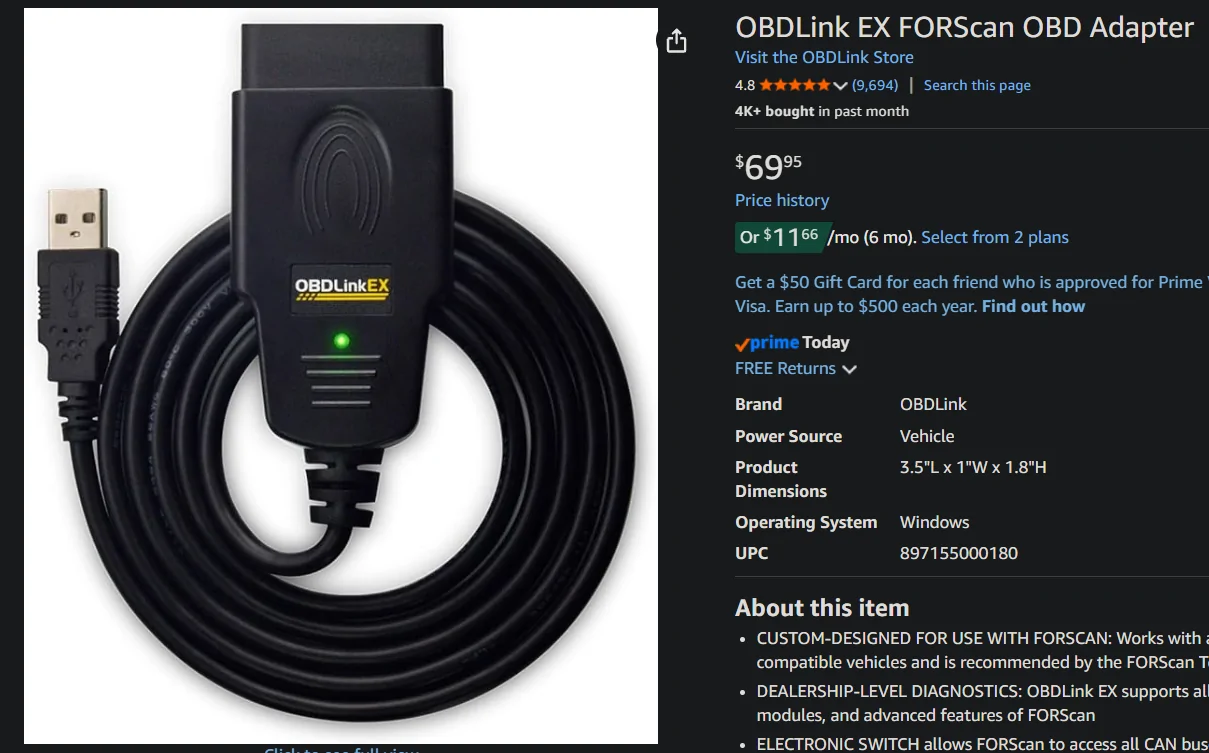
OBDLink EX FORScan OBD Adapter

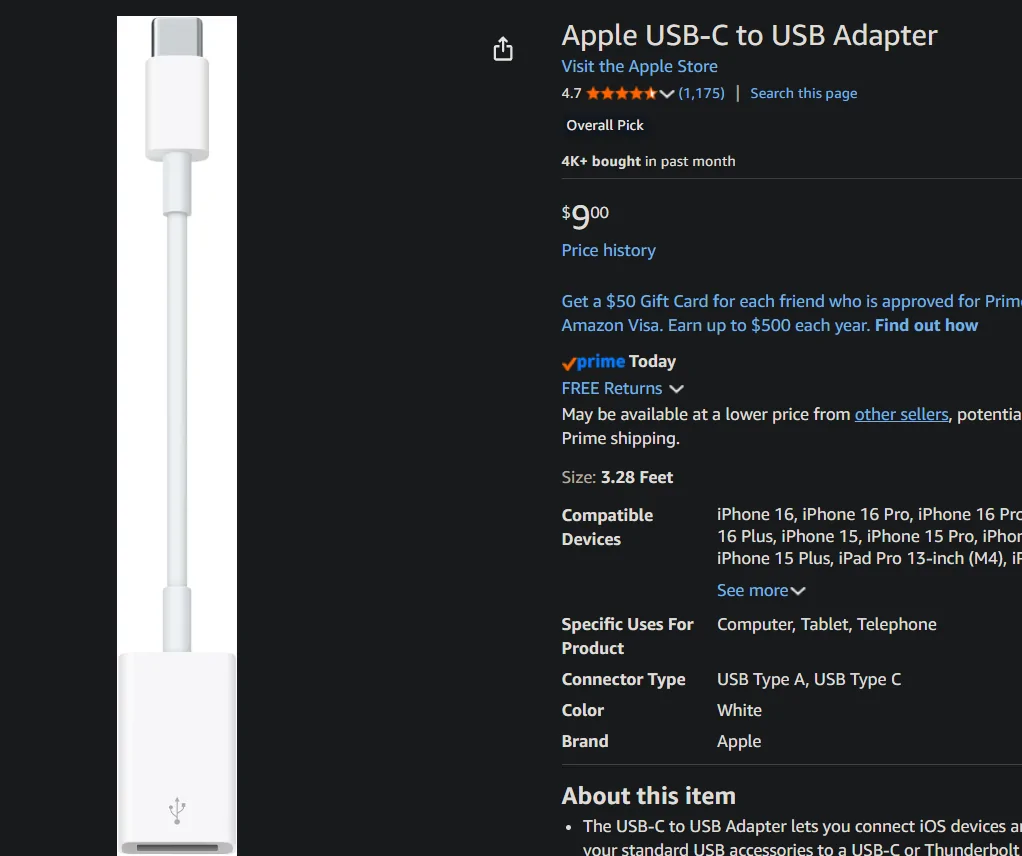
Apple USB-C to USB Adapter

Optional: Installing Drivers for Your OBD Adapter
Some OBD adapters require you to download and install specific drivers before they can communicate with your Mac. The adapter I used came with a small card that included a link to the driver download page.
However, when I plugged it directly into both my MacBook Pro (M3) and my kids' MacBook Air (M1), the adapter's indicator light immediately turned yellow — which indicated that it was already communicating successfully with the Mac. Because of this, I was able to skip the driver installation step entirely and get everything working perfectly on the latest version of macOS (without any additional software).
Your results may vary depending on the exact adapter model and macOS version, so check your adapter's documentation or included card if you don't see the expected light behavior or if connection fails later.
Step 1: Open Terminal on your Mac
Step 2: Change directory to /dev with the command
Step 3: Plug the OBD Adapter into the USB adapter, then plug it into the Macbook and give it a minute to initialize communications. *take note of the port*
Step 4: Now unplug the OBD Adapter to the USB adapter. *Important Step*. Then in Terminal again run the following command with the OBD adapter UNPLUGGED into the Macbook. This command is going to take a snapshot of the drivers being used at the time the command is ran and put it into a text file. Run the command
Step 5: Now plug the OBD Adapter to the USB adapter. Then in Terminal again run the following command with the OBD adapter plugged into the Macbook. This command is going to take a snapshot of the drivers being used with it plugged into the MacBook to a text file. Run the command
Step 6: Now we are going to run a command that will show the difference between the two files. In Terminal we will run the command

In this case, the results are telling me the following: *These are unique to your hardware and device*. We will use this information later to configure FORscan so it knows which drivers to use for communications to the OBD adapter.
COM1 is cu.usbserial-223230293267
COM2 is cu.usbserial-5
COM3 is tty.usbserial-223230293267
COM4 is tty.usbserial-5
Step 7: Install CrossOver to Run the Windows Version of FORScan
FORScan's full-featured Windows version offers the most capabilities (like module programming and advanced diagnostics), but it's not natively available for macOS.
Unfortunately, the official FORScan Lite (for iOS/macOS) and FORScan Viewer apps did not work reliably for me on either my MacBook Pro (M3) or my kids' MacBook Air (M1) — likely due to compatibility issues with the OBD adapter, Apple Silicon, or the apps' limitations (they often lack full programming features anyway).
To get the complete Windows version of FORScan running on your Apple Silicon Mac, we'll use CrossOver by CodeWeavers. CrossOver is a paid tool (with a free trial) that lets you run many Windows applications directly on macOS without needing a full Windows virtual machine or license — it's based on Wine technology but easier to use.
Download and Install CrossOver (Mac ARM version):
Go to the official CodeWeavers website: https://www.codeweavers.com/crossover
Scroll down to the section for CrossOver Mac (it should be prominent).
Click Free Trial (or "Download Free Trial" — they offer a full-featured 14-day trial).
Fill out the short form with your name, email, and other requested personal information (this is standard for the trial download).
Download the installer file (.dmg) for CrossOver Mac for ARM.
Open the downloaded .dmg file and follow the on-screen instructions to install CrossOver on your MacBook (drag the app to your Applications folder if prompted).
Step 8: Download and Install FORScan (Windows Version) via CrossOver
With CrossOver installed and set up, we're ready to get the full Windows version of FORScan running on your Mac. FORScan's Windows edition provides the most advanced features (e.g., full module configuration, programming, and service functions), but compatibility with CrossOver on Apple Silicon (M1/M3) can be hit-or-miss depending on the exact version.
Important compatibility note from my experience:
I personally couldn't get the three most recent versions working reliably (v2.3.70, v2.3.69, v2.3.68). When I tried to launch them after installation in CrossOver, the app would appear to start loading but would hang indefinitely, requiring a force quit. I had to try older releases and found that v2.3.67 launched and functioned perfectly for me on both my M3 MacBook Pro and M1 MacBook Air.
You may need to experiment with a few versions yourself — start with the latest from the official site, and if it hangs on launch, step back to previous ones (e.g., v2.3.67 or similar). Older versions are sometimes available via community forums, archived links, or by checking the FORScan changes history page, but always download from trusted sources to avoid risks. The official download page is here: https://forscan.org/download.html (it always shows the latest stable release, currently v2.3.70 as of early 2026).
Installation steps:
Visit https://forscan.org/download.html in your browser.
Click the download link for FORScan for Windows (e.g., FORScanSetup2.3.70.release.exe or whatever the current version is).
Once the .exe installer downloads, double-click it:
CrossOver should automatically detect that it's a Windows executable and prompt you to install it using its compatibility layer (often called a "bottle").
If it doesn't auto-open in CrossOver, open the CrossOver app manually → go to Install a Windows Application → browse to and select the downloaded .exe file.
Follow the on-screen installation prompts in the CrossOver wizard:
No need to change any default settings unless you have a specific reason.
When prompted to name the bottle (a virtual Windows environment), choose something clear like FORScan (that's what I used).
Complete the installation process — it should finish without errors.
After installation, in CrossOver:
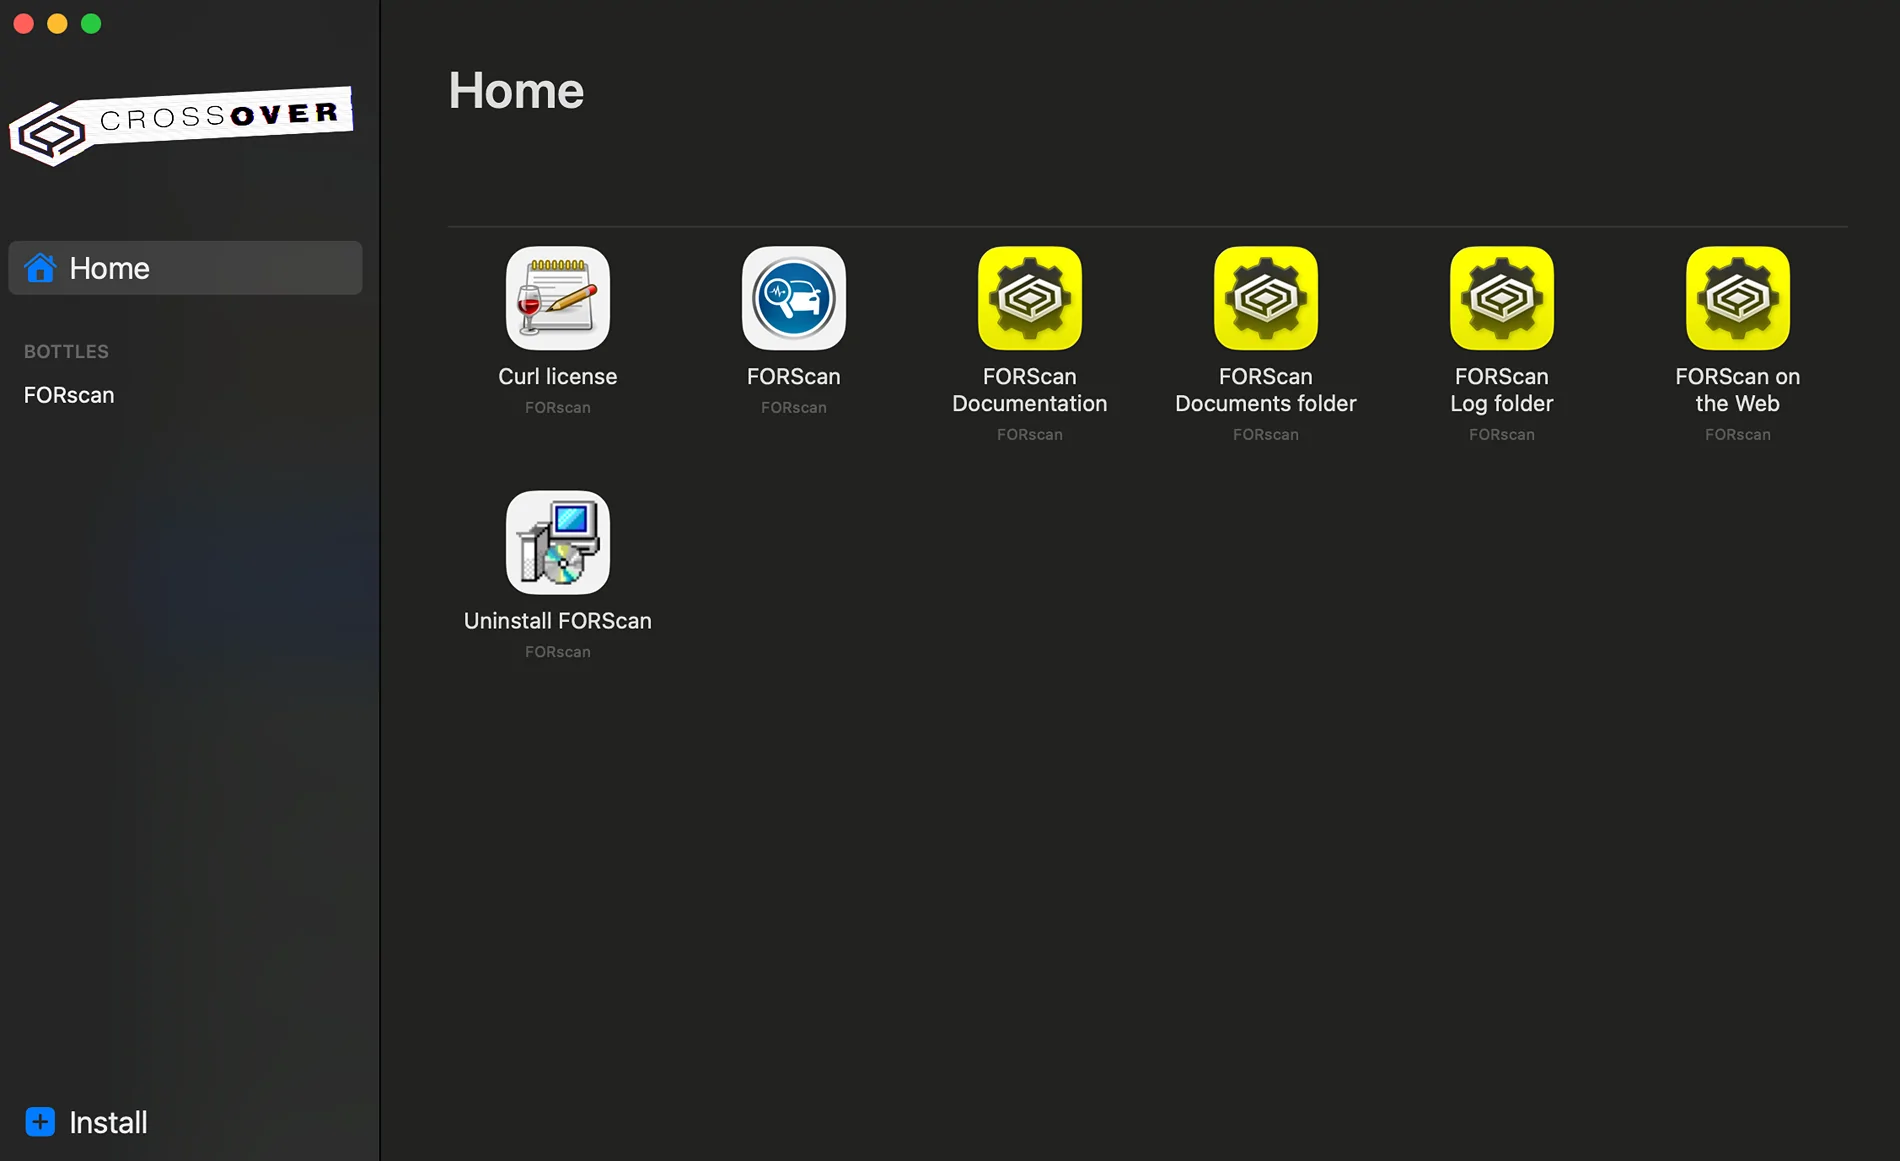
Look for the newly created bottle (e.g., "FORScan") in the main CrossOver window.
Under that bottle, find and double-click FORScan (or FORScan.exe) to launch it.
Test if it opens properly: The main FORScan window should appear (it may take a moment the first time). If it loads successfully (even if just to the connection screen), great — you're good to proceed!
If it hangs on loading (spinning circle forever or no progress), force quit via Activity Monitor or CrossOver's controls, then uninstall that bottle/version in CrossOver and try downloading/installing an older version (e.g., search for "FORScan v2.3.67 download" on trusted forums like forscan.org/forum if not directly available).

Step 9: Now we need to setup the communications settings we learned from earlier steps. In CrossOver click on FORscan, but dont run it. It should show options on the right side that we will use for this step. You will click on Run Command option, this should open a prompt, which we will enter
Step 10: This is the step we will enter the driver info from earlier into the registry. You will drill down inside regedit as follows HKEY_LOCAL_MACHINE - Software - Wine - Ports. This will not have the lines 2-5 in my picture, we will add these manually by scrolling your mouse to the white area under the "Default" string and right click, add new, new string. We will do this to add all 4, you can either enter all the information now or just name them and come back to each modifying them with the info. You will transfer the values from before into each line following the prefix of "/dev/" in the value. The results should look similar to this with your own values. Once you have entered the settings, exit out of regedit and it should show animation on the popup that its saving. This should only take a few seconds before you can exit the run command prompt.

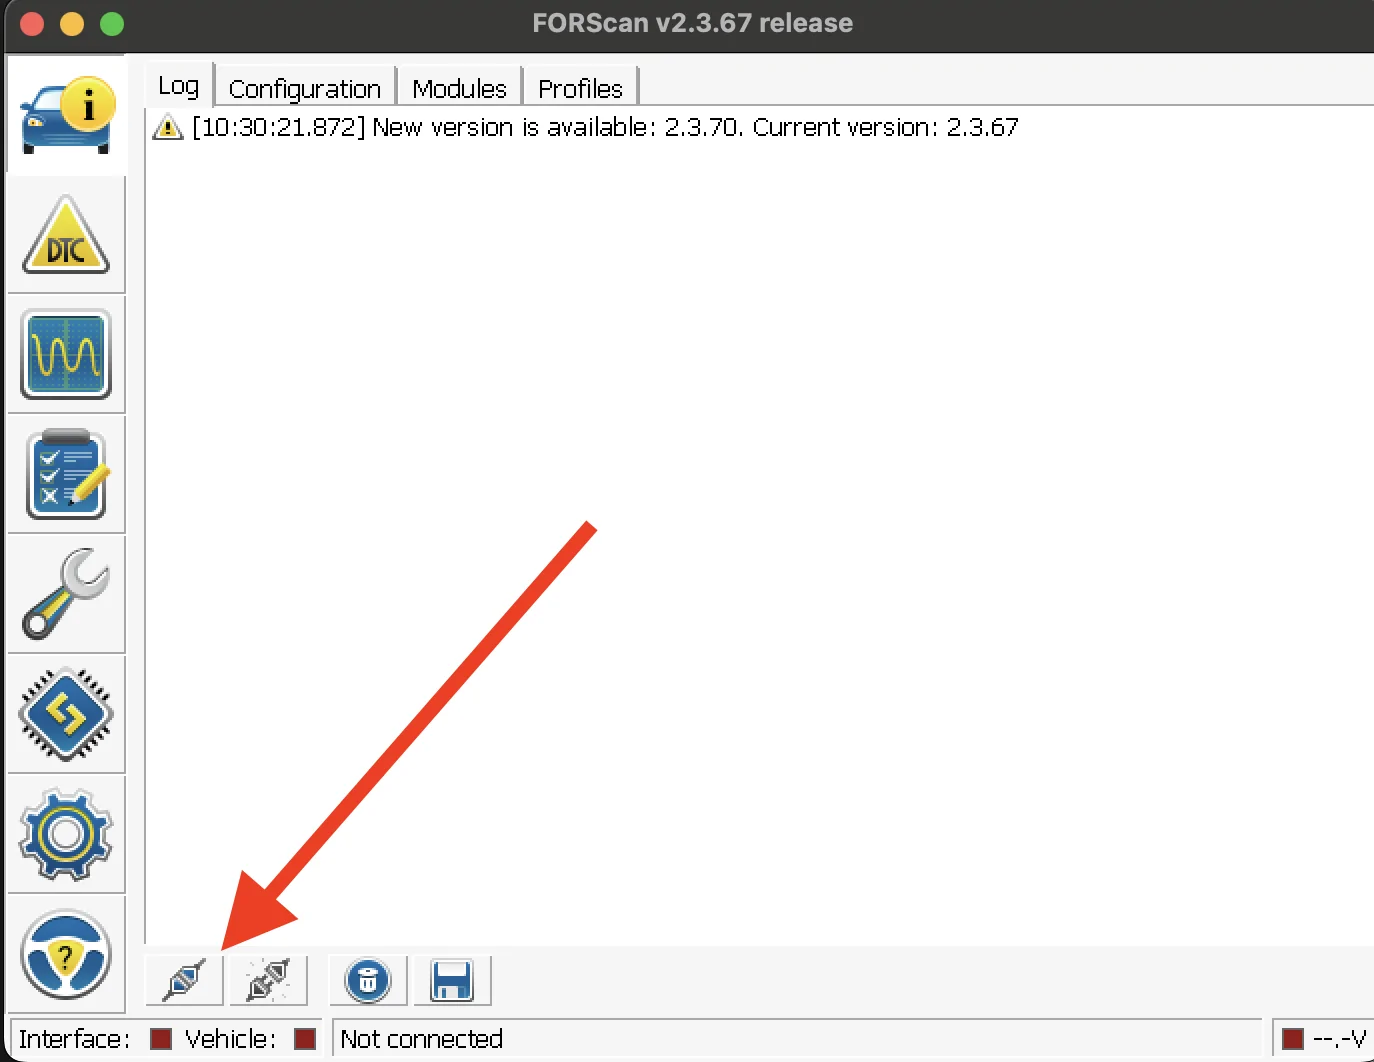
Step 11: Now you can test the connection by pressing the connect button near the left bottom of the screen. I did this prior to plugging it into the vehicle, so it will pass the connection to the OBD adapter on my desk, but fail the connection to the vehicle, which is expected. Don't be upset if it doesnt work on the first time, in my case it fails for some odd reason the first time after opening the application. I found i have to disconnect the OBD adapter and plug it back in for it to work on both of my macbooks as a weird bug, but it works everytime afterwards. I also found that on both Macbooks the left side USB-C ports works for me, but i couldn't get the right side USB-C port to work at all, displaying a red LED on the OBD adapter.

Hardware:
I went with the golden recommendation:
OBDLink EX FORScan OBD Adapter
Apple USB-C to USB Adapter
Optional: Installing Drivers for Your OBD Adapter
Some OBD adapters require you to download and install specific drivers before they can communicate with your Mac. The adapter I used came with a small card that included a link to the driver download page.
However, when I plugged it directly into both my MacBook Pro (M3) and my kids' MacBook Air (M1), the adapter's indicator light immediately turned yellow — which indicated that it was already communicating successfully with the Mac. Because of this, I was able to skip the driver installation step entirely and get everything working perfectly on the latest version of macOS (without any additional software).
Your results may vary depending on the exact adapter model and macOS version, so check your adapter's documentation or included card if you don't see the expected light behavior or if connection fails later.
Step 1: Open Terminal on your Mac
Step 2: Change directory to /dev with the command
cd /devStep 3: Plug the OBD Adapter into the USB adapter, then plug it into the Macbook and give it a minute to initialize communications. *take note of the port*
Step 4: Now unplug the OBD Adapter to the USB adapter. *Important Step*. Then in Terminal again run the following command with the OBD adapter UNPLUGGED into the Macbook. This command is going to take a snapshot of the drivers being used at the time the command is ran and put it into a text file. Run the command
sudo ls /dev > ~/disconnect.txtStep 5: Now plug the OBD Adapter to the USB adapter. Then in Terminal again run the following command with the OBD adapter plugged into the Macbook. This command is going to take a snapshot of the drivers being used with it plugged into the MacBook to a text file. Run the command
sudo ls /dev > ~/reconnect.txt Step 6: Now we are going to run a command that will show the difference between the two files. In Terminal we will run the command
diff ~/disconnect.txt ~/reconnect.txt. You should get a result similar to this. Please understand this will be different for everyone possibly, my OBD adapter shows the same results on both Macbooks for the driver its loading on connection of the device. 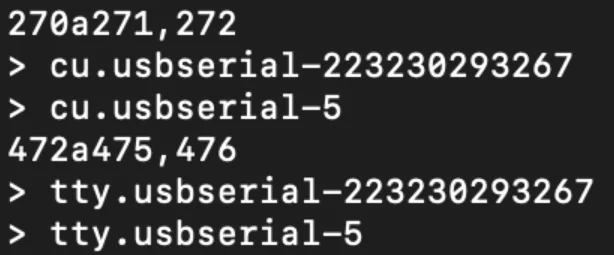
In this case, the results are telling me the following: *These are unique to your hardware and device*. We will use this information later to configure FORscan so it knows which drivers to use for communications to the OBD adapter.
COM1 is cu.usbserial-223230293267
COM2 is cu.usbserial-5
COM3 is tty.usbserial-223230293267
COM4 is tty.usbserial-5
Step 7: Install CrossOver to Run the Windows Version of FORScan
FORScan's full-featured Windows version offers the most capabilities (like module programming and advanced diagnostics), but it's not natively available for macOS.
Unfortunately, the official FORScan Lite (for iOS/macOS) and FORScan Viewer apps did not work reliably for me on either my MacBook Pro (M3) or my kids' MacBook Air (M1) — likely due to compatibility issues with the OBD adapter, Apple Silicon, or the apps' limitations (they often lack full programming features anyway).
To get the complete Windows version of FORScan running on your Apple Silicon Mac, we'll use CrossOver by CodeWeavers. CrossOver is a paid tool (with a free trial) that lets you run many Windows applications directly on macOS without needing a full Windows virtual machine or license — it's based on Wine technology but easier to use.
Download and Install CrossOver (Mac ARM version):
Go to the official CodeWeavers website: https://www.codeweavers.com/crossover
Scroll down to the section for CrossOver Mac (it should be prominent).
Click Free Trial (or "Download Free Trial" — they offer a full-featured 14-day trial).
Fill out the short form with your name, email, and other requested personal information (this is standard for the trial download).
Download the installer file (.dmg) for CrossOver Mac for ARM.
Open the downloaded .dmg file and follow the on-screen instructions to install CrossOver on your MacBook (drag the app to your Applications folder if prompted).
Step 8: Download and Install FORScan (Windows Version) via CrossOver
With CrossOver installed and set up, we're ready to get the full Windows version of FORScan running on your Mac. FORScan's Windows edition provides the most advanced features (e.g., full module configuration, programming, and service functions), but compatibility with CrossOver on Apple Silicon (M1/M3) can be hit-or-miss depending on the exact version.
Important compatibility note from my experience:
I personally couldn't get the three most recent versions working reliably (v2.3.70, v2.3.69, v2.3.68). When I tried to launch them after installation in CrossOver, the app would appear to start loading but would hang indefinitely, requiring a force quit. I had to try older releases and found that v2.3.67 launched and functioned perfectly for me on both my M3 MacBook Pro and M1 MacBook Air.
You may need to experiment with a few versions yourself — start with the latest from the official site, and if it hangs on launch, step back to previous ones (e.g., v2.3.67 or similar). Older versions are sometimes available via community forums, archived links, or by checking the FORScan changes history page, but always download from trusted sources to avoid risks. The official download page is here: https://forscan.org/download.html (it always shows the latest stable release, currently v2.3.70 as of early 2026).
Installation steps:
Visit https://forscan.org/download.html in your browser.
Click the download link for FORScan for Windows (e.g., FORScanSetup2.3.70.release.exe or whatever the current version is).
Once the .exe installer downloads, double-click it:
CrossOver should automatically detect that it's a Windows executable and prompt you to install it using its compatibility layer (often called a "bottle").
If it doesn't auto-open in CrossOver, open the CrossOver app manually → go to Install a Windows Application → browse to and select the downloaded .exe file.
Follow the on-screen installation prompts in the CrossOver wizard:
No need to change any default settings unless you have a specific reason.
When prompted to name the bottle (a virtual Windows environment), choose something clear like FORScan (that's what I used).
Complete the installation process — it should finish without errors.
After installation, in CrossOver:
Look for the newly created bottle (e.g., "FORScan") in the main CrossOver window.
Under that bottle, find and double-click FORScan (or FORScan.exe) to launch it.
Test if it opens properly: The main FORScan window should appear (it may take a moment the first time). If it loads successfully (even if just to the connection screen), great — you're good to proceed!
If it hangs on loading (spinning circle forever or no progress), force quit via Activity Monitor or CrossOver's controls, then uninstall that bottle/version in CrossOver and try downloading/installing an older version (e.g., search for "FORScan v2.3.67 download" on trusted forums like forscan.org/forum if not directly available).
Step 9: Now we need to setup the communications settings we learned from earlier steps. In CrossOver click on FORscan, but dont run it. It should show options on the right side that we will use for this step. You will click on Run Command option, this should open a prompt, which we will enter
regedit and click Run. This will open up regedit inside your windows virtualization environment (bottle). 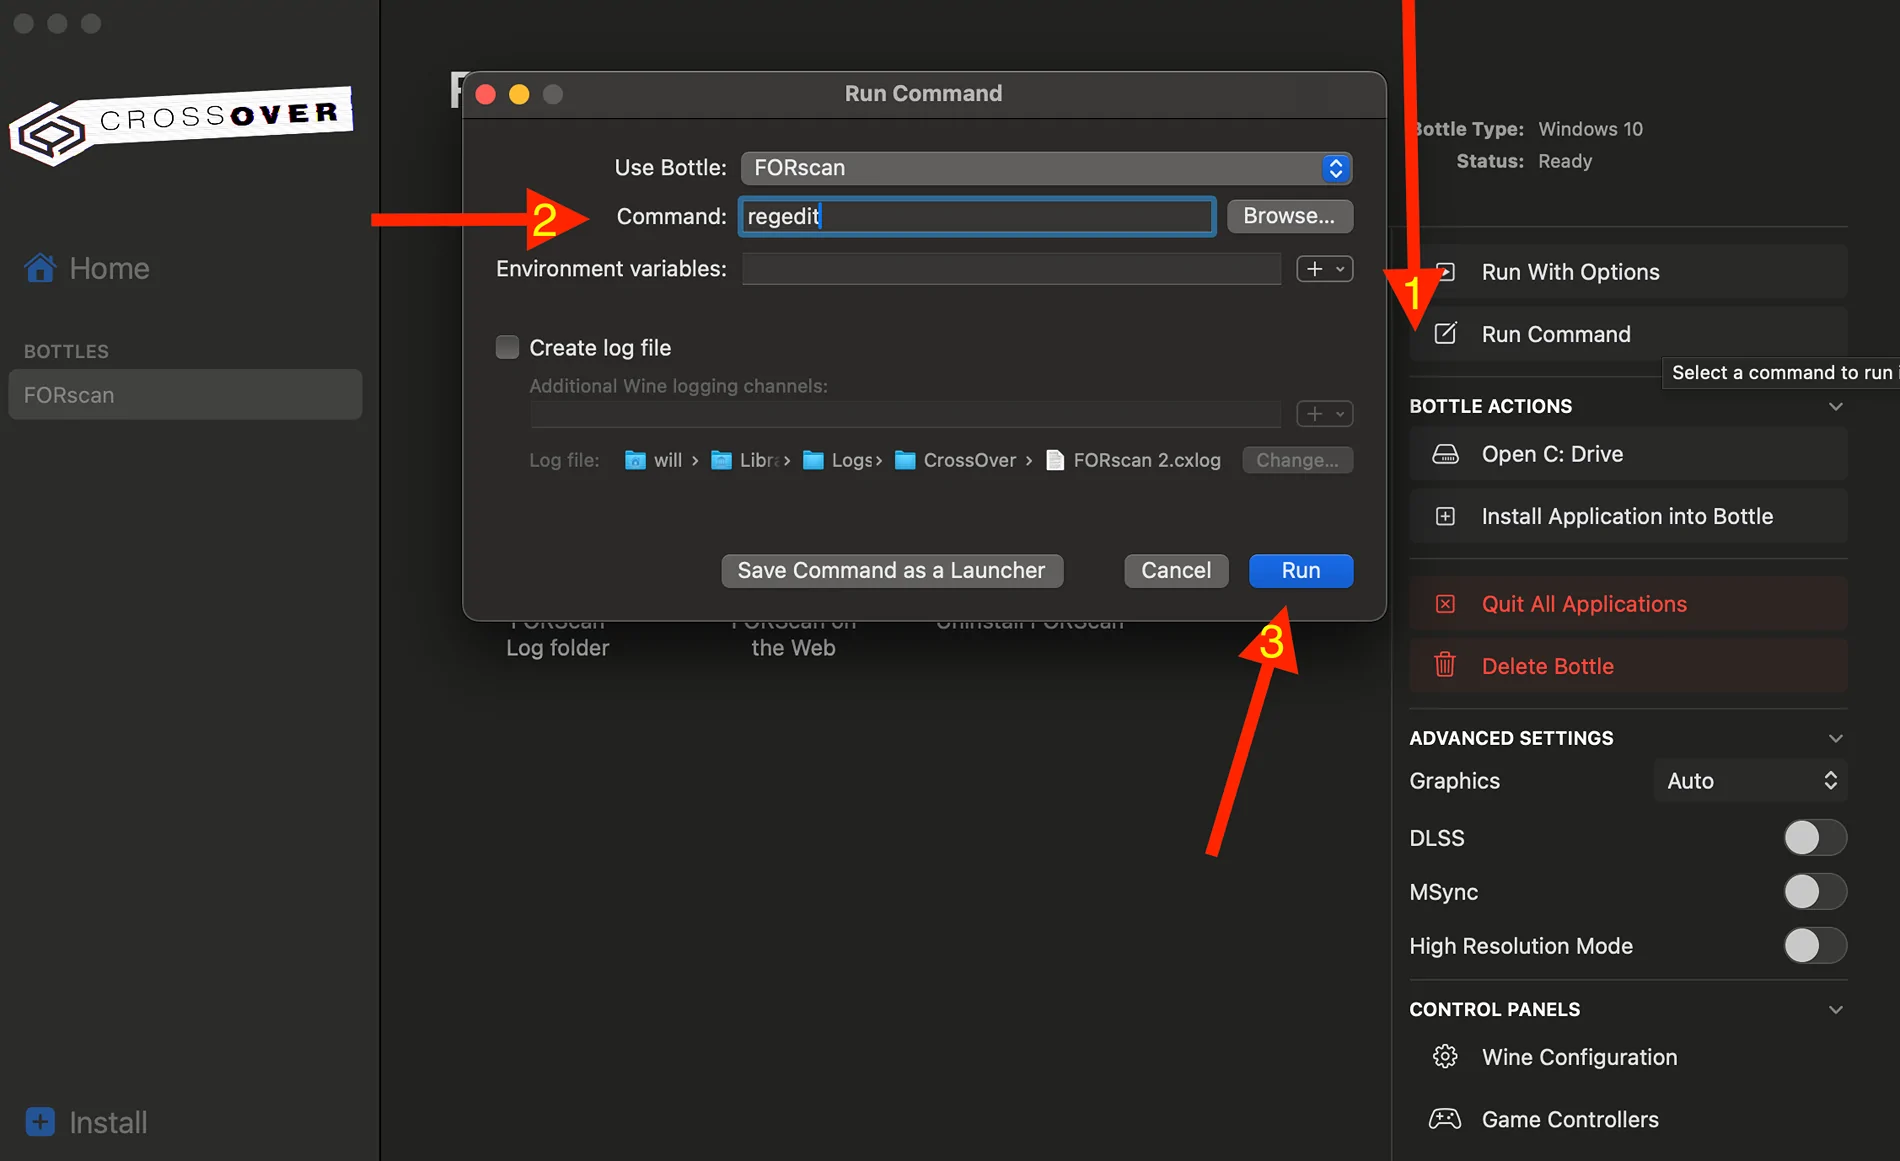
Step 10: This is the step we will enter the driver info from earlier into the registry. You will drill down inside regedit as follows HKEY_LOCAL_MACHINE - Software - Wine - Ports. This will not have the lines 2-5 in my picture, we will add these manually by scrolling your mouse to the white area under the "Default" string and right click, add new, new string. We will do this to add all 4, you can either enter all the information now or just name them and come back to each modifying them with the info. You will transfer the values from before into each line following the prefix of "/dev/" in the value. The results should look similar to this with your own values. Once you have entered the settings, exit out of regedit and it should show animation on the popup that its saving. This should only take a few seconds before you can exit the run command prompt.

Step 11: Now you can test the connection by pressing the connect button near the left bottom of the screen. I did this prior to plugging it into the vehicle, so it will pass the connection to the OBD adapter on my desk, but fail the connection to the vehicle, which is expected. Don't be upset if it doesnt work on the first time, in my case it fails for some odd reason the first time after opening the application. I found i have to disconnect the OBD adapter and plug it back in for it to work on both of my macbooks as a weird bug, but it works everytime afterwards. I also found that on both Macbooks the left side USB-C ports works for me, but i couldn't get the right side USB-C port to work at all, displaying a red LED on the OBD adapter.
Sponsored

