F150Redux
Well-known member
- Thread starter
- #1
In August I was selected as the winner of the @Redtiger "Share Your Road Trip Map" (https://www.f150lightningforum.com/forum/threads/redtiger-giveaway-share-your-road-trip-map-—-win-a-dashcam-plus-more.29843/) giveaway. The prize was a Redtiger F17 Elite plus the Hardwire Kit.
Notes:
- I've never used a dashcam before, so I don't have any firsthand experience to compare to
- Usually, I don't do much to my vehicles, but for my new 2025 F-150 Lightning (Lariat) I'm doing a bunch of different things
Details
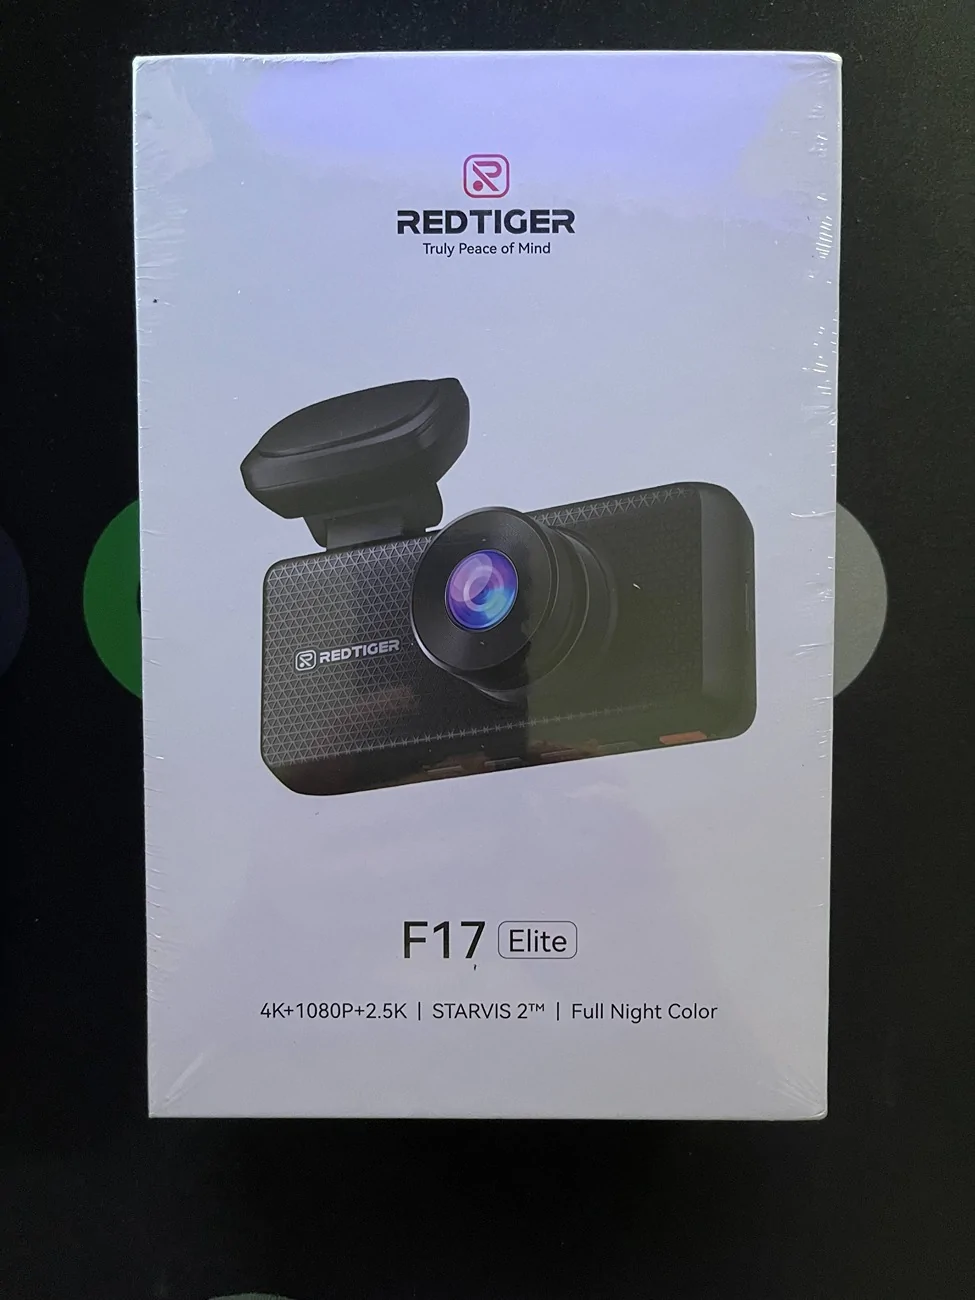
REDTIGER F17 Elite 4K 3 Channel Dash Cam Sony STARVIS 2 Dual HDR WIFI 6 Full Night Color
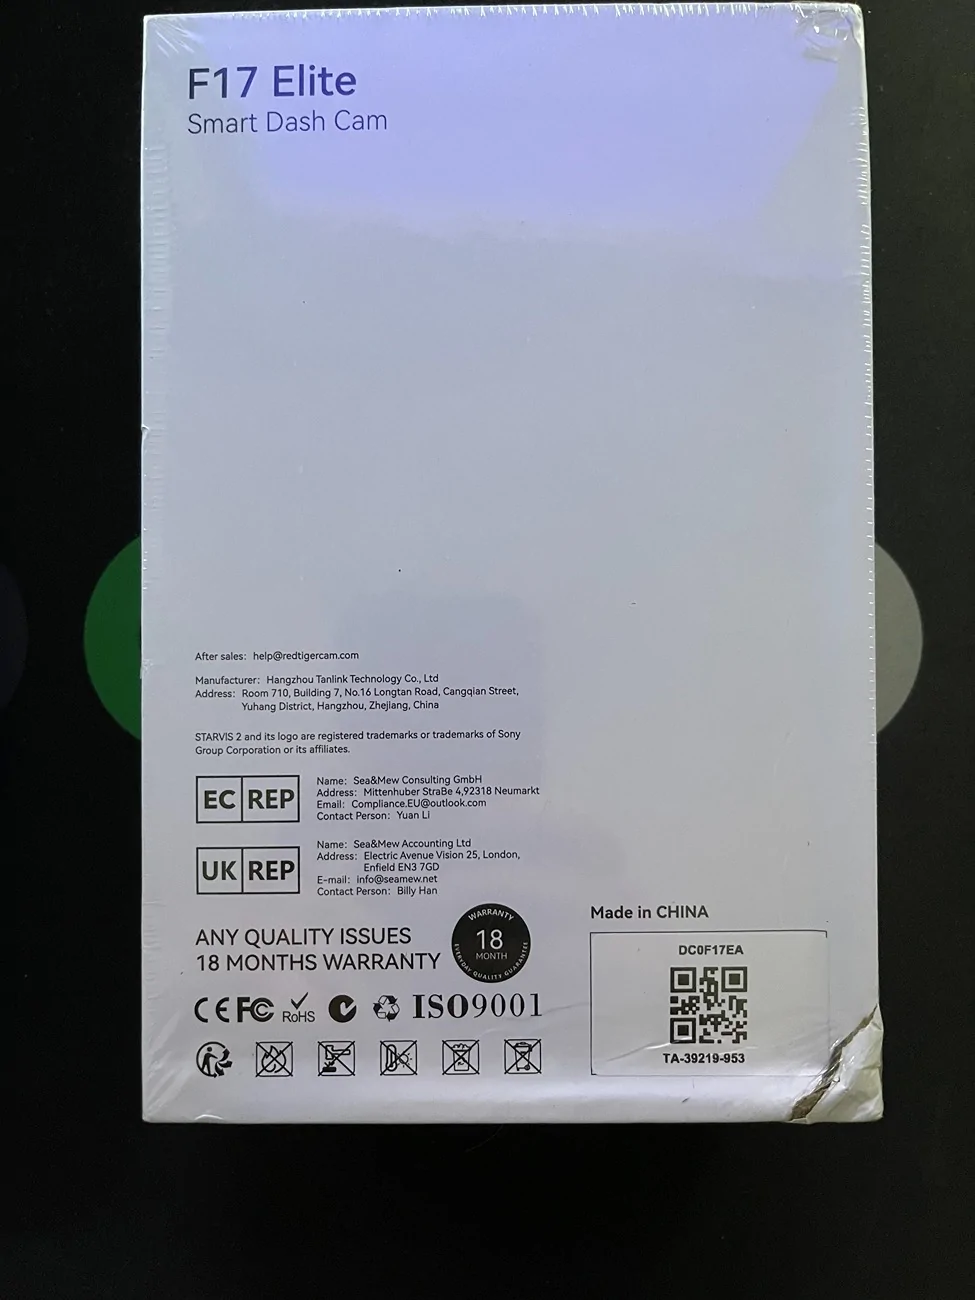
The F17 Elite arrived via U.S. Postal Services a few days before the expected date. The dashcam and hardwire kit were enclosed in a light-gray plastic shipping bag. After opening I saw that the dashcam box had a small dent in one corner, but there were no issues with any of the contents.
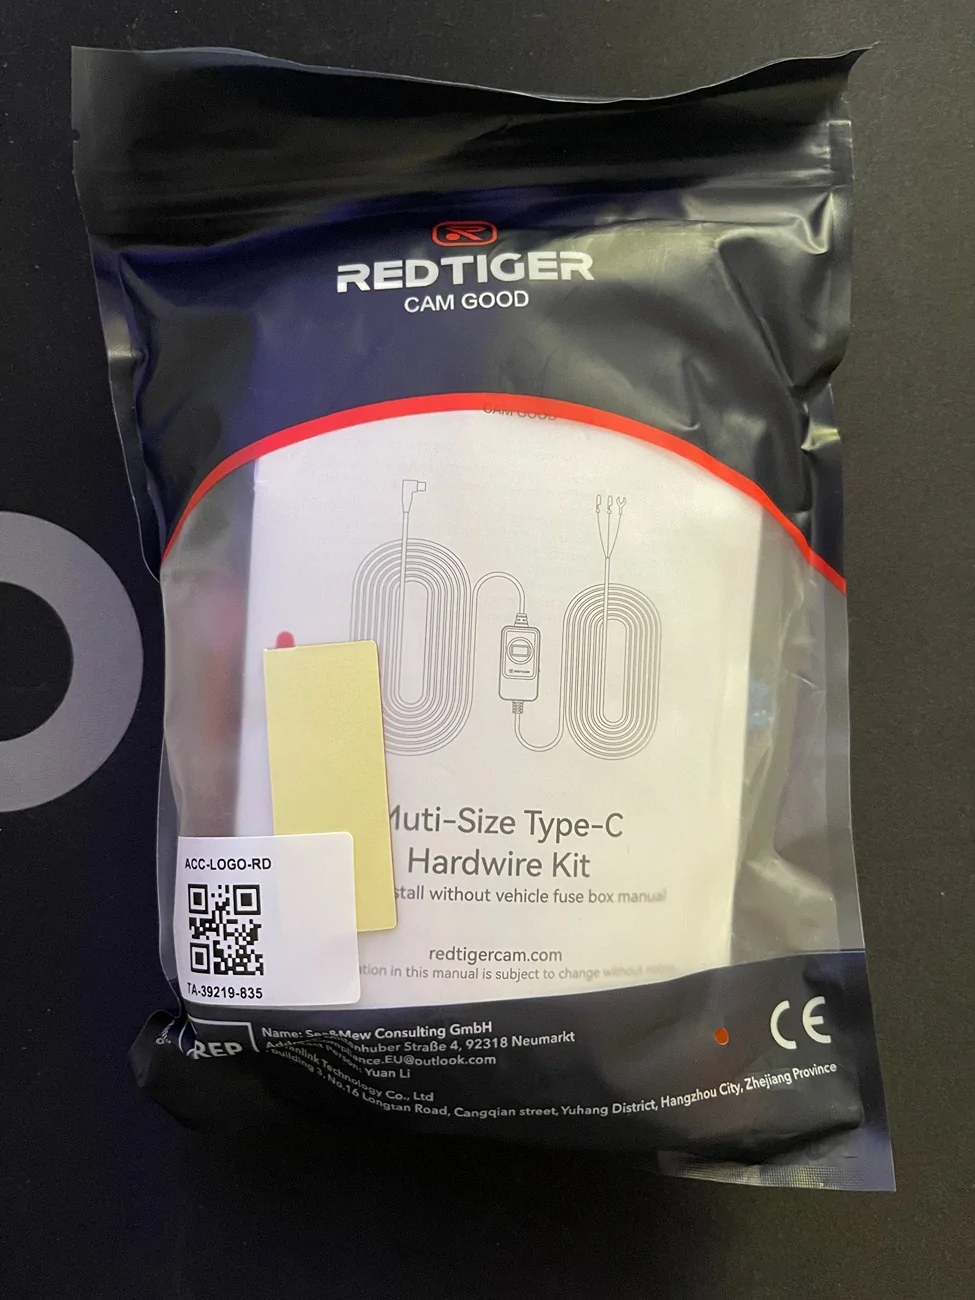
The dashcam was in a box, and the hardwire kit was in a separate bag.

The F17 Elite box is well organized and provides a great "unboxing" presentation. You're first visual is a vellum-like transparent diagram of the F17 Elite dashcam. Lifting that out you're presented with the hardware on the bottom and the instructions and accessories, in three separate boxes, on the top.
The instruction box contains: F17 Elite User Manual, APP Quick Book, and four electrostatic stickers used for mounting the front and rear dashcams.
The other two boxes contain:
- Power supply cable with car charger and trim push/pry tool
- Rear camera cable, cable clips, and adhesive
I read through the manual and app booklet quickly to get an initial handle of what everything was and to prepare for the installation a day or two later.
Installation
Before beginning the installation using the hardwire kit, I tested the cameras using the included power supply cable. At first, I just plugged in the front/cabin dashcam (the main unit) and turned it on. It came up with no issues and started recording on the included 128GB SD card. I then plugged in the rear camera and that became active.
Hardwire Kit
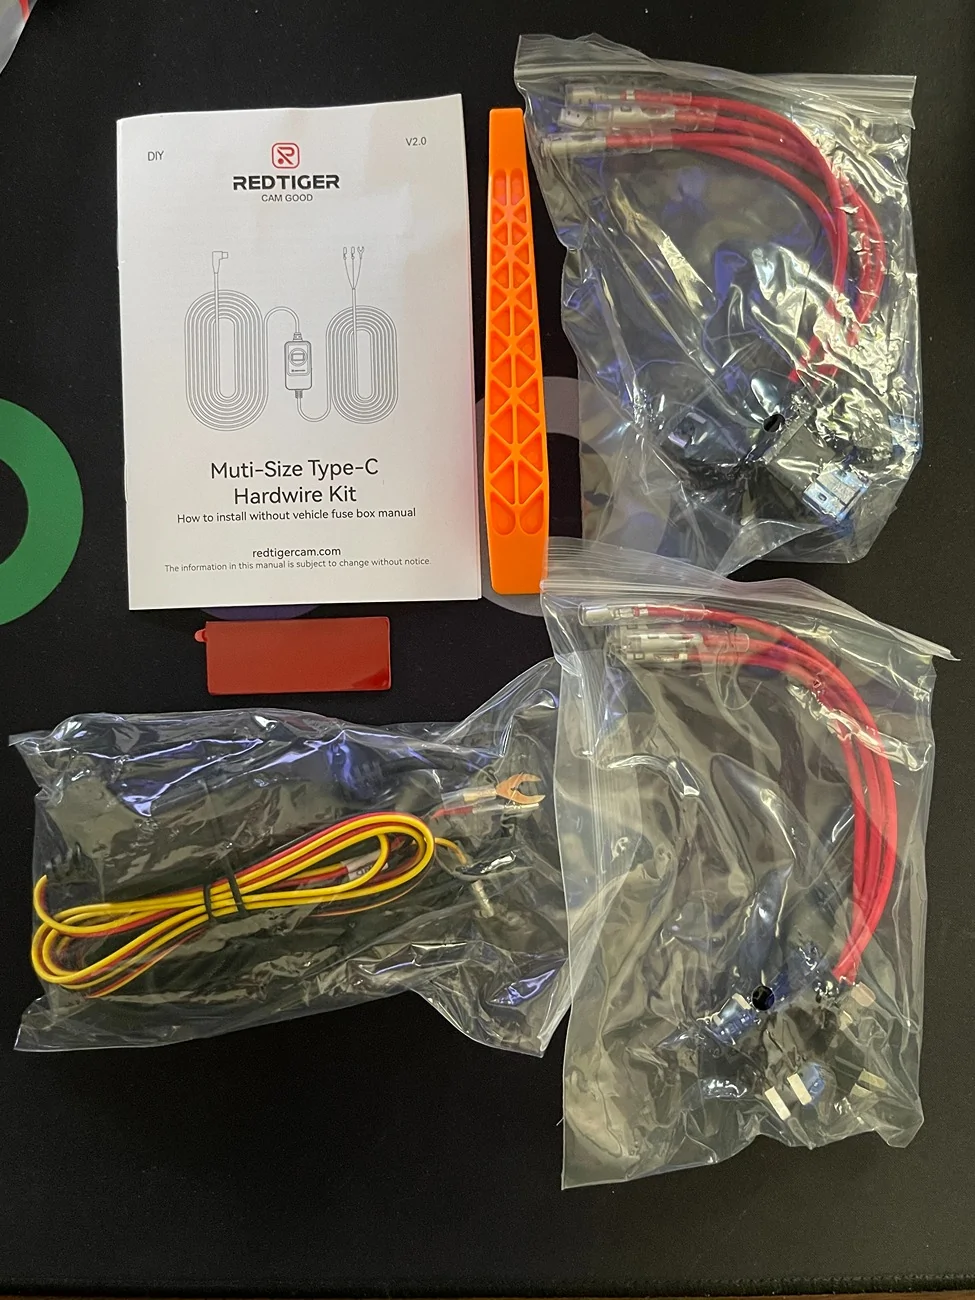
I opened up the hardwire kit and quickly read that manual. The hardwire kit includes a voltage sensor, with display, that you can set to automatically turn off the camera in undervoltage situations. I set this to 12.4V. This is handy if you use the "parking mode" and will keep the dashcam from depleting/draining your battery. This kit also includes eight different size fuse taps, a trim tool, and a piece of adhesive that you could use to mount the voltage sensor box.
Wiring
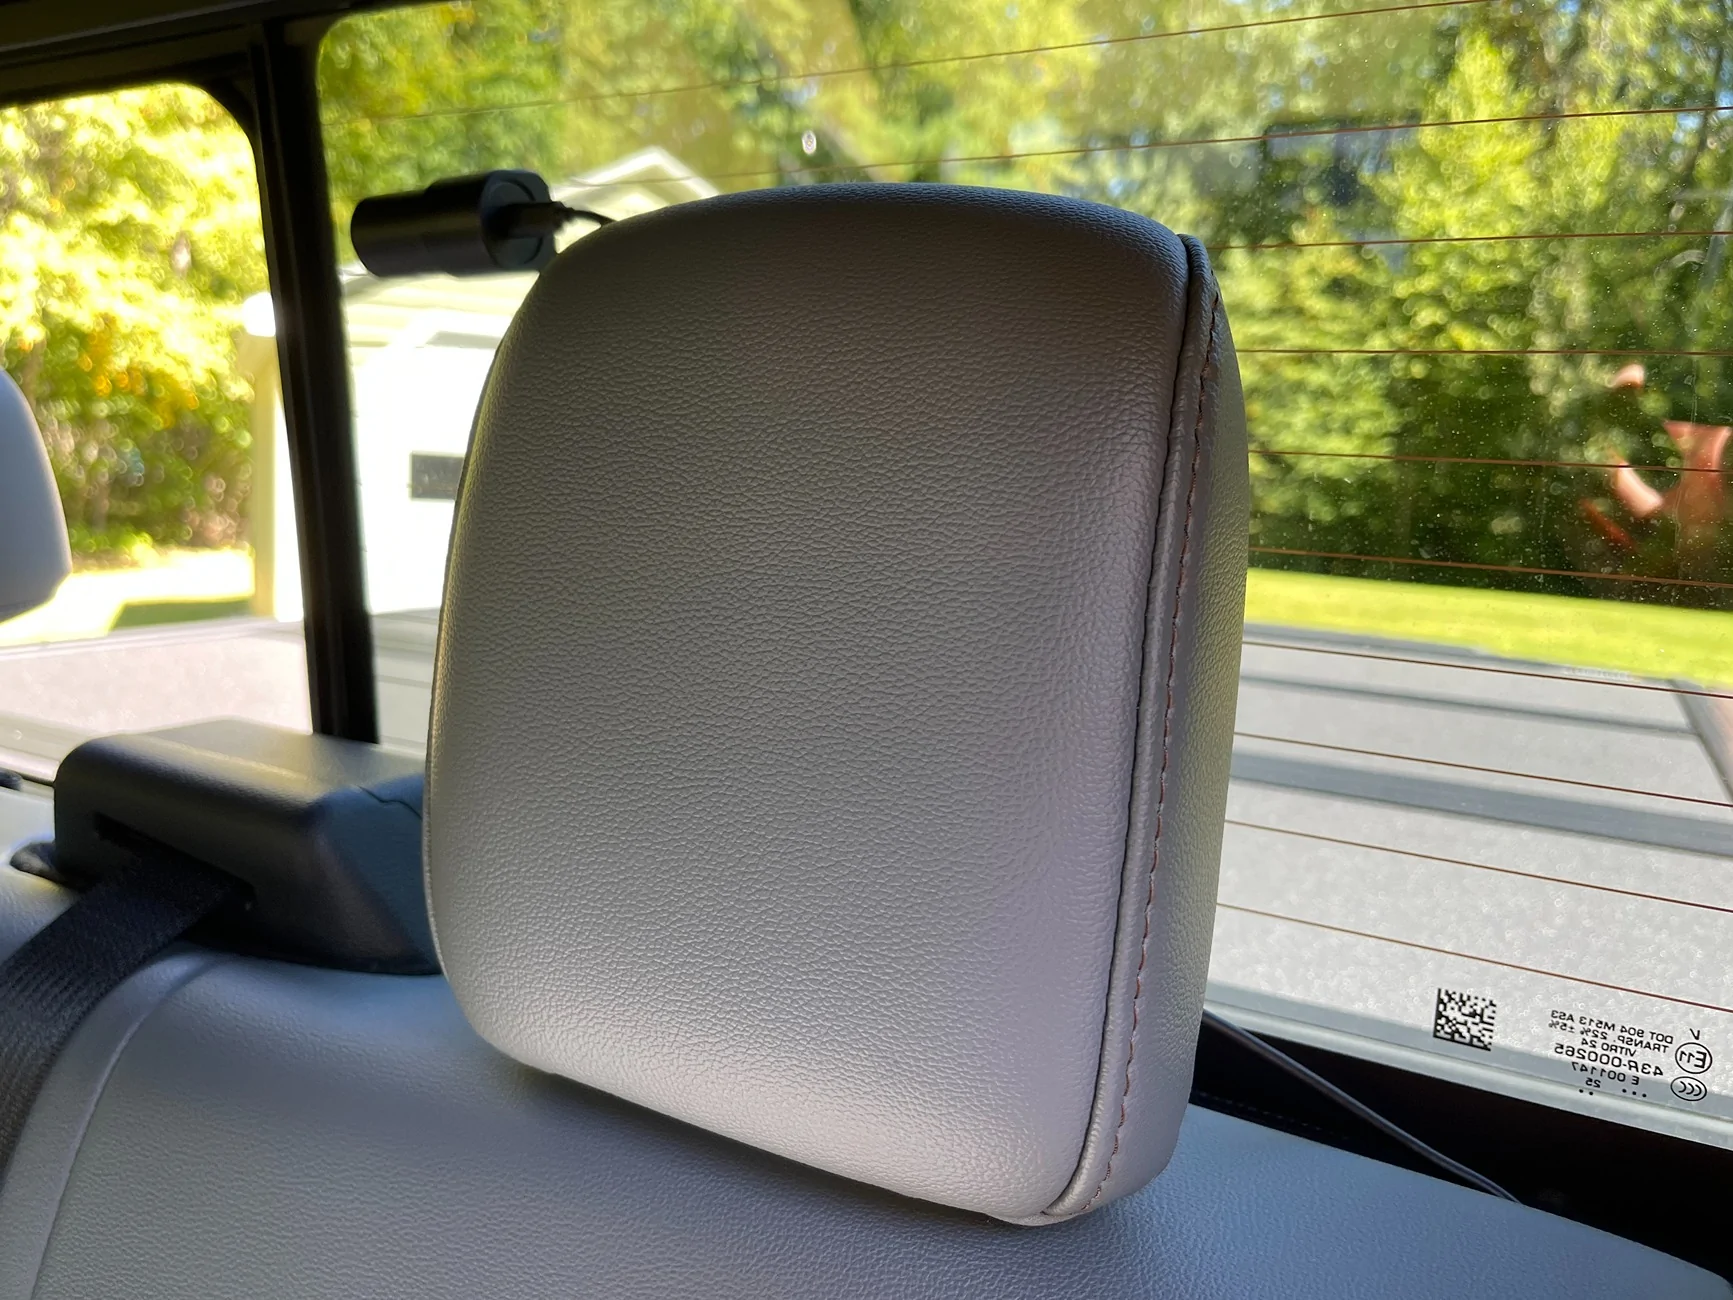
I mounted the front/cabin dashcam in the center of the windshield, just below the mirror. I may go back at some point and move it even a little bit further down; I can see 85-90% of the camera unit, but the bottom of the mirror obscures the top edge.
The power cable from the hardware kit was plugged into the camera and then tucked into the plastic of the overhead/mirror unit. From there it went into the headline to the passenger side A pillar.
Taking off the A pillar was easy for me as I'd already done it to install new tweeters when I upgraded to Alpine speakers. You just take a small pry tool, insert it into the hole at the bottom of the grab rail, and gently pull the plastic insert out. Do it carefully so you don't scratch the trim piece. Once you start to get it out you can just pull it the rest of the way out -- be careful as the top part is connected with a little piece so it will hang in place. One you remove the insert you get access to two 10mm bolts. When those are taken out you can just pull down on the grab rail, and the A pillar trim will pop off/out. NOTE: Don't pull it too hard as the tweeter is connected and you may break the wiring. If needed, you can disconnect the tweeter wire and set the trim piece aside. I just stuck it on the dashboard while I continued.
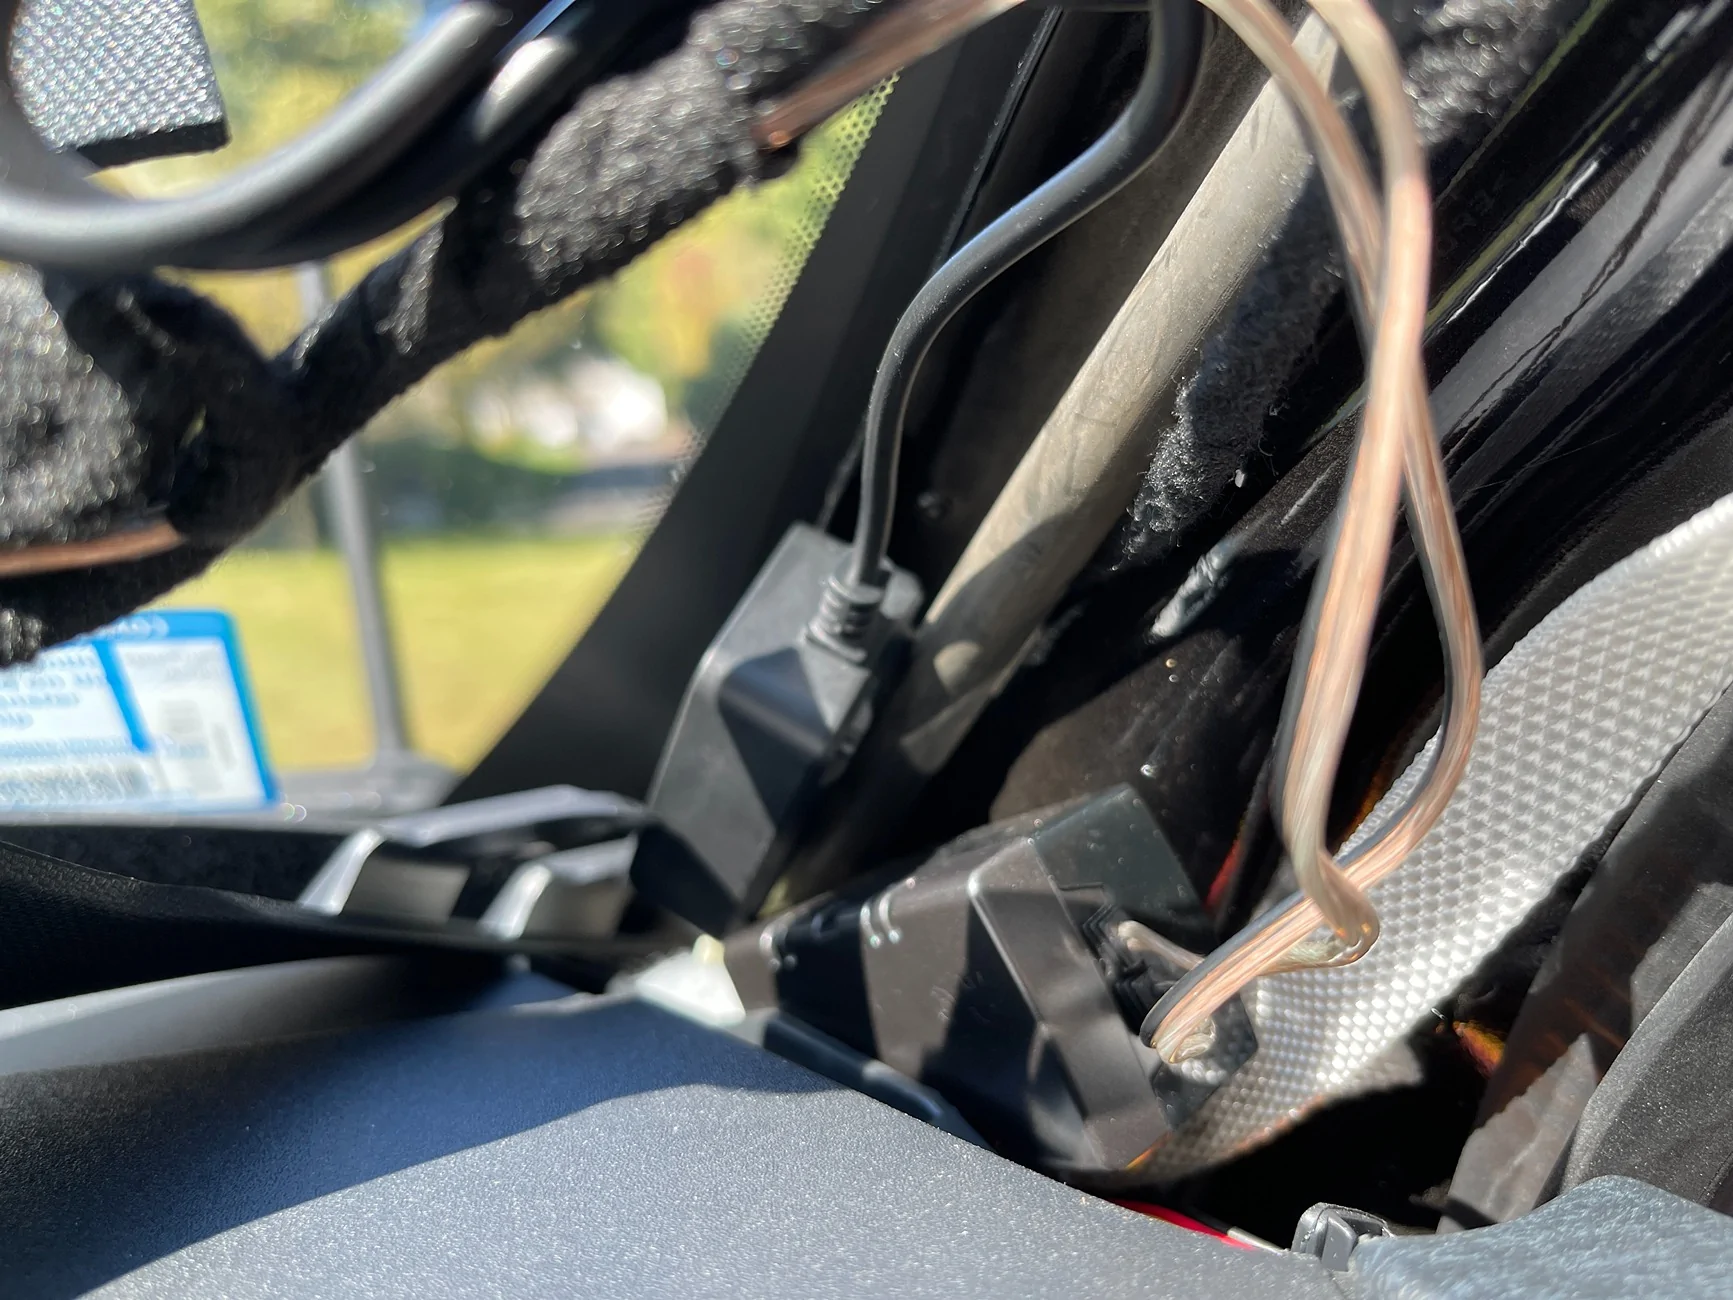
I continued by running the hardwire kit power supply wire down the A pillar, behind the metal airbag supports, where I tucked the voltage sensor alongside the Alpine crossover circuit box. It was a tight fit, but both fit. If you don't have a crossover there, you'll have plenty of room. I did NOT use the adhesive on the voltage sensor.
The wire then continues down behind the weather stripping to the passenger footwell. I used the trim tool to push the bottom panel seam so I could get the wire into the fuse box area.

I used the appropriately sized fuse tap in the following locations:
- #4 for constant 12V (the yellow wire to B+)
- #17-18 slot (red wire to ACC) - Note: The 17-18 slot is a MICRO3 slot; I used the MICRO2 tap and used the side closest to the 17/middle. Instead of using the original 7.5 fuse in the fuse tap I put in an extra 20A in that spot for the tap. The original fuse I put in a baggie in the glove box.
Both these locations are marked as "SPARE" in the Lightning manual and have fuses in those positions. Thanks to @Zprime29 and his review for pointing me in the initial direction.
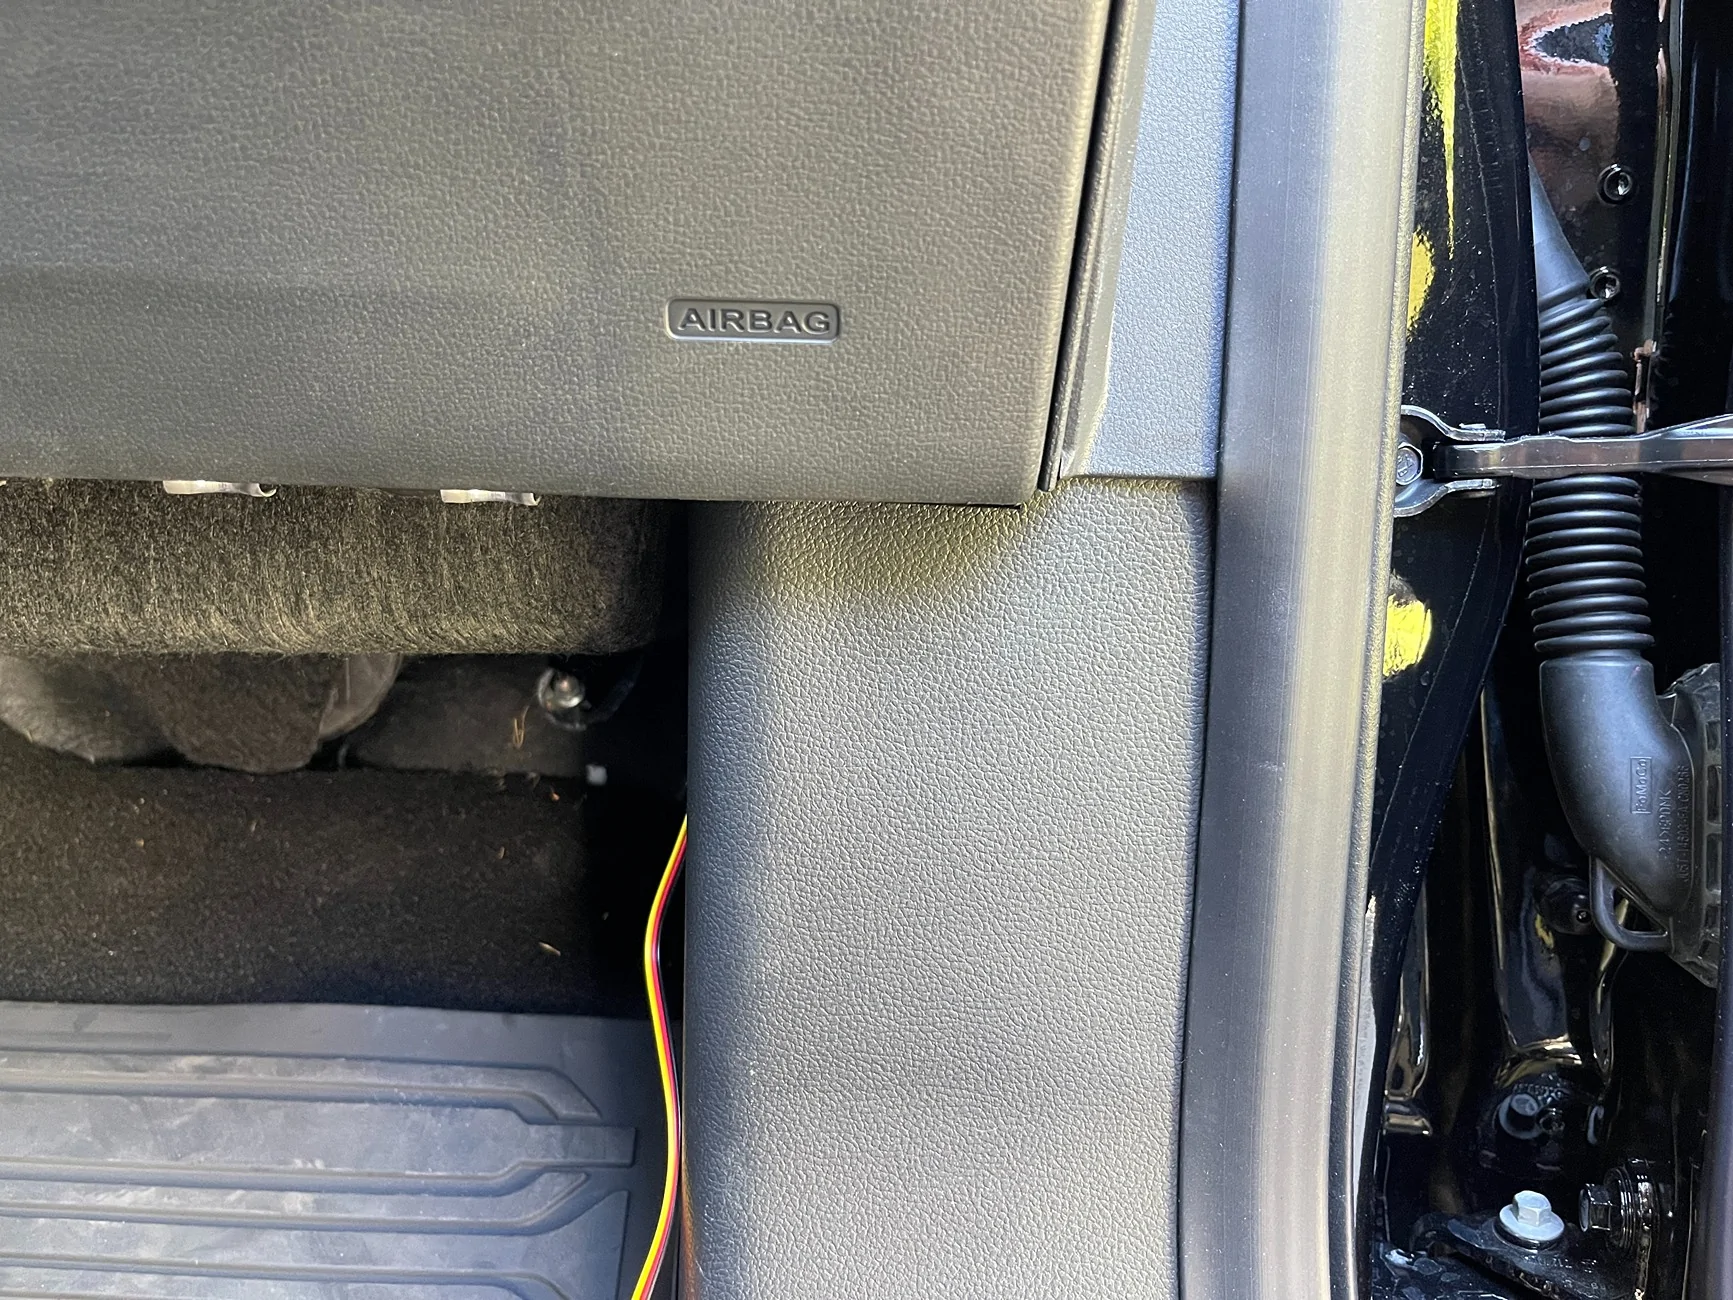
The black wire for ground I put on the bolt in the top right corner of the footwell (I may move this to one of the bolts closer to the fuse box, but it's really tight in there/weird angle).
My first issue was determining which fuse was actually 12V constant vs Accessory. My second issue was that I broke one of the original 20A MICRO2 fuses when trying to move it around/test the fuse taps (really tight fit!!!), so I had to go to a couple different stores before I found the right replacement. While I was out, I bought a circuit tester which made life easier.
NOTE: While I was working through the actual wire connections, I tested the power to the main dashcam. I noticed while doing so that the voltage sensor showed the voltage, "ACC", and a countdown timer (60 seconds). So, it all seemed to be working as expected.
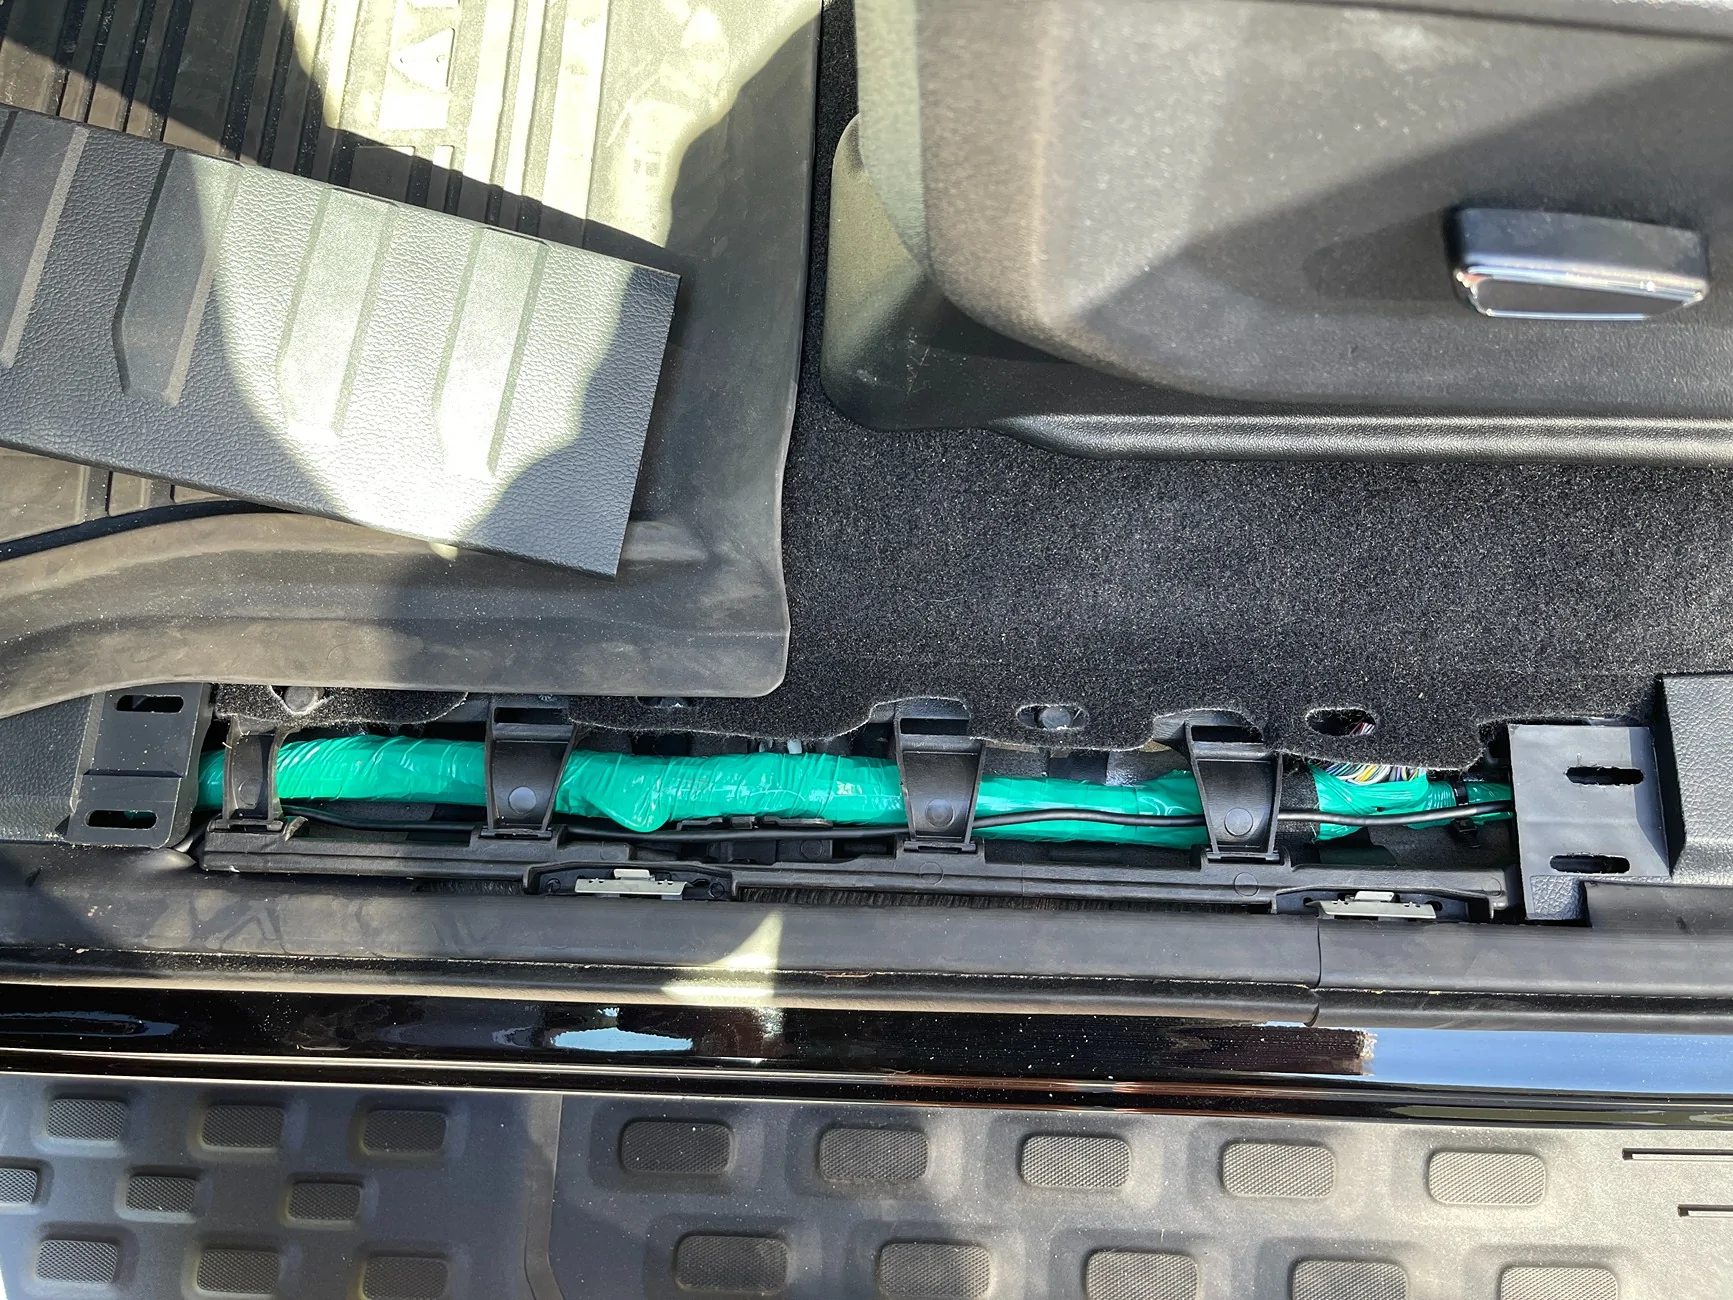
To wire in the rear camera I ran the cable up into the overhead/mirror trim; there's an empty hole there that makes getting the initial bit of wire in easier. Then across the headliner to the Driver's A pillar, down to the floor, through the kick trim channel, and to the back of the truck. There wasn't enough wire to go all the way up to the rear window headliner, so the cable comes out about halfway up and then angles to where I have the camera.
If I ever decide to move the main unit (as noted above) I might re-route the read camera cable and just go headliner all the way back.
Usage
I haven't had a lot of time in the truck since installing the Redtiger F17 Elite, but what time I've had so far, it's easy to use. The controls are straightforward and intuitive. I did a couple short trips with the included 128GB SD card while I waited for a 512GB card to arrive from Amazon.
IMPORTANT NOTE: Don't do what I did!!! When the Amazon 512GB SD card arrived, I went to put it in. Easy peasy right? Just use a finger nail to slightly push in the original and let the spring pop it out. Then insert the new one. I went to put in the new one, was stretching my arm to get to it, pushed it in and my hand slipped... the spring EJECTED the card across the dashboard where it landed in the far corner between the windshield and the dash. I could see it from the outside, but there was no way in heck I was getting my hand in there. I ended up having to use some painters tape and a long narrow trim pick tool to fish it out of the crack. I guess I was lucky it didn't end up in some vent hole or completely behind/inside the dash. That would have been a quick waste of money.
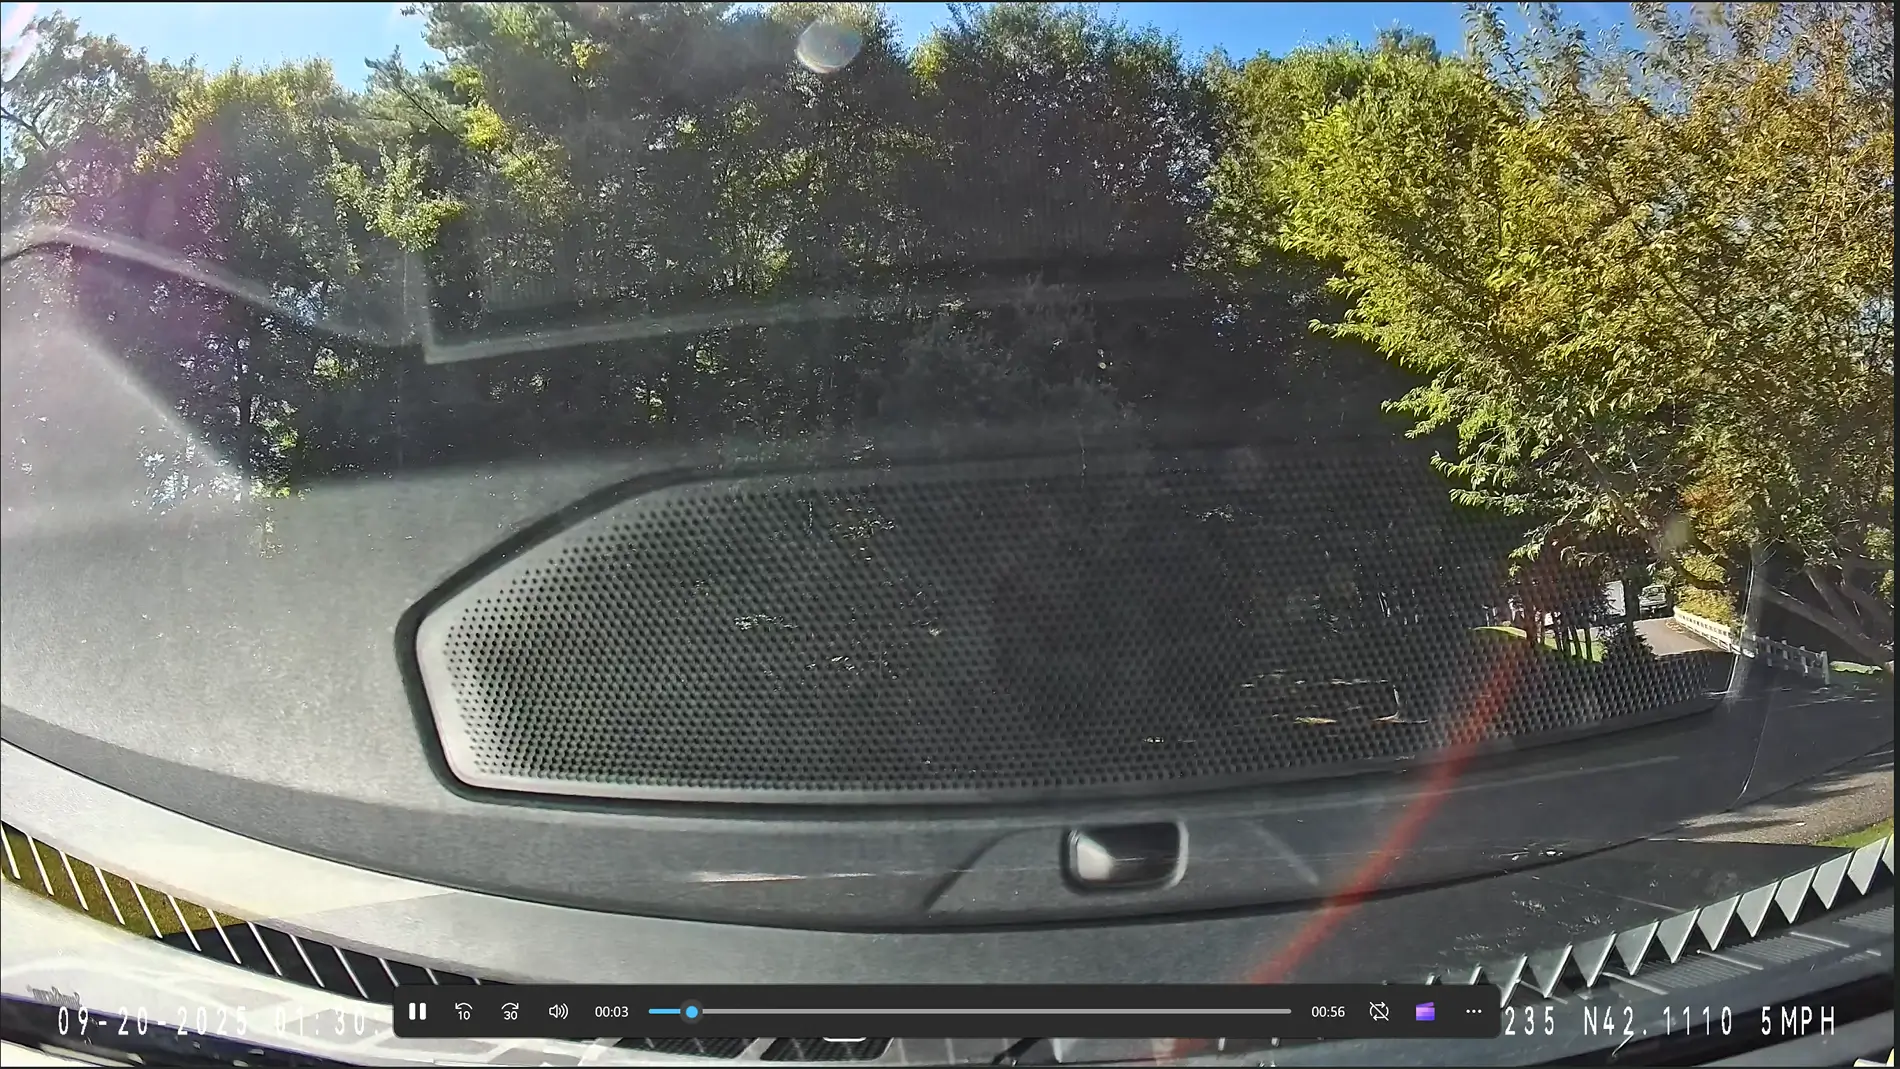
The first video I got was pulling out of the driveway. There was a lot of glare picked up from the windshield and sun.

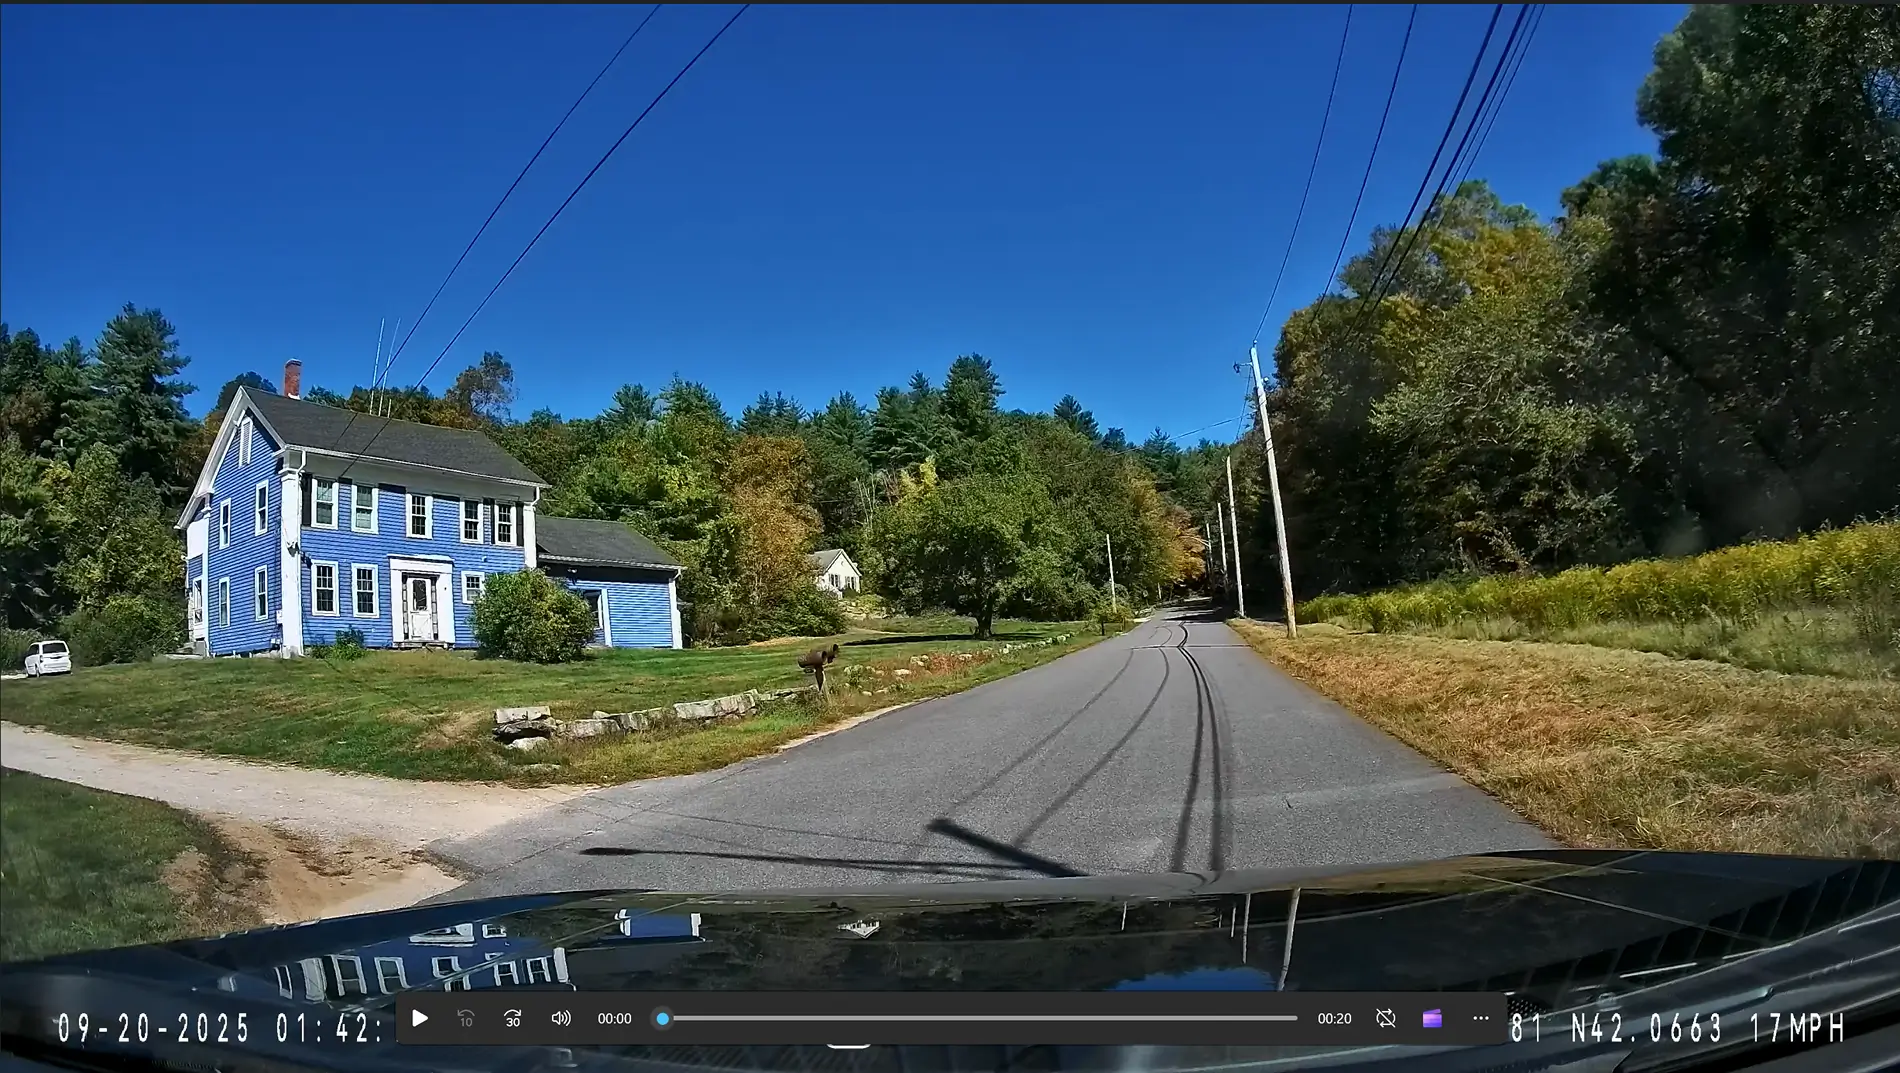
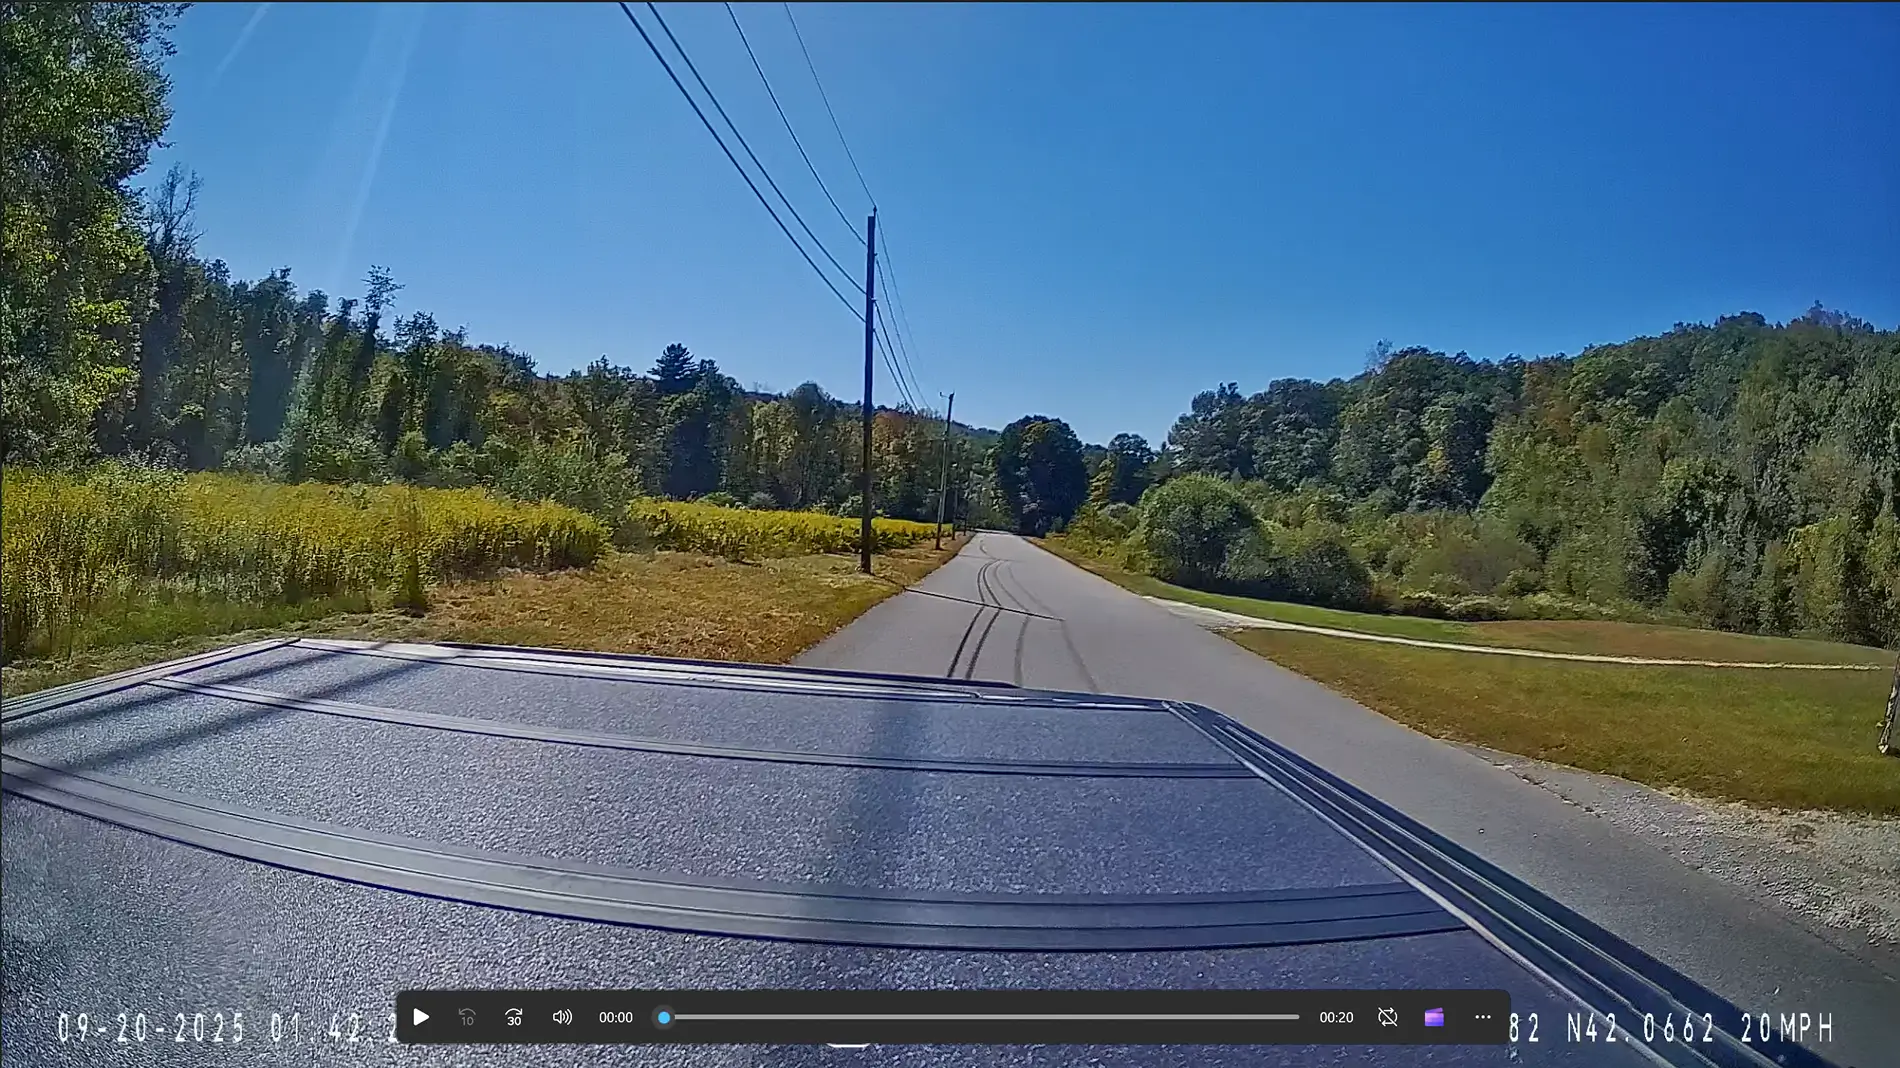
When there's no glare the front camera is very impressive:

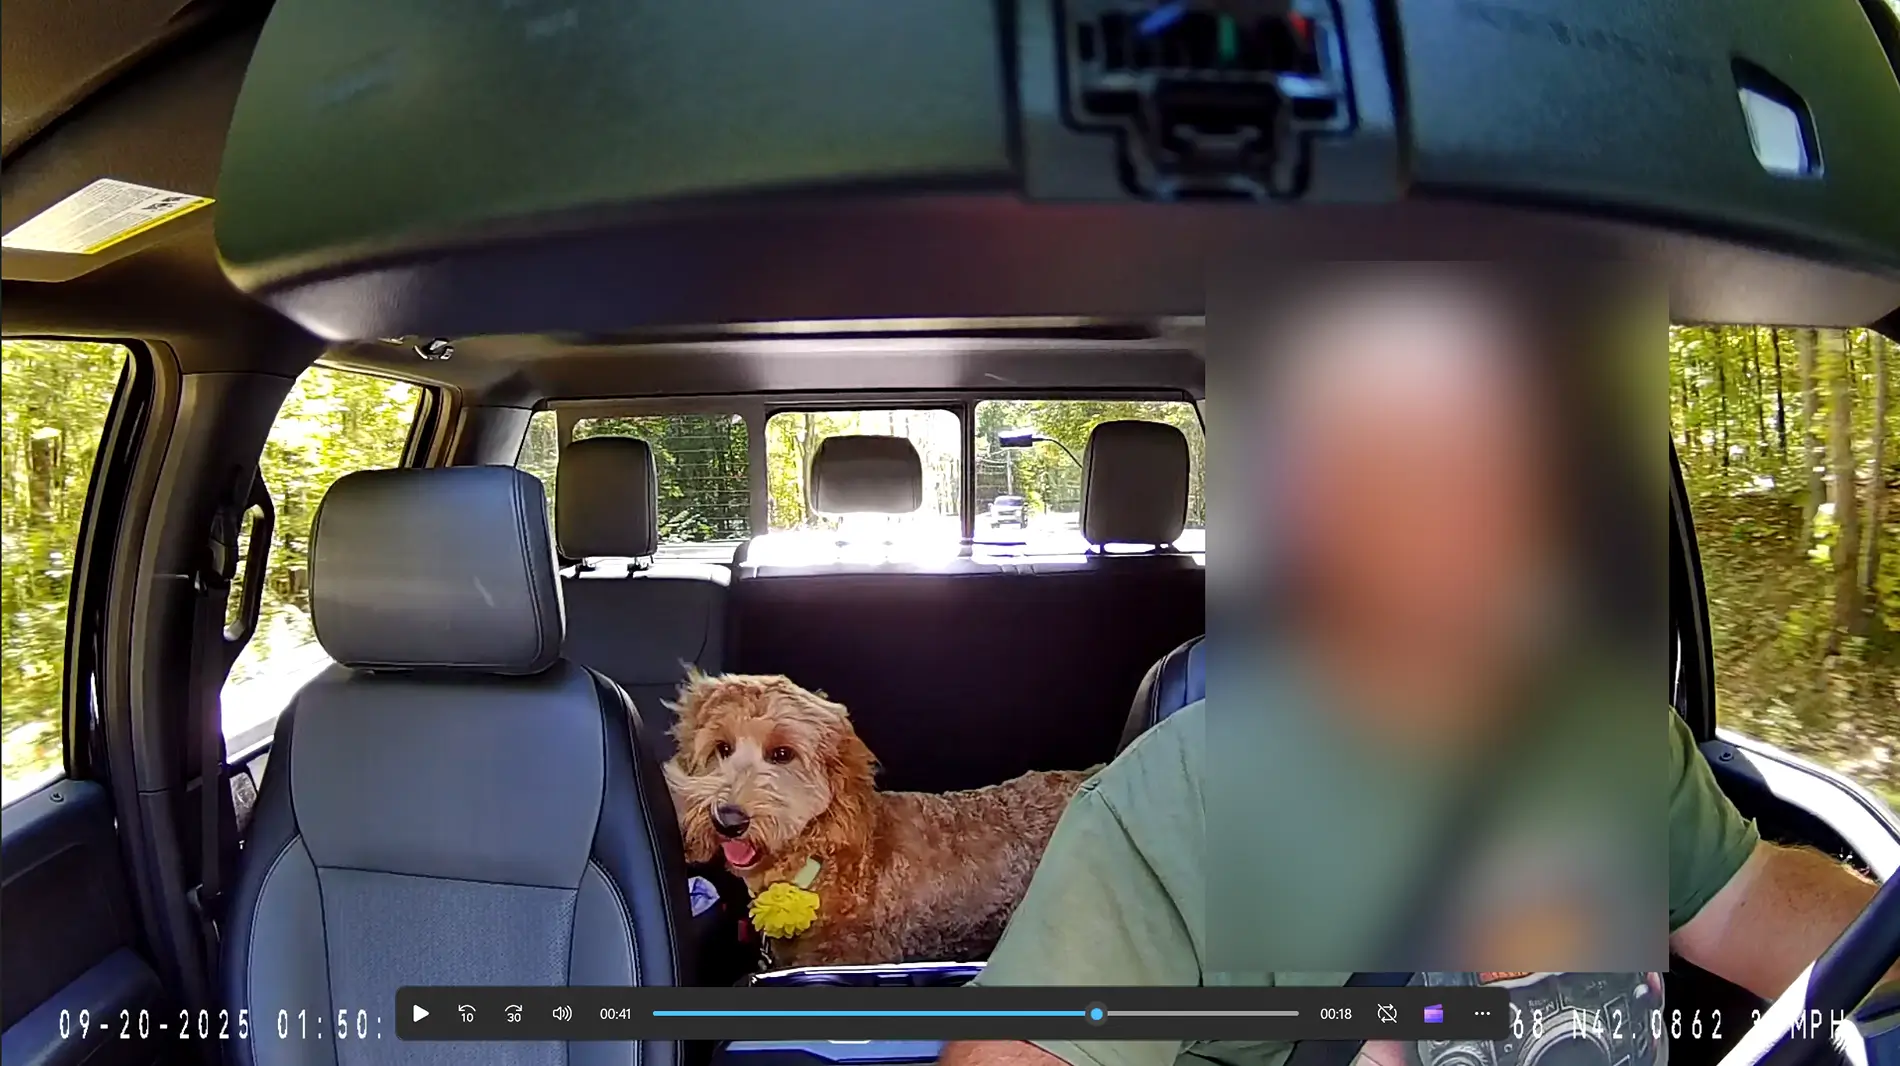
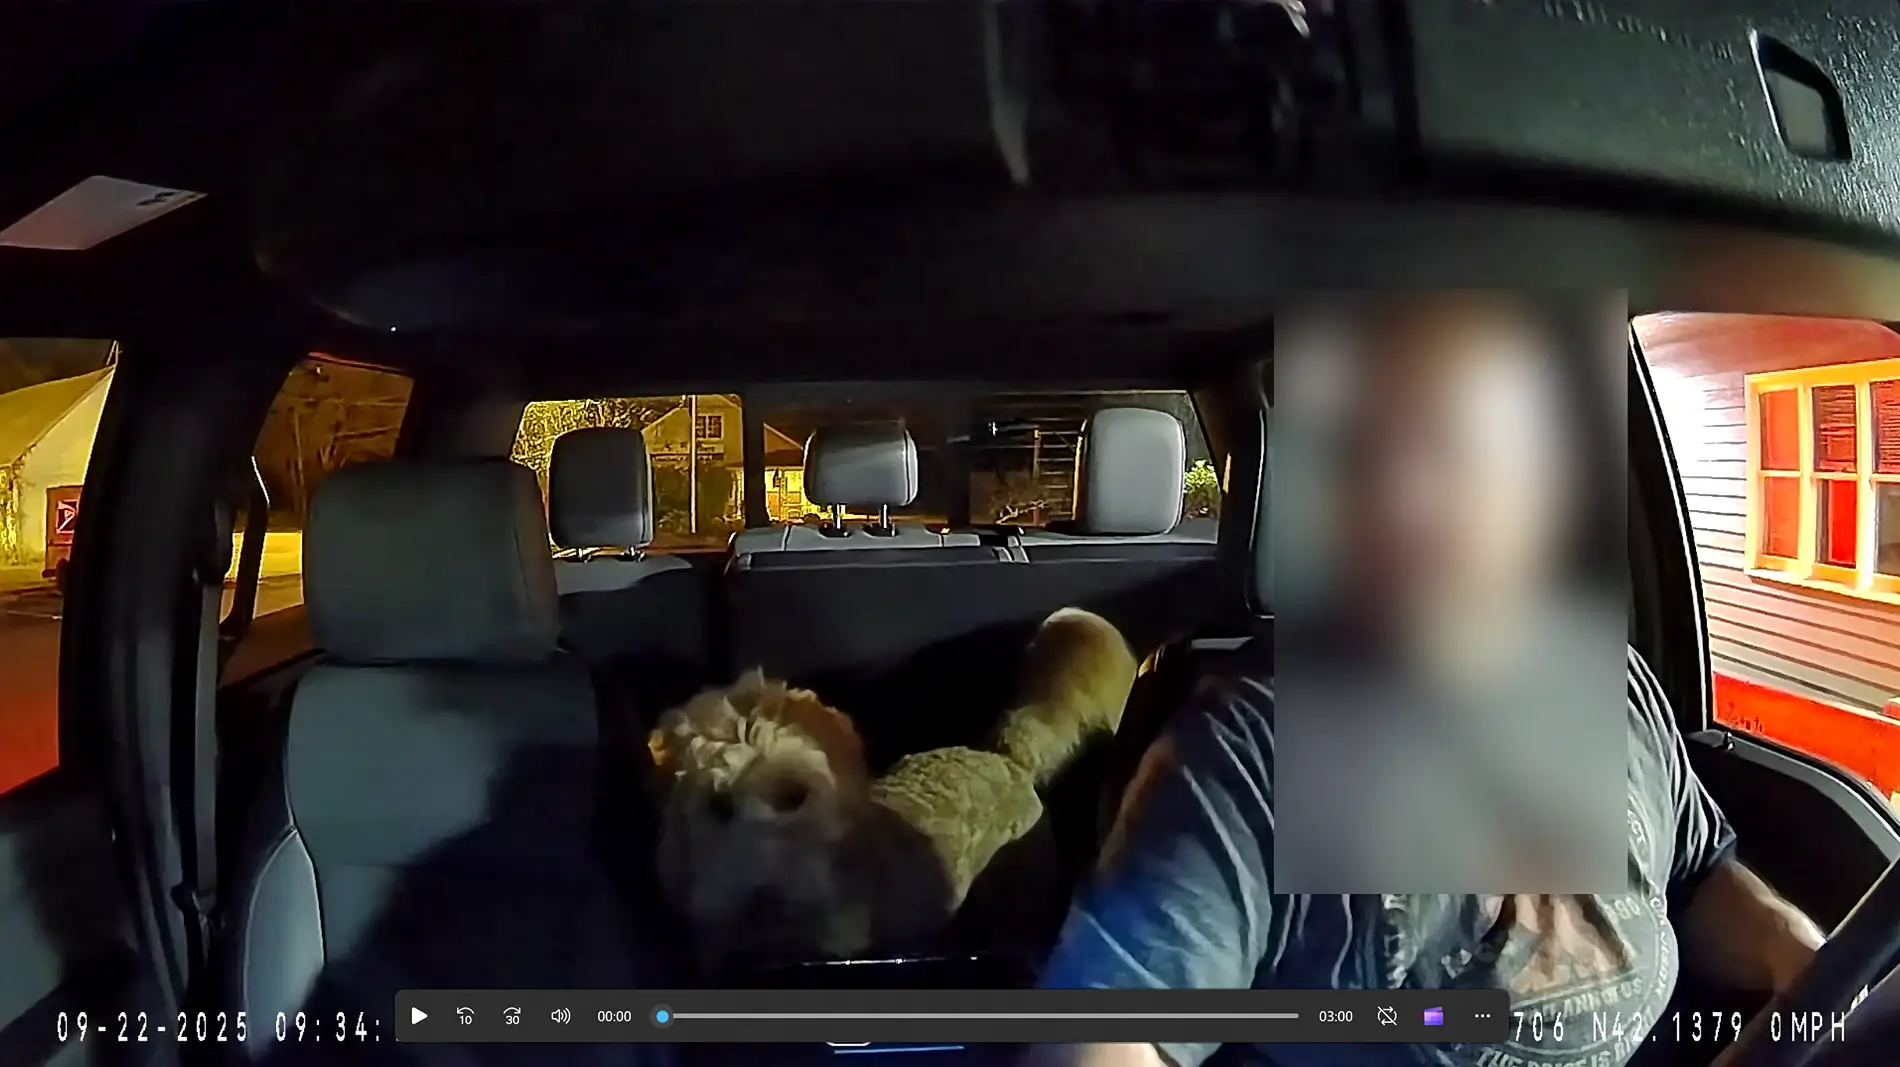
The internal cabin and rear cameras are quite good as well:


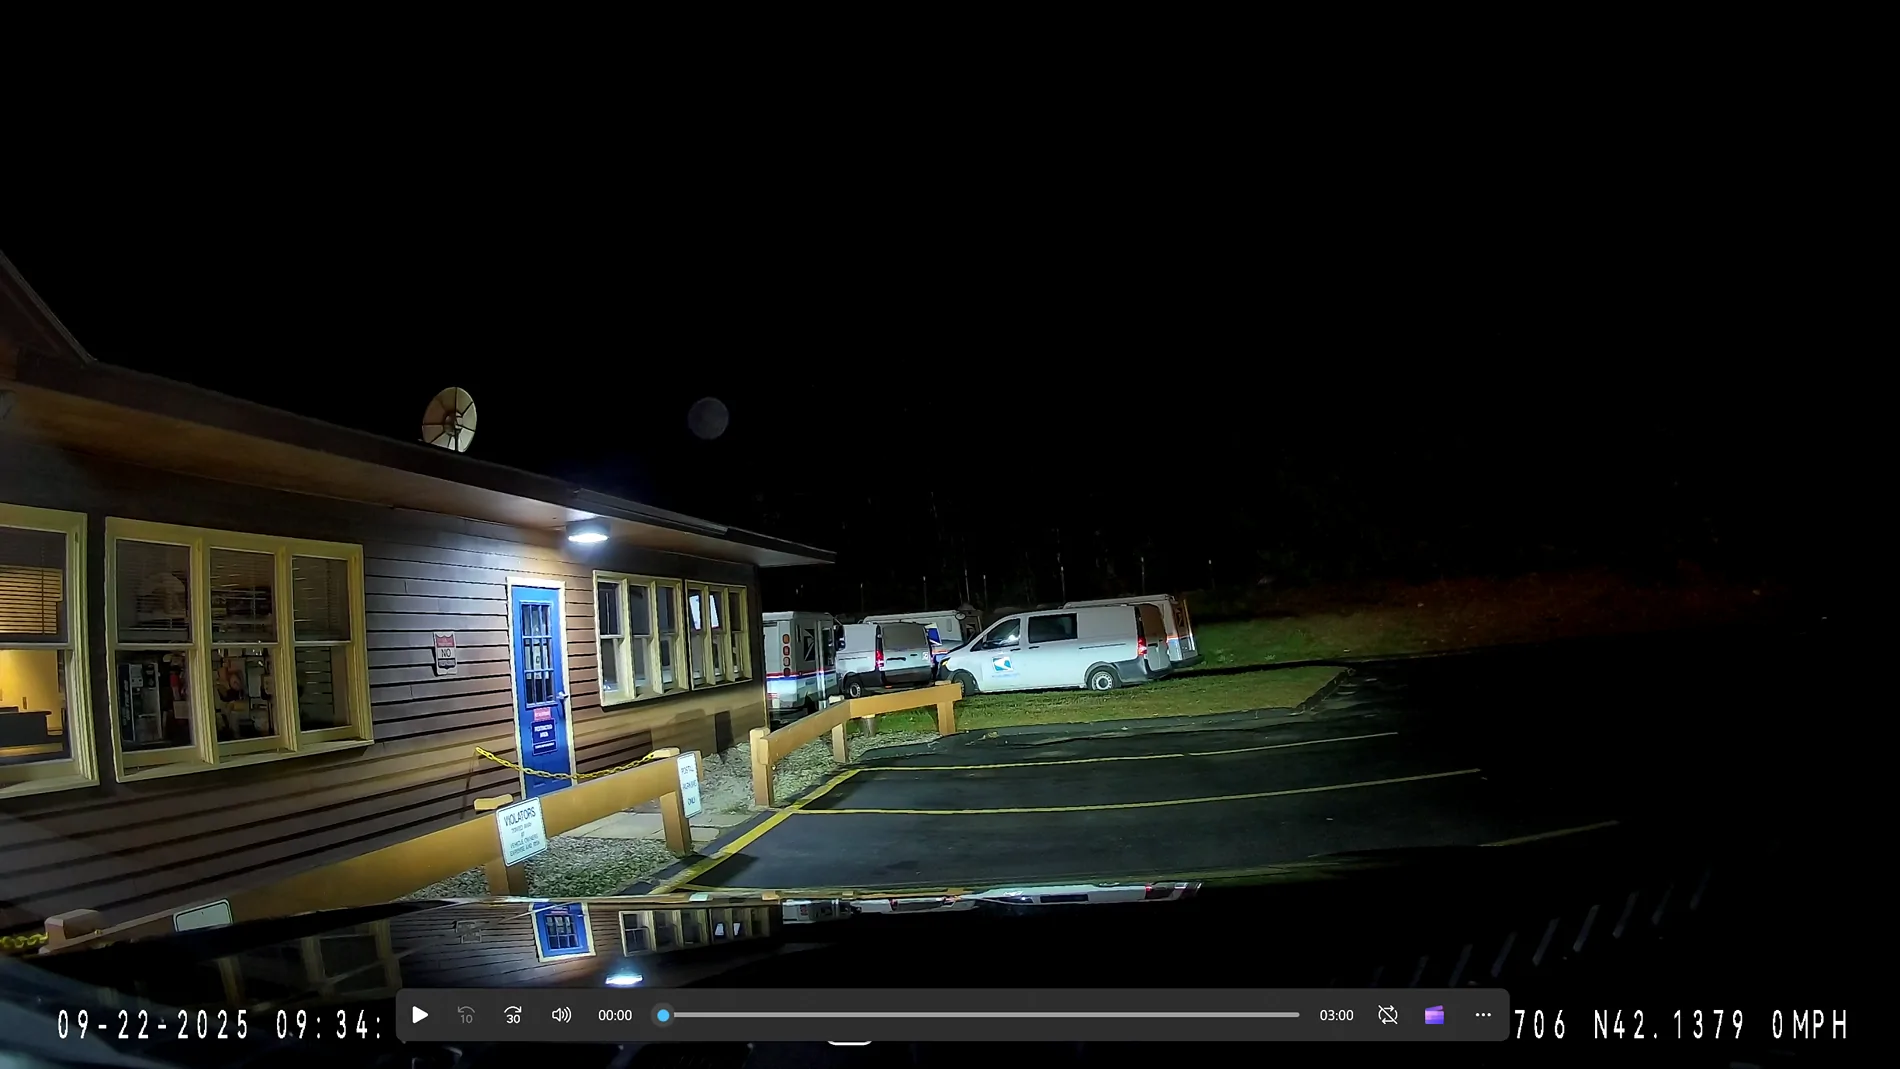
Some low-light/night views:


Initial Final Thoughts
I plan on updating this review as I get some more experience/time with the dashcam. But initial thoughts are positive. The hardware/packaging is all top quality. Installation went smoothly and pretty quick considering I'd never installed a dashcam before.
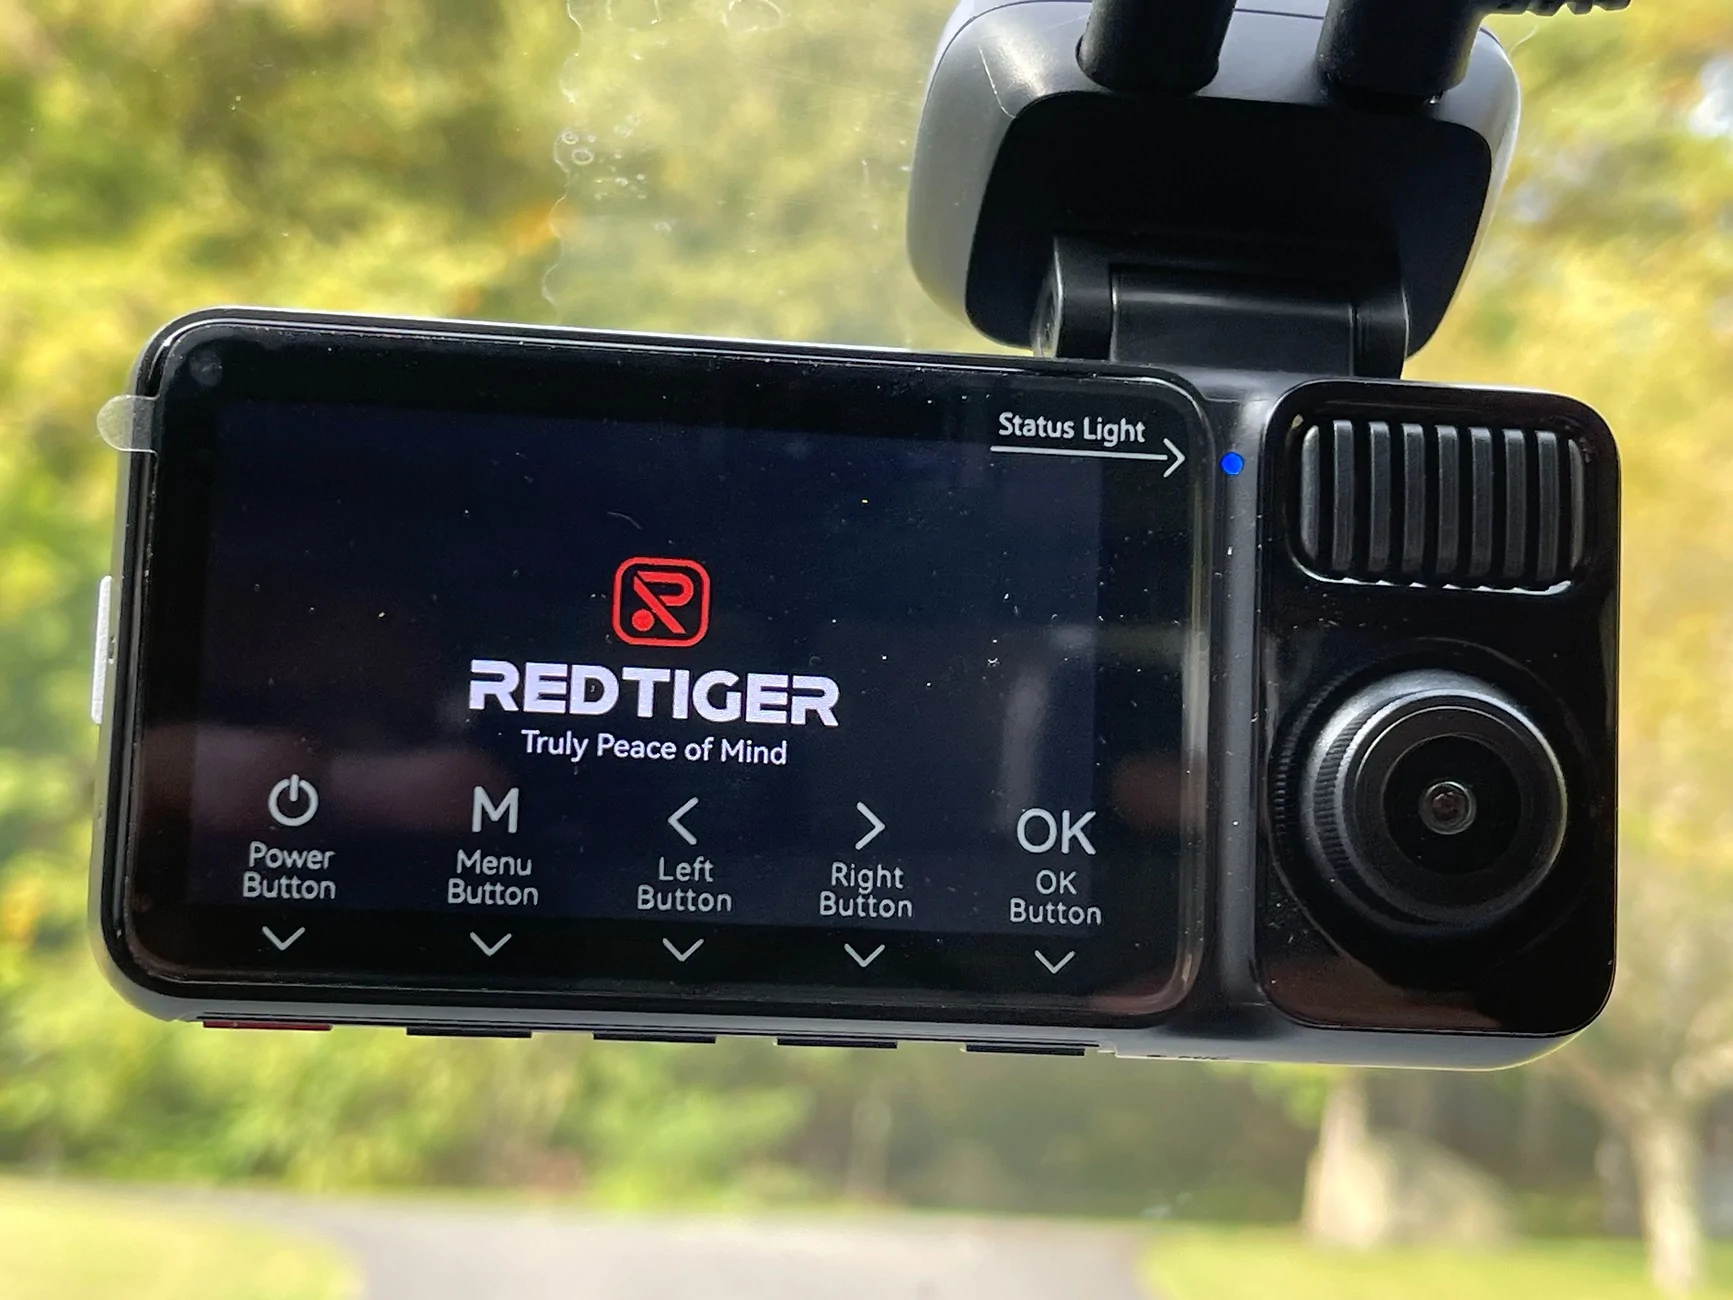
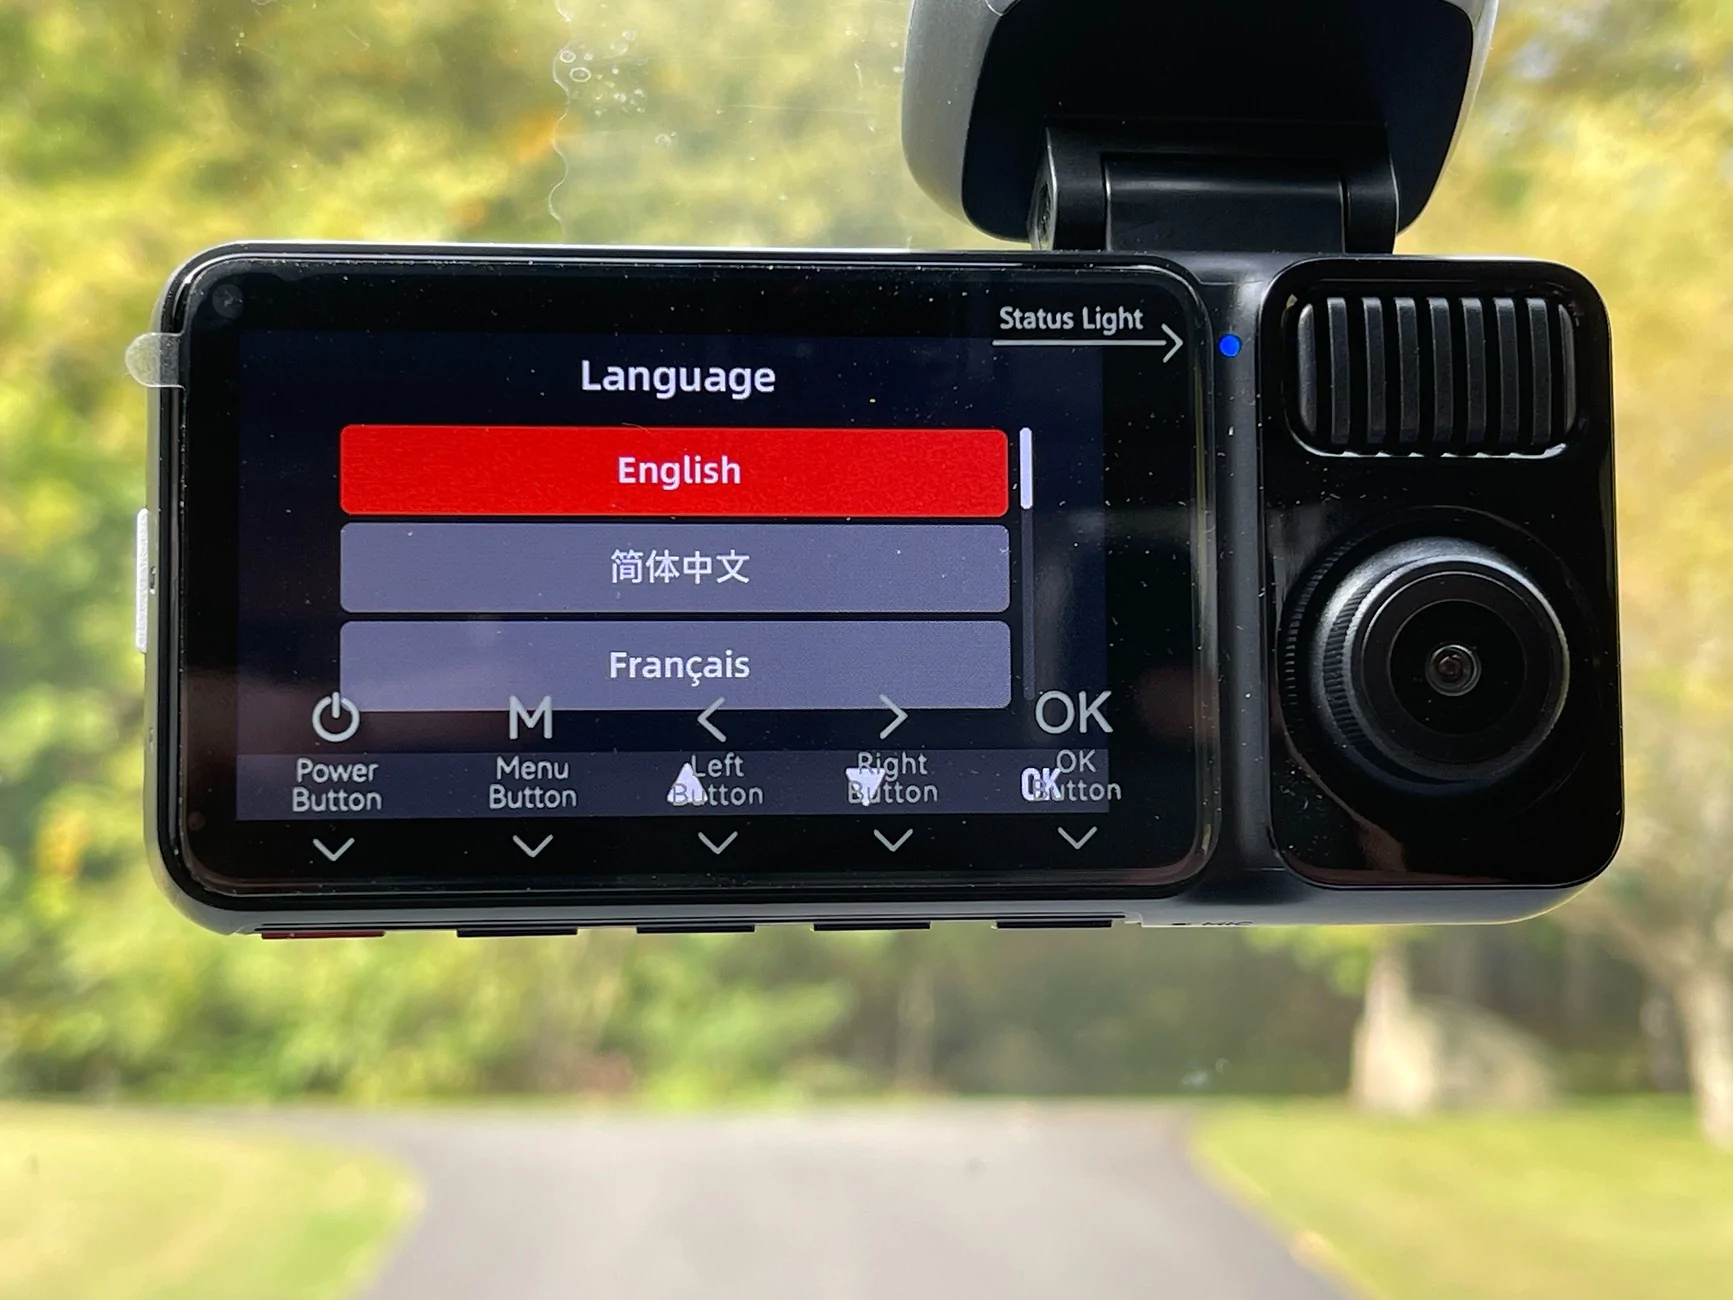
The dashcam itself is easy to use/navigate.
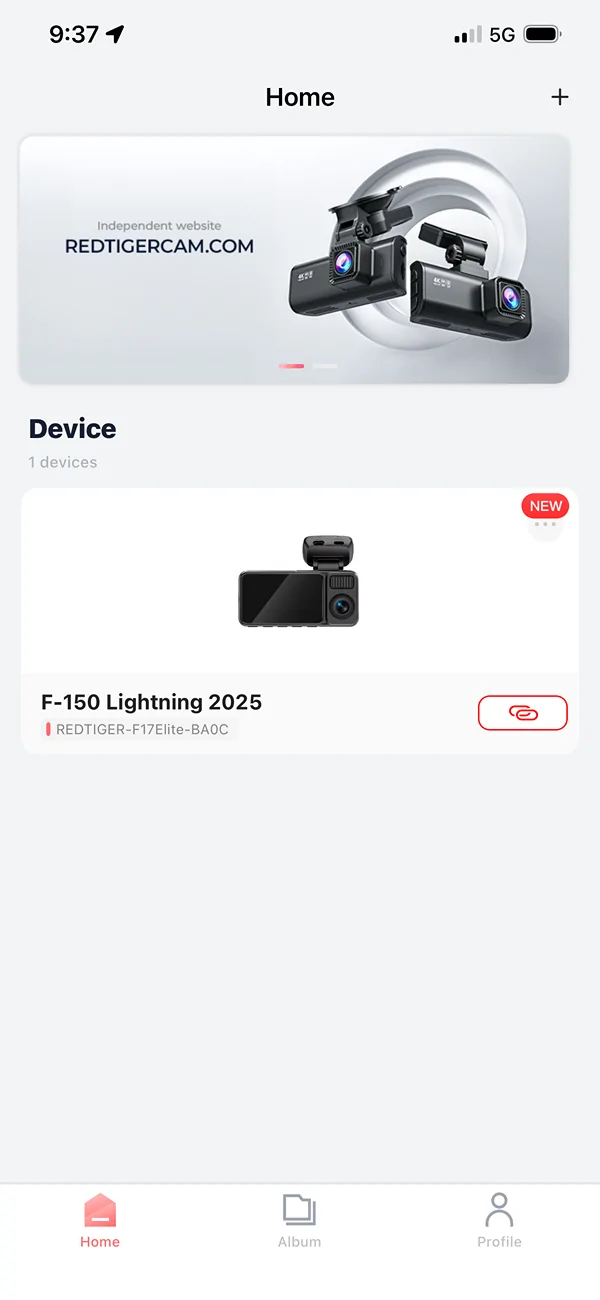
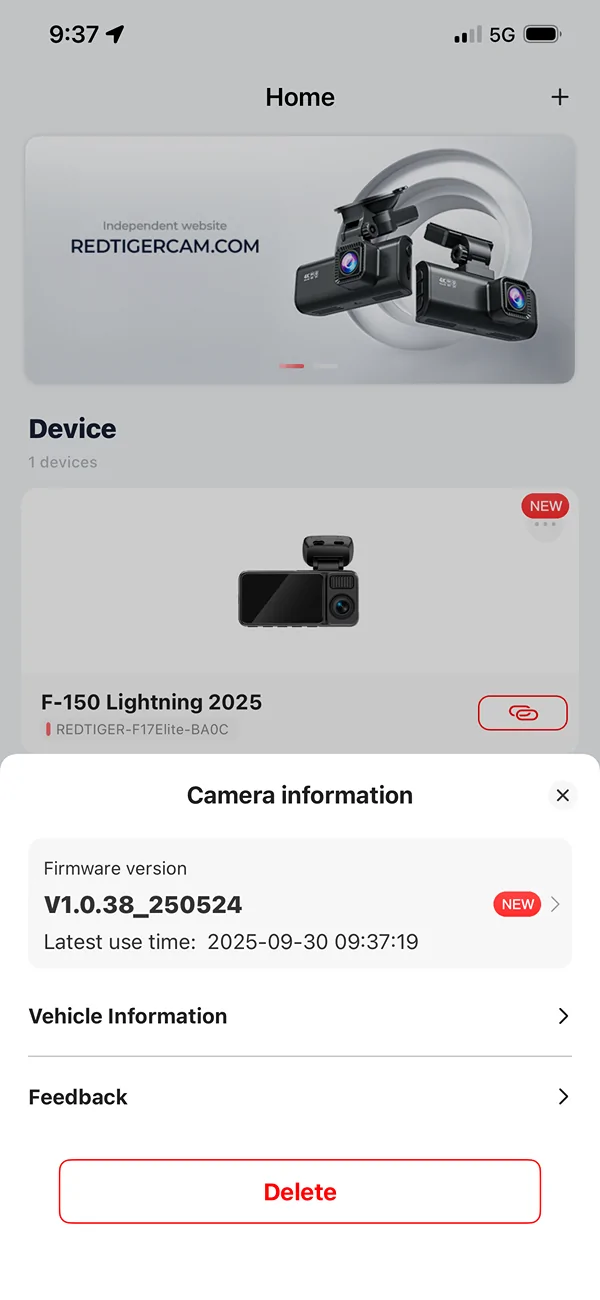
I did install the iPhone version of the app and quickly connected to the dashcam via its WiFi connection. I was able to see the cameras and recorded files.
When I have more time with the app and the dashcam itself I'll tweak the settings and report my findings here in this review.
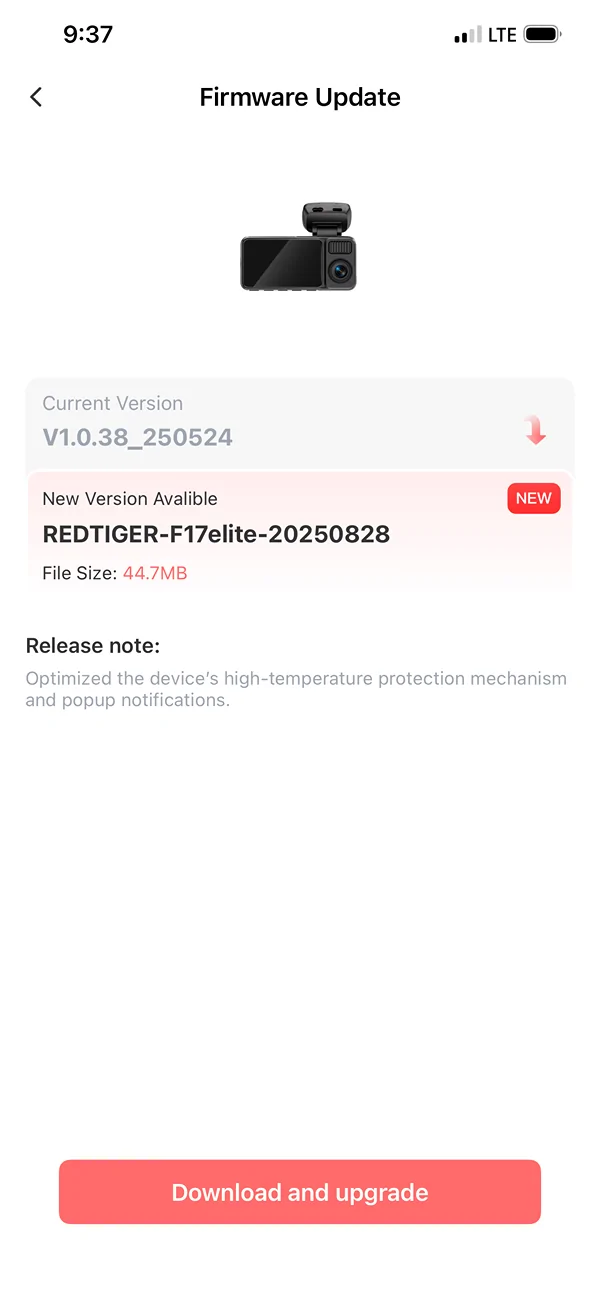
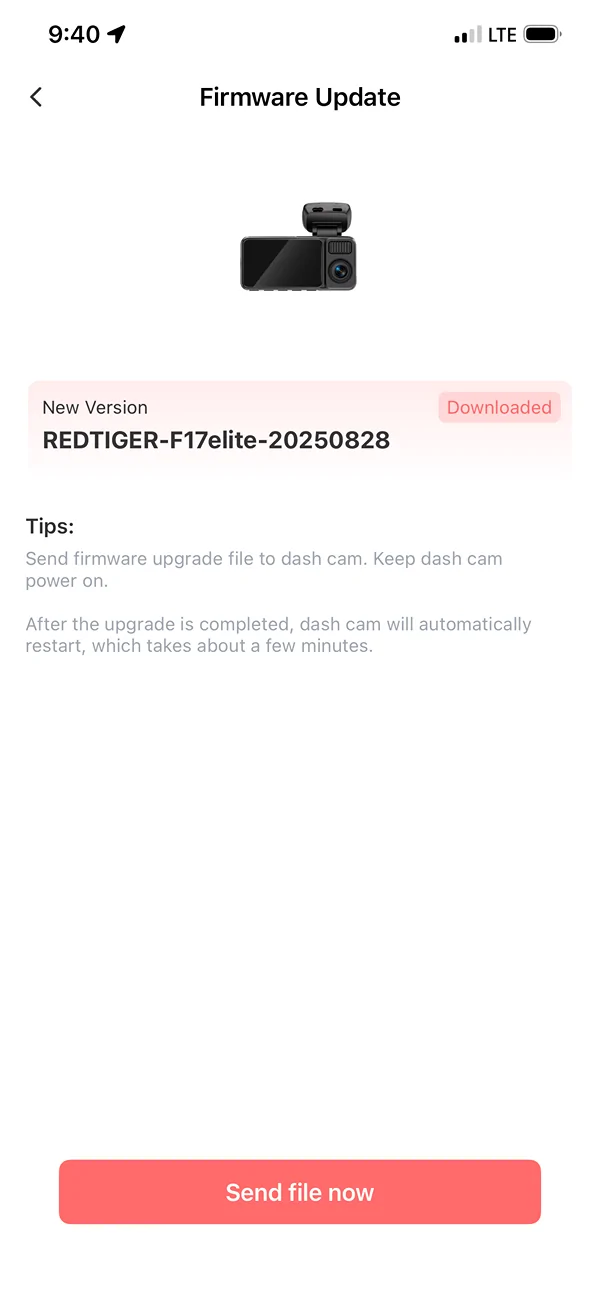
Additional updates (links to other posts in this thread):
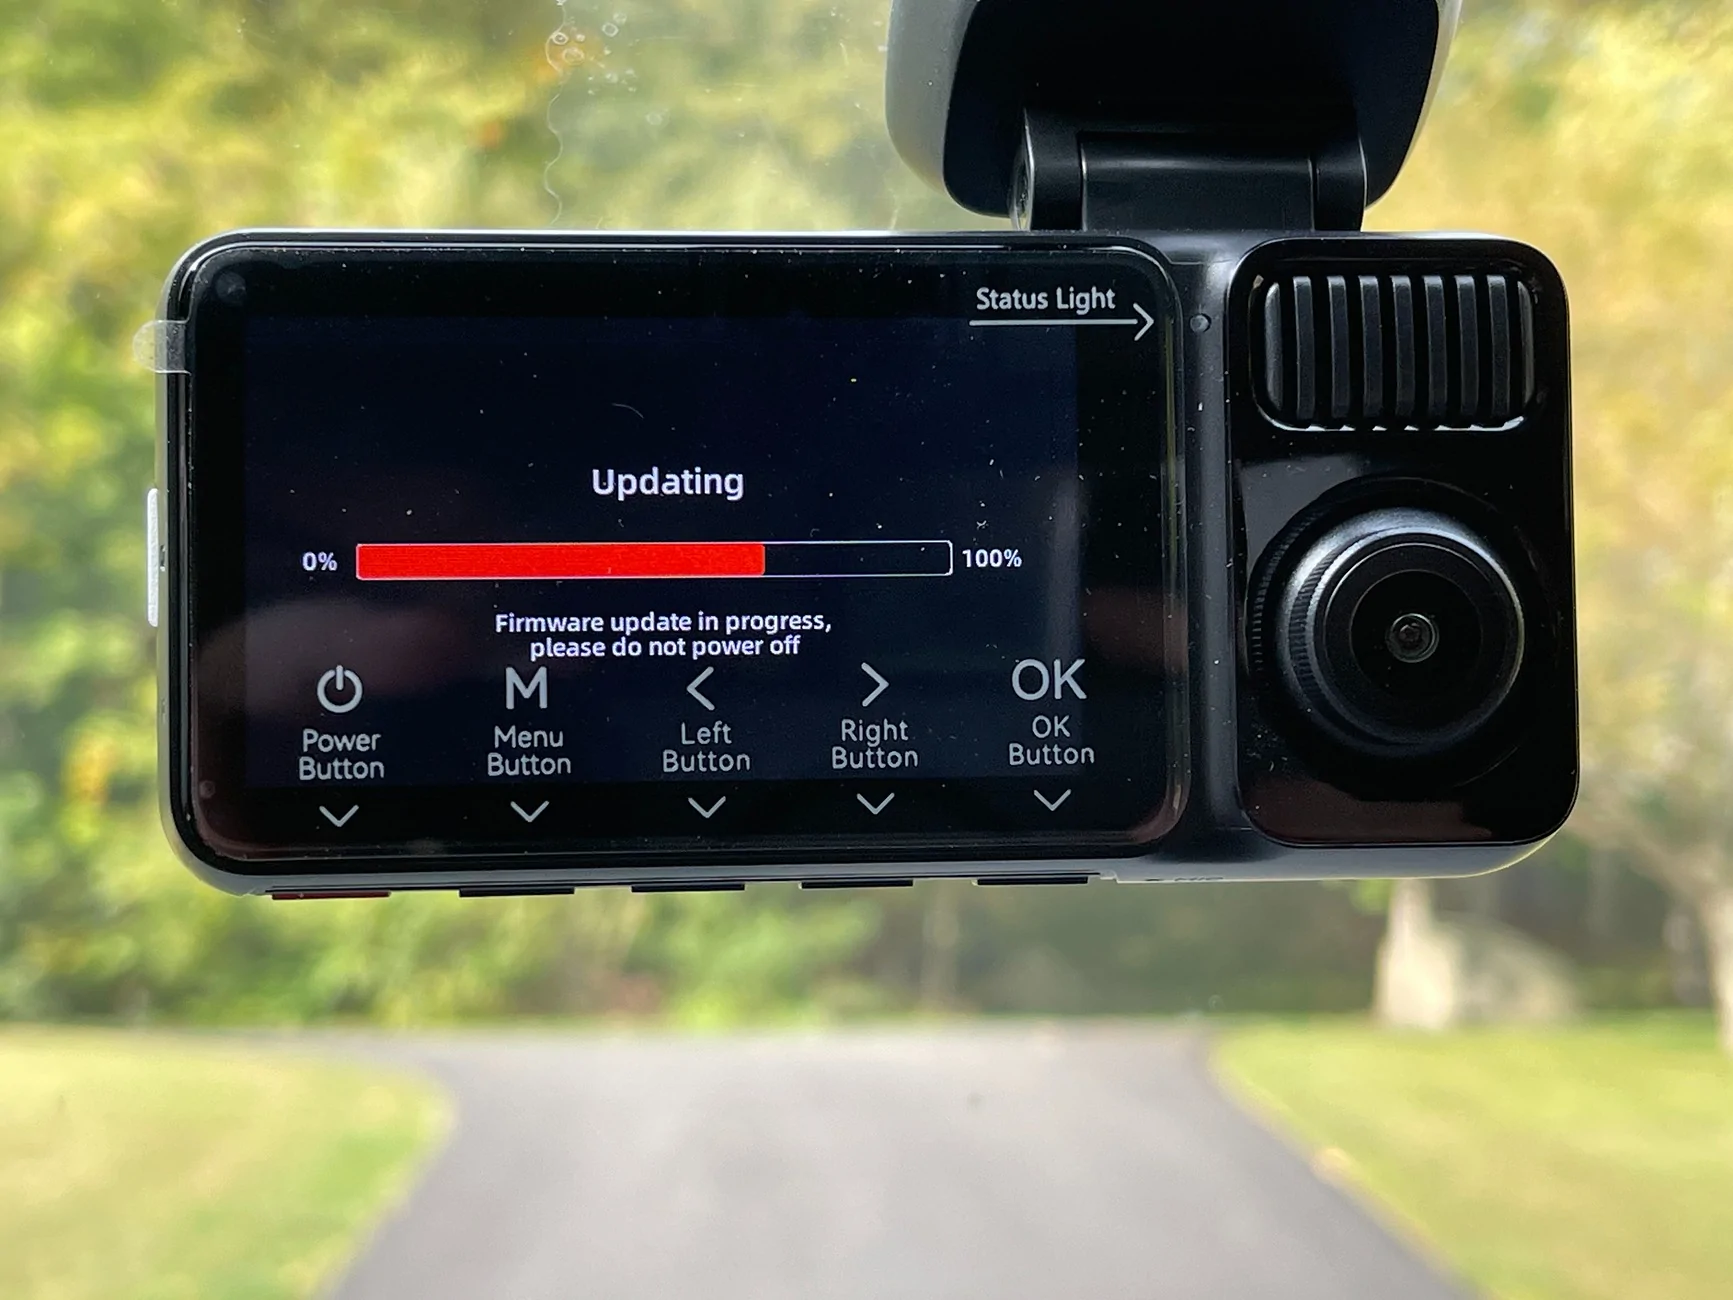
- Firmware Update Process (https://www.f150lightningforum.com/...ite-installation-and-review.31168/post-576228)
Notes:
- I've never used a dashcam before, so I don't have any firsthand experience to compare to
- Usually, I don't do much to my vehicles, but for my new 2025 F-150 Lightning (Lariat) I'm doing a bunch of different things
Details
REDTIGER F17 Elite 4K 3 Channel Dash Cam Sony STARVIS 2 Dual HDR WIFI 6 Full Night Color
- Native 4K:4K+1080P+2.5K 3-Channel
- 10X Faster WiFi 6 (5.8 GHz):Max 30M/s.
- Night as Day :Offering 24/7 Ultra-color
- Always Clear:Dual STARVIS 2 with HDR
The F17 Elite arrived via U.S. Postal Services a few days before the expected date. The dashcam and hardwire kit were enclosed in a light-gray plastic shipping bag. After opening I saw that the dashcam box had a small dent in one corner, but there were no issues with any of the contents.
The dashcam was in a box, and the hardwire kit was in a separate bag.
The F17 Elite box is well organized and provides a great "unboxing" presentation. You're first visual is a vellum-like transparent diagram of the F17 Elite dashcam. Lifting that out you're presented with the hardware on the bottom and the instructions and accessories, in three separate boxes, on the top.
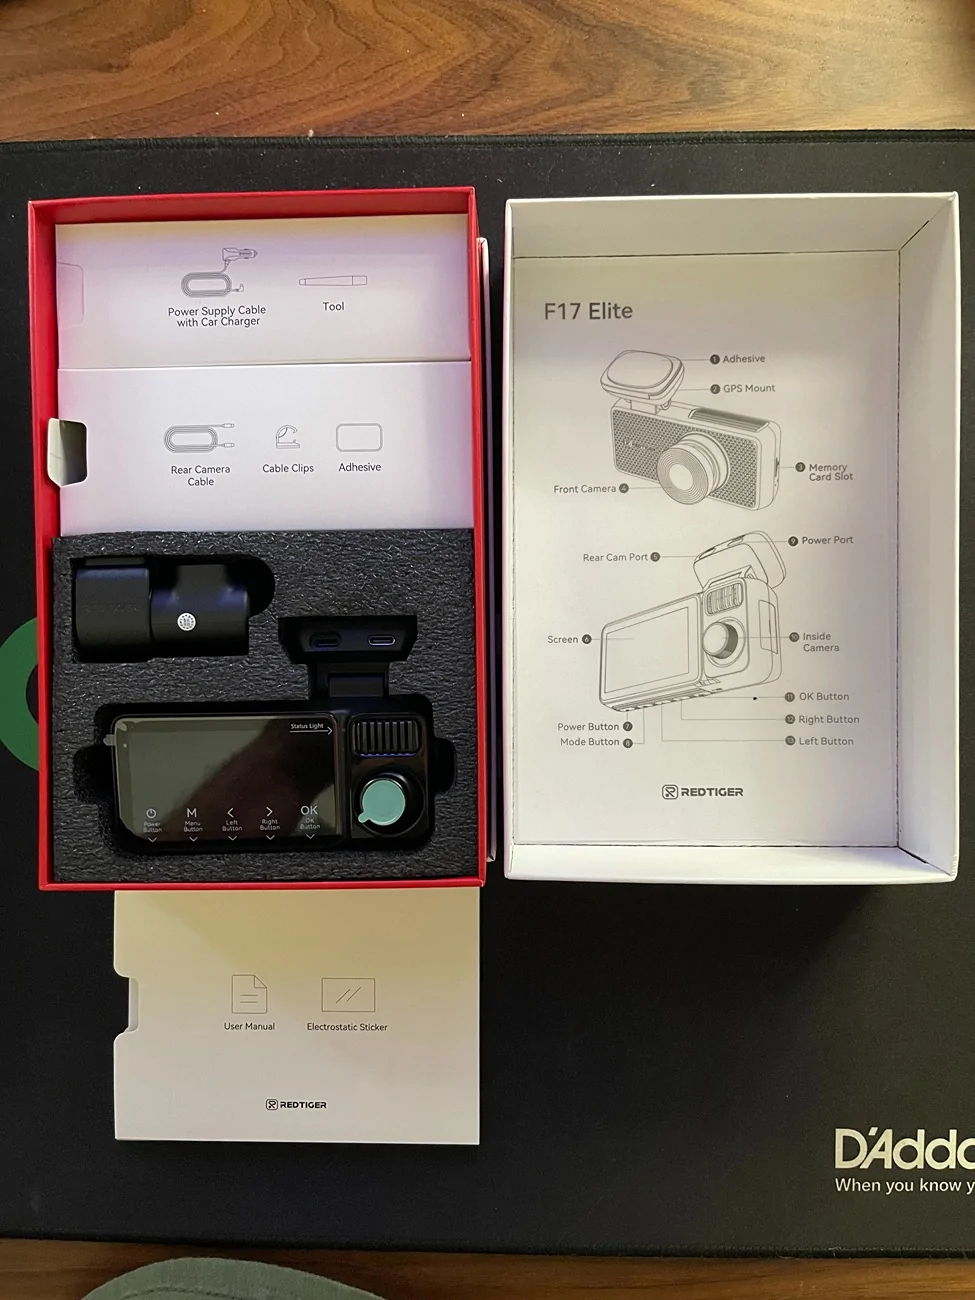
The instruction box contains: F17 Elite User Manual, APP Quick Book, and four electrostatic stickers used for mounting the front and rear dashcams.
The other two boxes contain:
- Power supply cable with car charger and trim push/pry tool
- Rear camera cable, cable clips, and adhesive
I read through the manual and app booklet quickly to get an initial handle of what everything was and to prepare for the installation a day or two later.
Installation
Before beginning the installation using the hardwire kit, I tested the cameras using the included power supply cable. At first, I just plugged in the front/cabin dashcam (the main unit) and turned it on. It came up with no issues and started recording on the included 128GB SD card. I then plugged in the rear camera and that became active.
Hardwire Kit
I opened up the hardwire kit and quickly read that manual. The hardwire kit includes a voltage sensor, with display, that you can set to automatically turn off the camera in undervoltage situations. I set this to 12.4V. This is handy if you use the "parking mode" and will keep the dashcam from depleting/draining your battery. This kit also includes eight different size fuse taps, a trim tool, and a piece of adhesive that you could use to mount the voltage sensor box.
Wiring
I mounted the front/cabin dashcam in the center of the windshield, just below the mirror. I may go back at some point and move it even a little bit further down; I can see 85-90% of the camera unit, but the bottom of the mirror obscures the top edge.
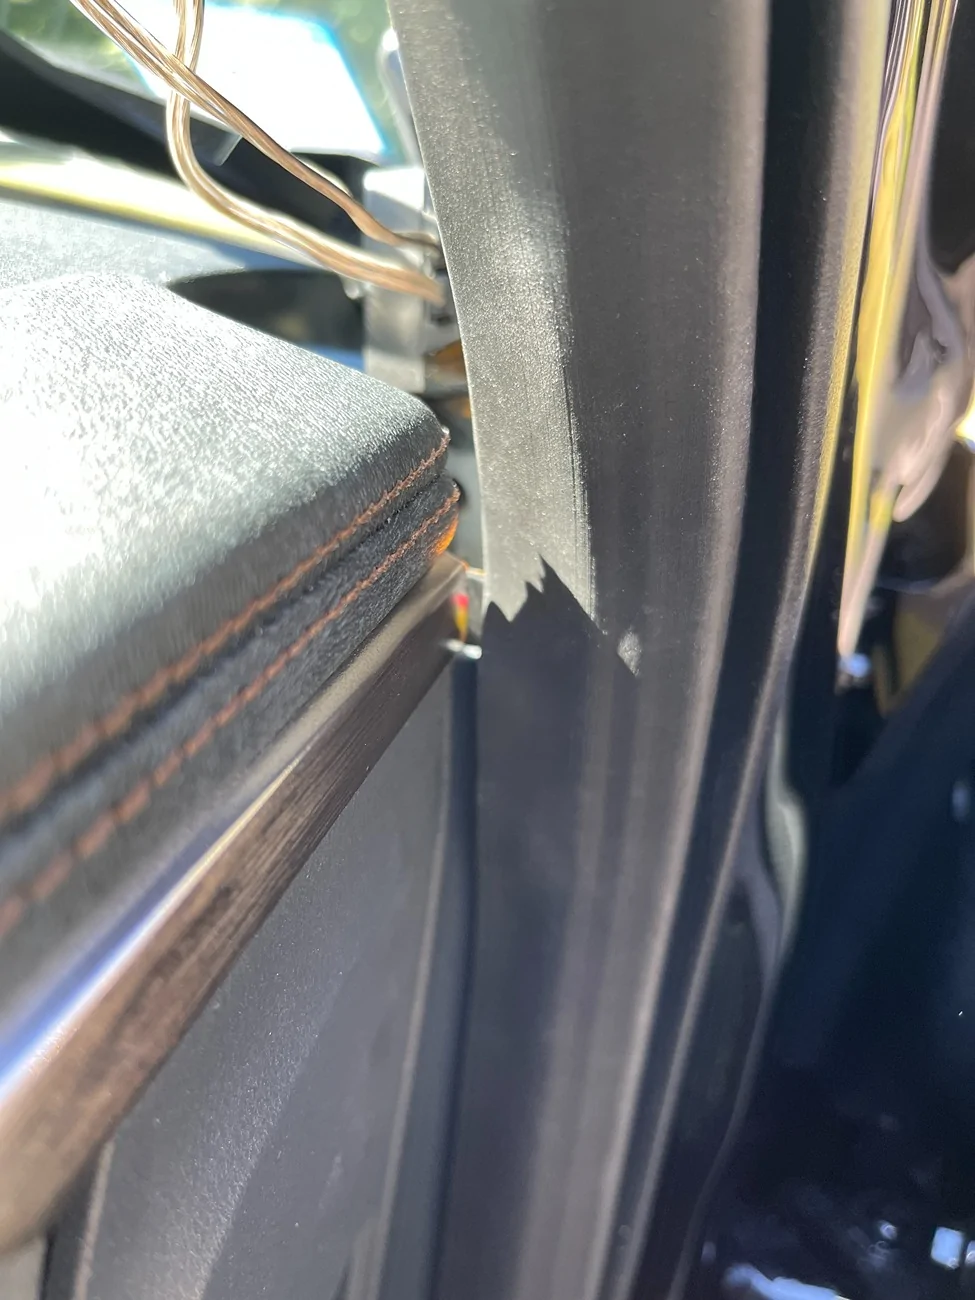
The power cable from the hardware kit was plugged into the camera and then tucked into the plastic of the overhead/mirror unit. From there it went into the headline to the passenger side A pillar.
Taking off the A pillar was easy for me as I'd already done it to install new tweeters when I upgraded to Alpine speakers. You just take a small pry tool, insert it into the hole at the bottom of the grab rail, and gently pull the plastic insert out. Do it carefully so you don't scratch the trim piece. Once you start to get it out you can just pull it the rest of the way out -- be careful as the top part is connected with a little piece so it will hang in place. One you remove the insert you get access to two 10mm bolts. When those are taken out you can just pull down on the grab rail, and the A pillar trim will pop off/out. NOTE: Don't pull it too hard as the tweeter is connected and you may break the wiring. If needed, you can disconnect the tweeter wire and set the trim piece aside. I just stuck it on the dashboard while I continued.
I continued by running the hardwire kit power supply wire down the A pillar, behind the metal airbag supports, where I tucked the voltage sensor alongside the Alpine crossover circuit box. It was a tight fit, but both fit. If you don't have a crossover there, you'll have plenty of room. I did NOT use the adhesive on the voltage sensor.
The wire then continues down behind the weather stripping to the passenger footwell. I used the trim tool to push the bottom panel seam so I could get the wire into the fuse box area.
I used the appropriately sized fuse tap in the following locations:
- #4 for constant 12V (the yellow wire to B+)
- #17-18 slot (red wire to ACC) - Note: The 17-18 slot is a MICRO3 slot; I used the MICRO2 tap and used the side closest to the 17/middle. Instead of using the original 7.5 fuse in the fuse tap I put in an extra 20A in that spot for the tap. The original fuse I put in a baggie in the glove box.
Both these locations are marked as "SPARE" in the Lightning manual and have fuses in those positions. Thanks to @Zprime29 and his review for pointing me in the initial direction.
The black wire for ground I put on the bolt in the top right corner of the footwell (I may move this to one of the bolts closer to the fuse box, but it's really tight in there/weird angle).
My first issue was determining which fuse was actually 12V constant vs Accessory. My second issue was that I broke one of the original 20A MICRO2 fuses when trying to move it around/test the fuse taps (really tight fit!!!), so I had to go to a couple different stores before I found the right replacement. While I was out, I bought a circuit tester which made life easier.
NOTE: While I was working through the actual wire connections, I tested the power to the main dashcam. I noticed while doing so that the voltage sensor showed the voltage, "ACC", and a countdown timer (60 seconds). So, it all seemed to be working as expected.
To wire in the rear camera I ran the cable up into the overhead/mirror trim; there's an empty hole there that makes getting the initial bit of wire in easier. Then across the headliner to the Driver's A pillar, down to the floor, through the kick trim channel, and to the back of the truck. There wasn't enough wire to go all the way up to the rear window headliner, so the cable comes out about halfway up and then angles to where I have the camera.
If I ever decide to move the main unit (as noted above) I might re-route the read camera cable and just go headliner all the way back.
Usage
I haven't had a lot of time in the truck since installing the Redtiger F17 Elite, but what time I've had so far, it's easy to use. The controls are straightforward and intuitive. I did a couple short trips with the included 128GB SD card while I waited for a 512GB card to arrive from Amazon.
IMPORTANT NOTE: Don't do what I did!!! When the Amazon 512GB SD card arrived, I went to put it in. Easy peasy right? Just use a finger nail to slightly push in the original and let the spring pop it out. Then insert the new one. I went to put in the new one, was stretching my arm to get to it, pushed it in and my hand slipped... the spring EJECTED the card across the dashboard where it landed in the far corner between the windshield and the dash. I could see it from the outside, but there was no way in heck I was getting my hand in there. I ended up having to use some painters tape and a long narrow trim pick tool to fish it out of the crack. I guess I was lucky it didn't end up in some vent hole or completely behind/inside the dash. That would have been a quick waste of money.
The first video I got was pulling out of the driveway. There was a lot of glare picked up from the windshield and sun.
When there's no glare the front camera is very impressive:
The internal cabin and rear cameras are quite good as well:
Some low-light/night views:

Initial Final Thoughts
I plan on updating this review as I get some more experience/time with the dashcam. But initial thoughts are positive. The hardware/packaging is all top quality. Installation went smoothly and pretty quick considering I'd never installed a dashcam before.
The dashcam itself is easy to use/navigate.
I did install the iPhone version of the app and quickly connected to the dashcam via its WiFi connection. I was able to see the cameras and recorded files.
When I have more time with the app and the dashcam itself I'll tweak the settings and report my findings here in this review.
Additional updates (links to other posts in this thread):
- Firmware Update Process (https://www.f150lightningforum.com/...ite-installation-and-review.31168/post-576228)
Sponsored
Last edited: