Can’t you just plug it into the outlets in the frunk? What @Green1 said.
The Weatherman Well-known member First Name Dean Joined Apr 20, 2023 Threads 35 Messages 2,005 Reaction score 2,947 Location South Central KY Vehicles 2022 RR F150 Lightning Lariat ER, 2020 Explorer PL Occupation Retired Aug 16, 2024 #46 Fyatrk said: Can’t you just plug it into the outlets in the frunk? Click to expand... What @Green1 said. Sponsored
Fyatrk said: Can’t you just plug it into the outlets in the frunk? Click to expand... What @Green1 said. Sponsored
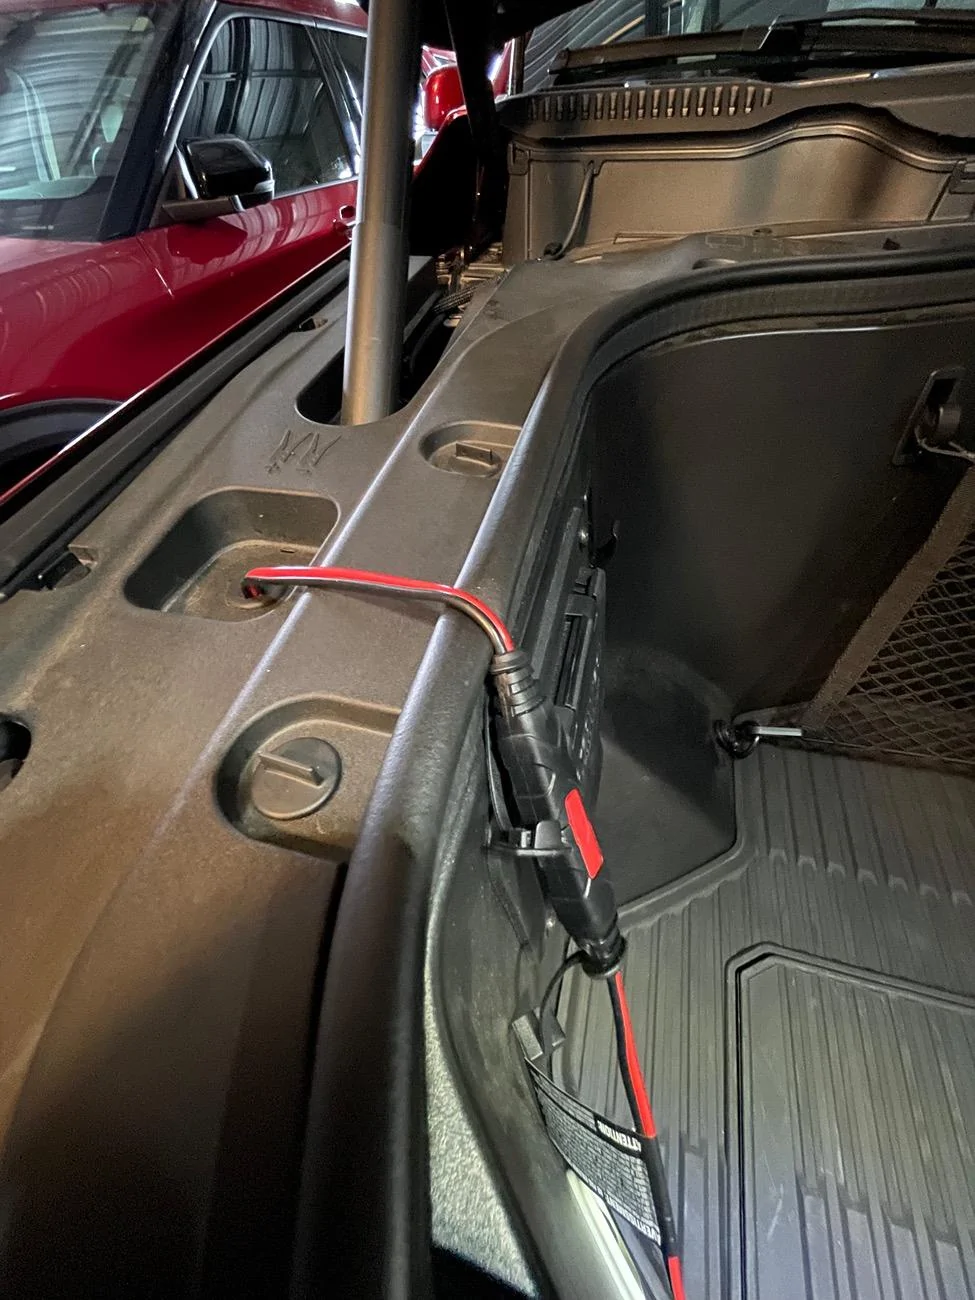
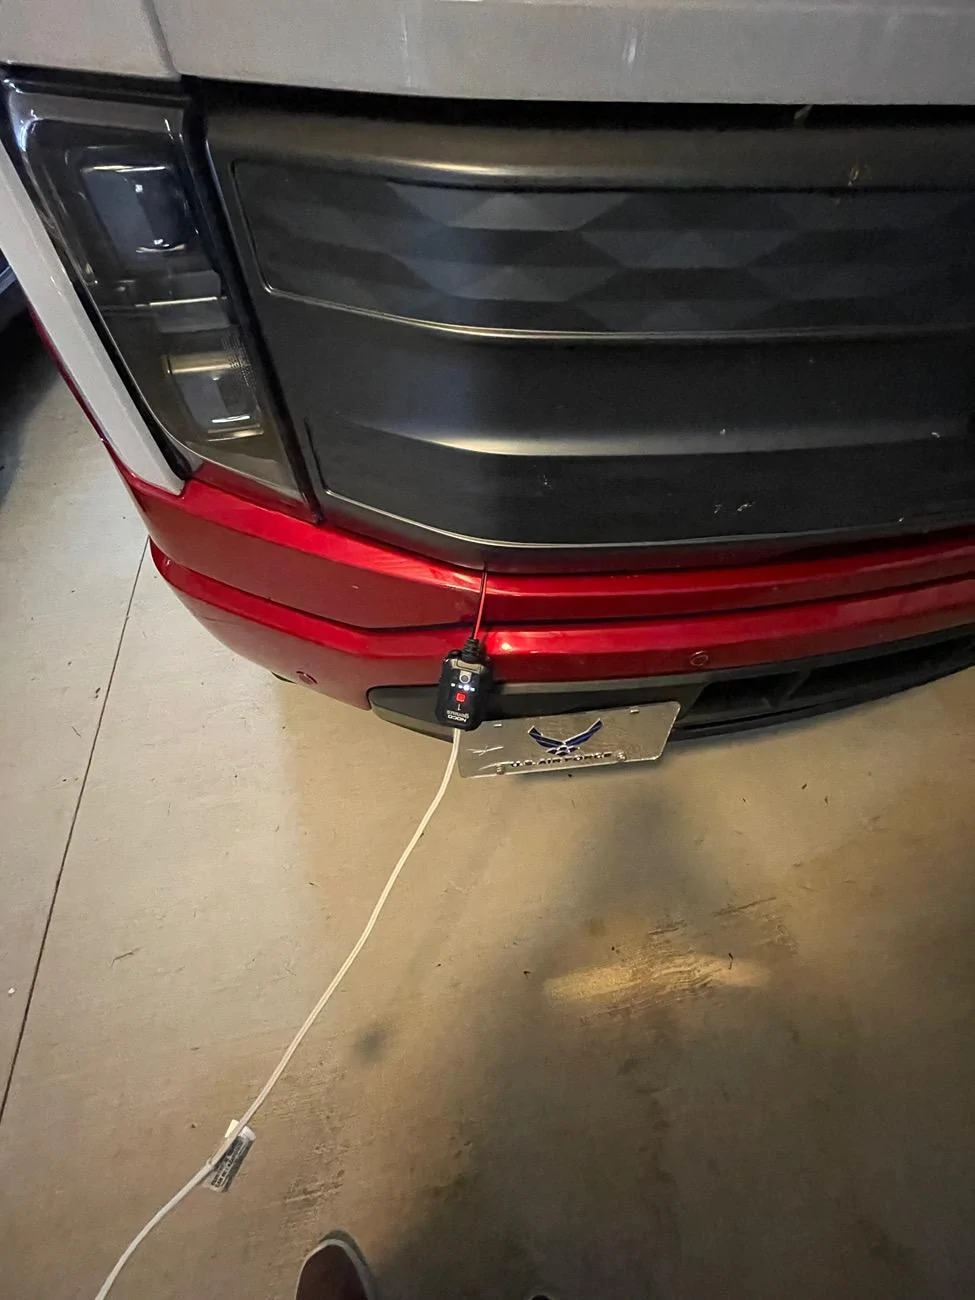
The Weatherman Well-known member First Name Dean Joined Apr 20, 2023 Threads 35 Messages 2,005 Reaction score 2,947 Location South Central KY Vehicles 2022 RR F150 Lightning Lariat ER, 2020 Explorer PL Occupation Retired Aug 16, 2024 #47 I will add that I have not had to use the charger since the BMS system unit was replaced. I would use it again if the truck was going to set for an extended period of time.
I will add that I have not had to use the charger since the BMS system unit was replaced. I would use it again if the truck was going to set for an extended period of time.