

Sponsored

TaxmanHog

Moderator
Moderator
First Name
Noel
Joined
Jan 19, 2022
Threads
240
Messages
16,997
Reaction score
19,353
Location
SE. Mass.
Vehicles
2022 Lightning Lariat-ER, 2024 HD Road Glide CVO-ST
Occupation
Retired
For those who have not seen this new thread :
Ford F-150 Lightning Stick to Rotary Shift Knob Conversion w/ 3D Printed Rotary Shifter Holder icon4
CSP-25B09 Replace Floor Console GSM if you prefer not doing the rotary conversion and have a 2024 & 2025 Lightning.
Sponsored

 

lightning-spark

Active member
Joined
Jan 2, 2025
Threads
0
Messages
26
Reaction score
38
Location
Vancouver, Canada
Vehicles
2023 F150 Lightning Lariat ER
I purchased a rotary shifter that I would like to test but not install. Is there an easy way to remove some trim and get at the connector temporarily so that I can test the replacement shifter? Thanks in advance for any help! :giggle:
 

The Weatherman

Well-known member
First Name
Dean
Joined
Apr 20, 2023
Threads
35
Messages
2,026
Reaction score
2,982
Location
South Central KY
Vehicles
2022 RR F150 Lightning Lariat ER, 2020 Explorer PL
Occupation
Retired
@lightning-spark

Yes. But you will have to leave the trim open while testing.
 
Last edited:

The Weatherman

Well-known member
First Name
Dean
Joined
Apr 20, 2023
Threads
35
Messages
2,026
Reaction score
2,982
Location
South Central KY
Vehicles
2022 RR F150 Lightning Lariat ER, 2020 Explorer PL
Occupation
Retired
What do you mean level the trim? Can I just remove the drivers side trim and have enough access? Thanks
No, I don’t think so. It’s a tight fit with little room to remove the connector unless you pull the GSM out first. But hey, you might have small enough hands to do it, but my hands are pretty big.
 

Sponsored

bmwhitetx

Well-known member
First Name
Bruce
Joined
May 21, 2021
Threads
48
Messages
3,228
Reaction score
4,690
Location
DFW-Texas
Vehicles
2022 F150 Lightning Lariat ER
Occupation
Retired engineer

OtterJohn

Well-known member
First Name
John
Joined
Jul 31, 2023
Threads
6
Messages
181
Reaction score
212
Location
Philomath, OR
Vehicles
2023 Ford F-150 Lightning Lariat ER
Pulled the trigger this afternoon: ordered the ABS version of the Etsy tub, and the Escape shifter via eBay link others have had success with. Probably be end of August before I get everything, but that's fine...but I'm looking forward to this changeover. :)
 

VAL.ABAPO

Well-known member
Joined
May 16, 2025
Threads
5
Messages
63
Reaction score
33
Vehicles
2025 F150 FLASH LIGHTNING 131kwh ER
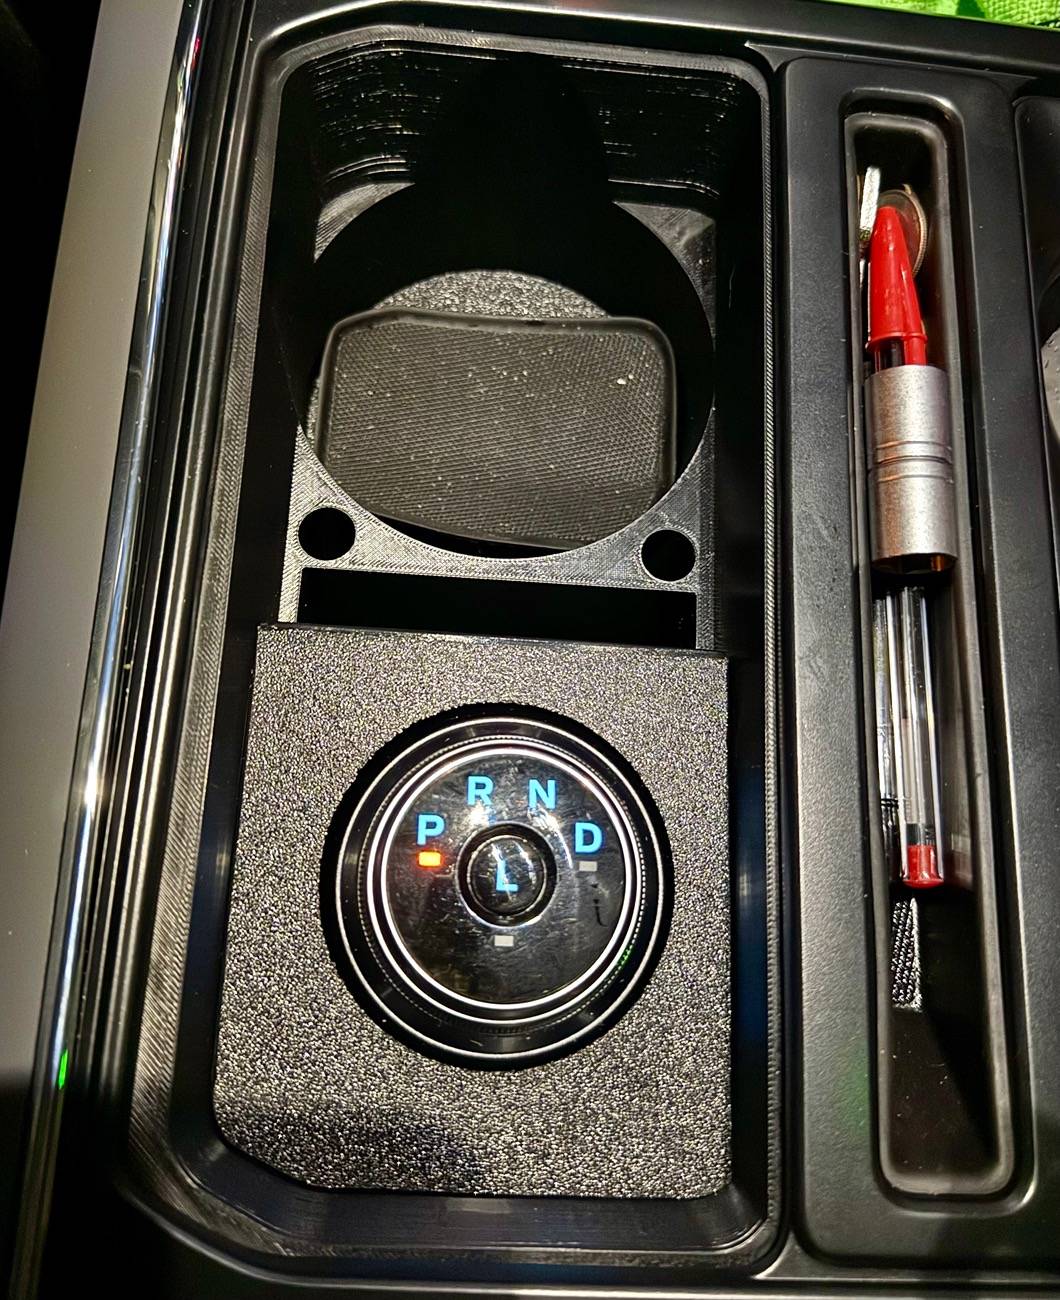
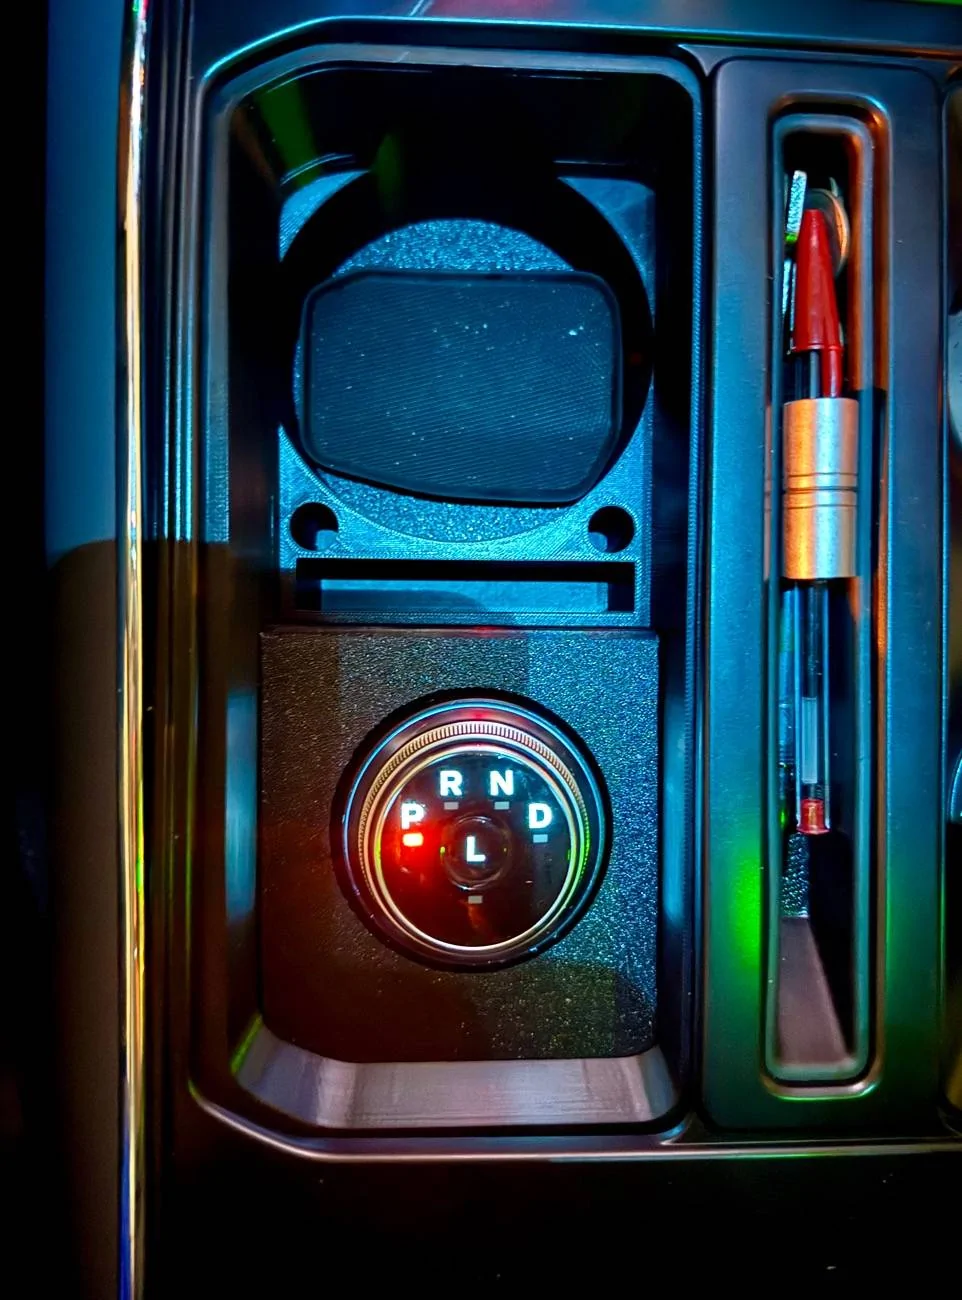
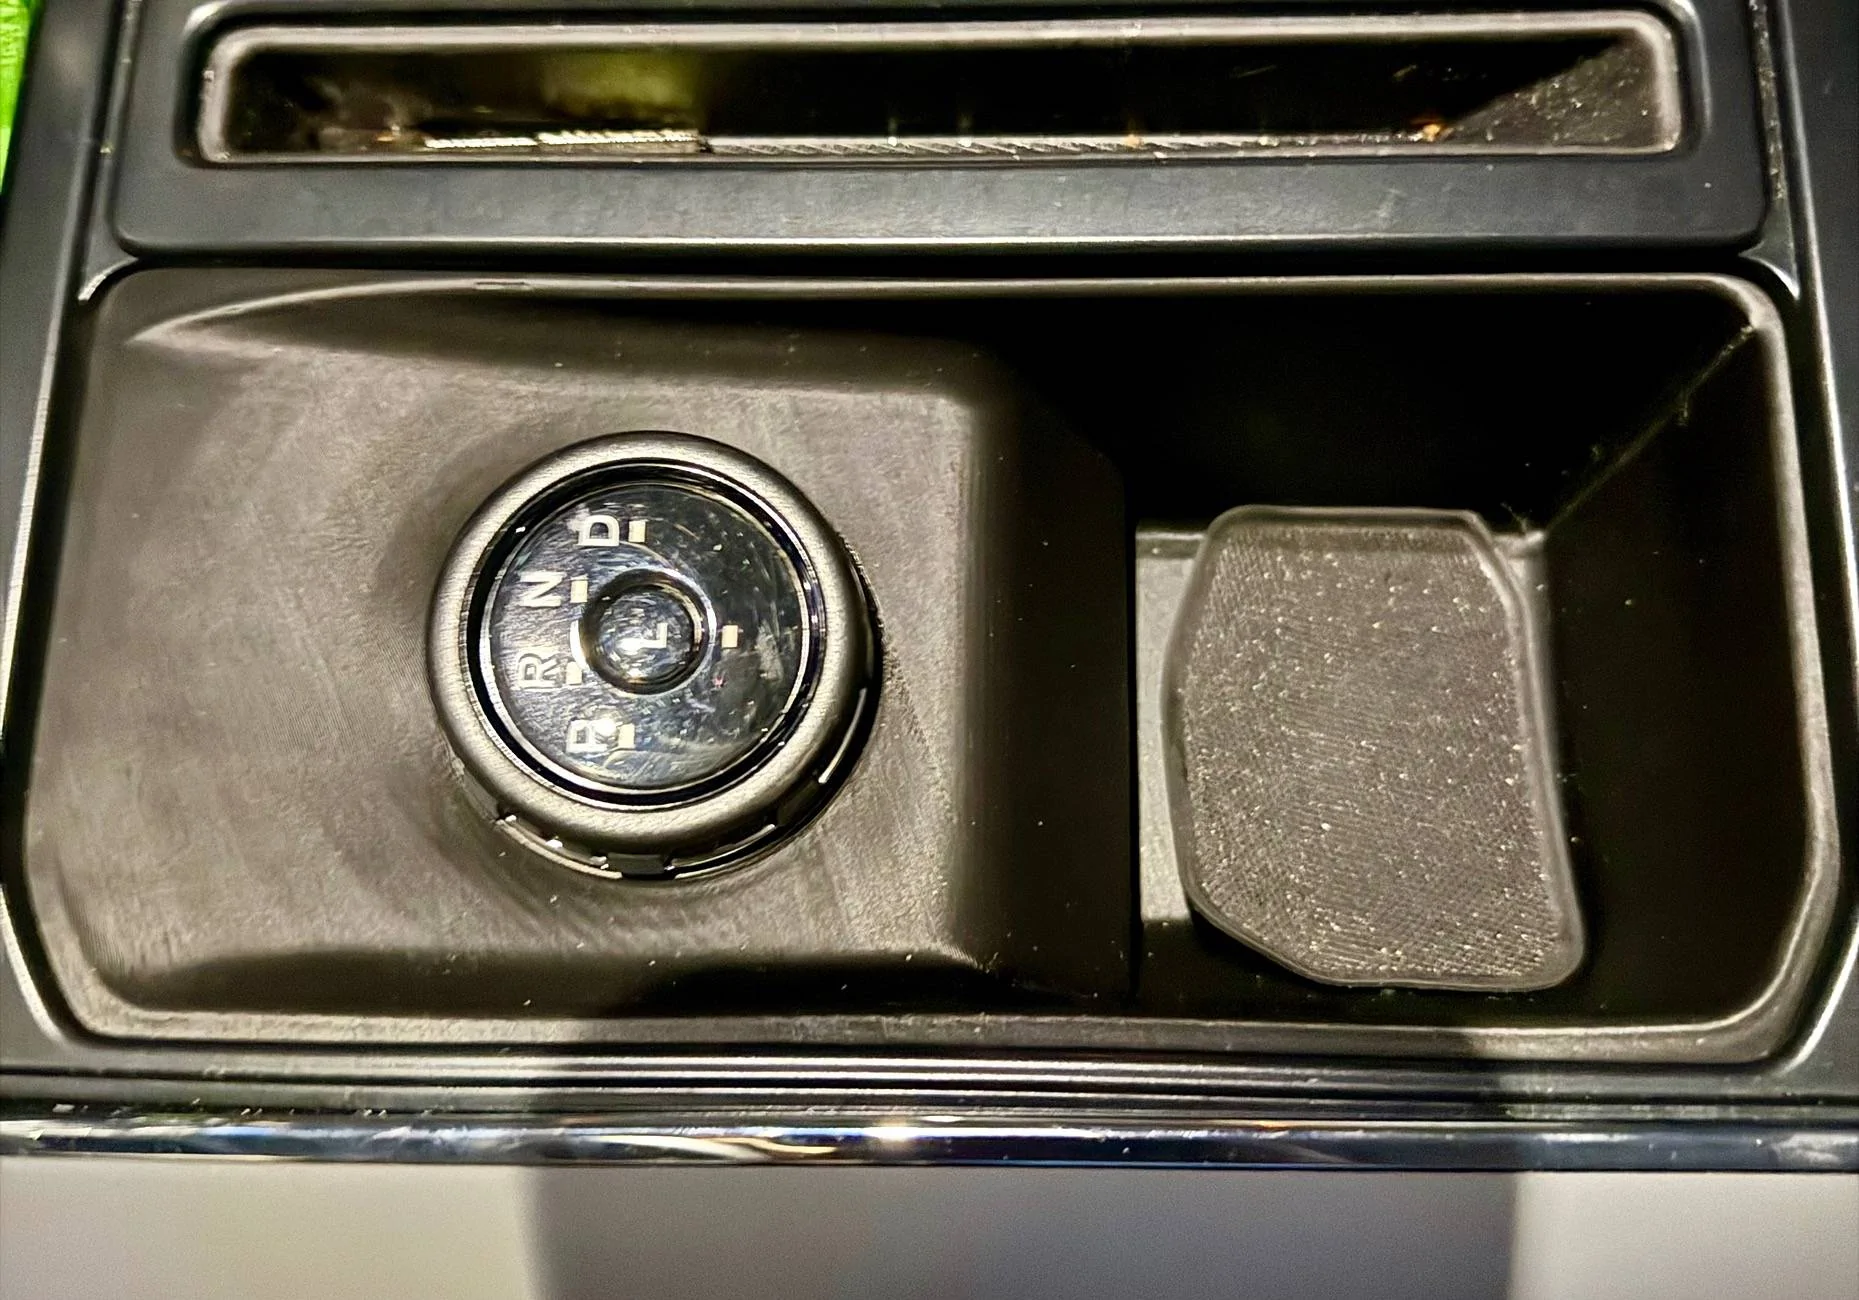
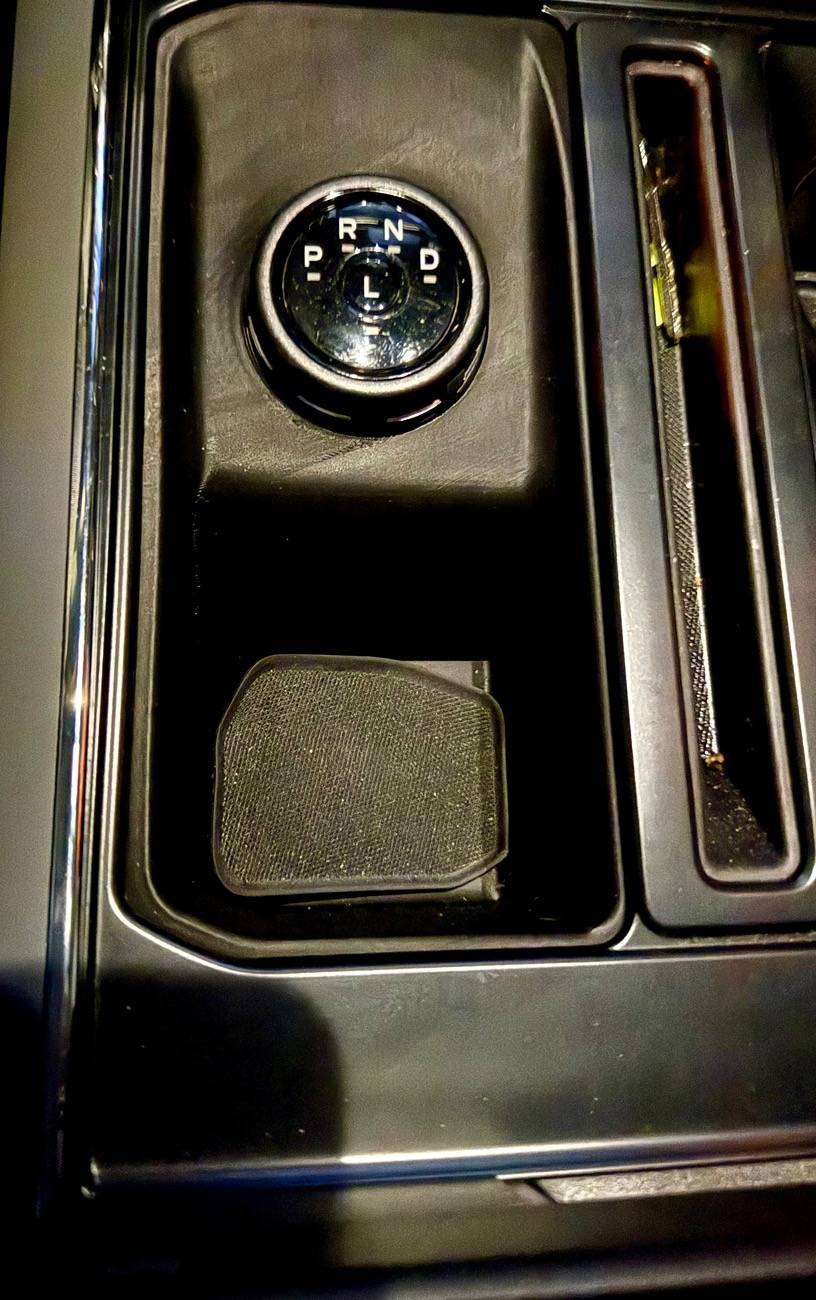
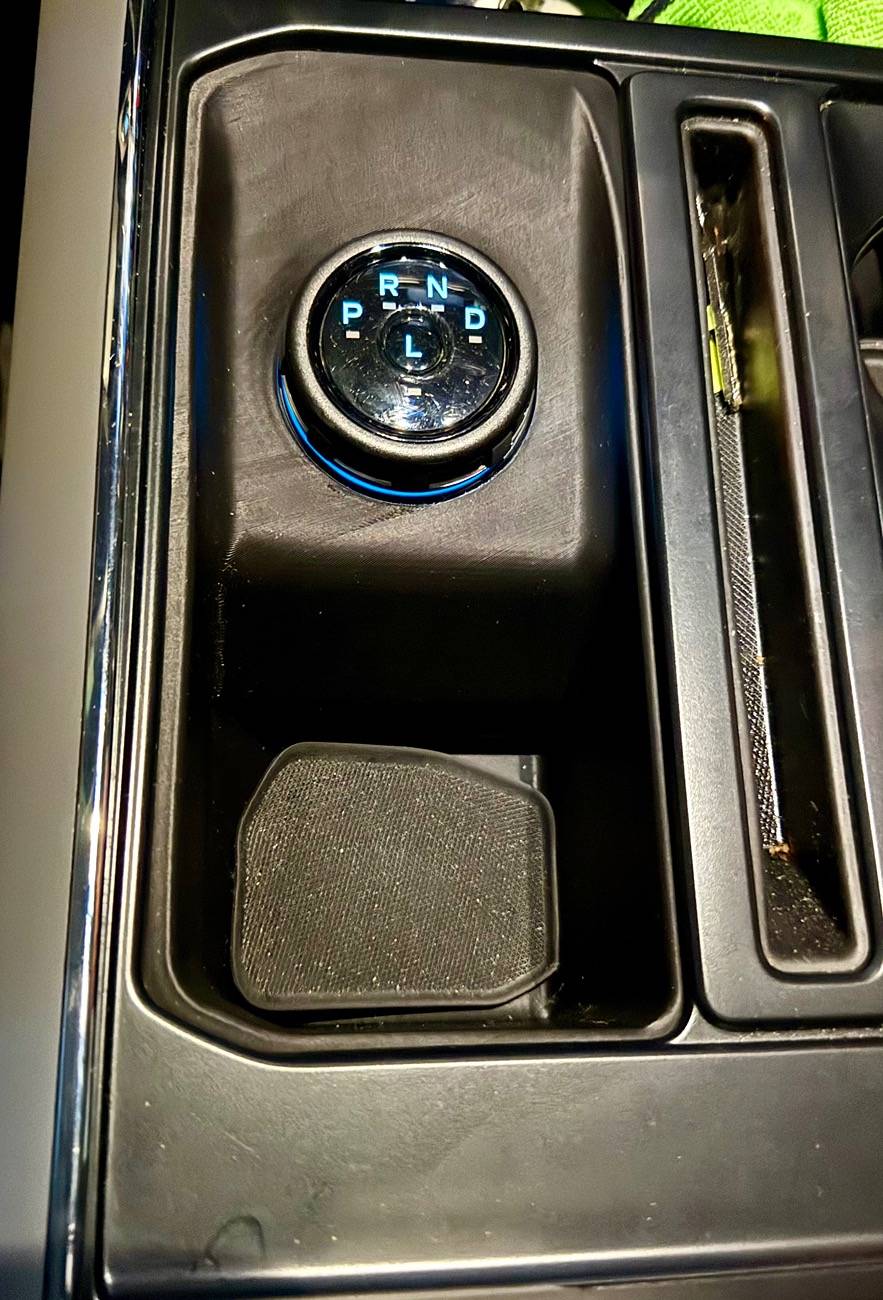
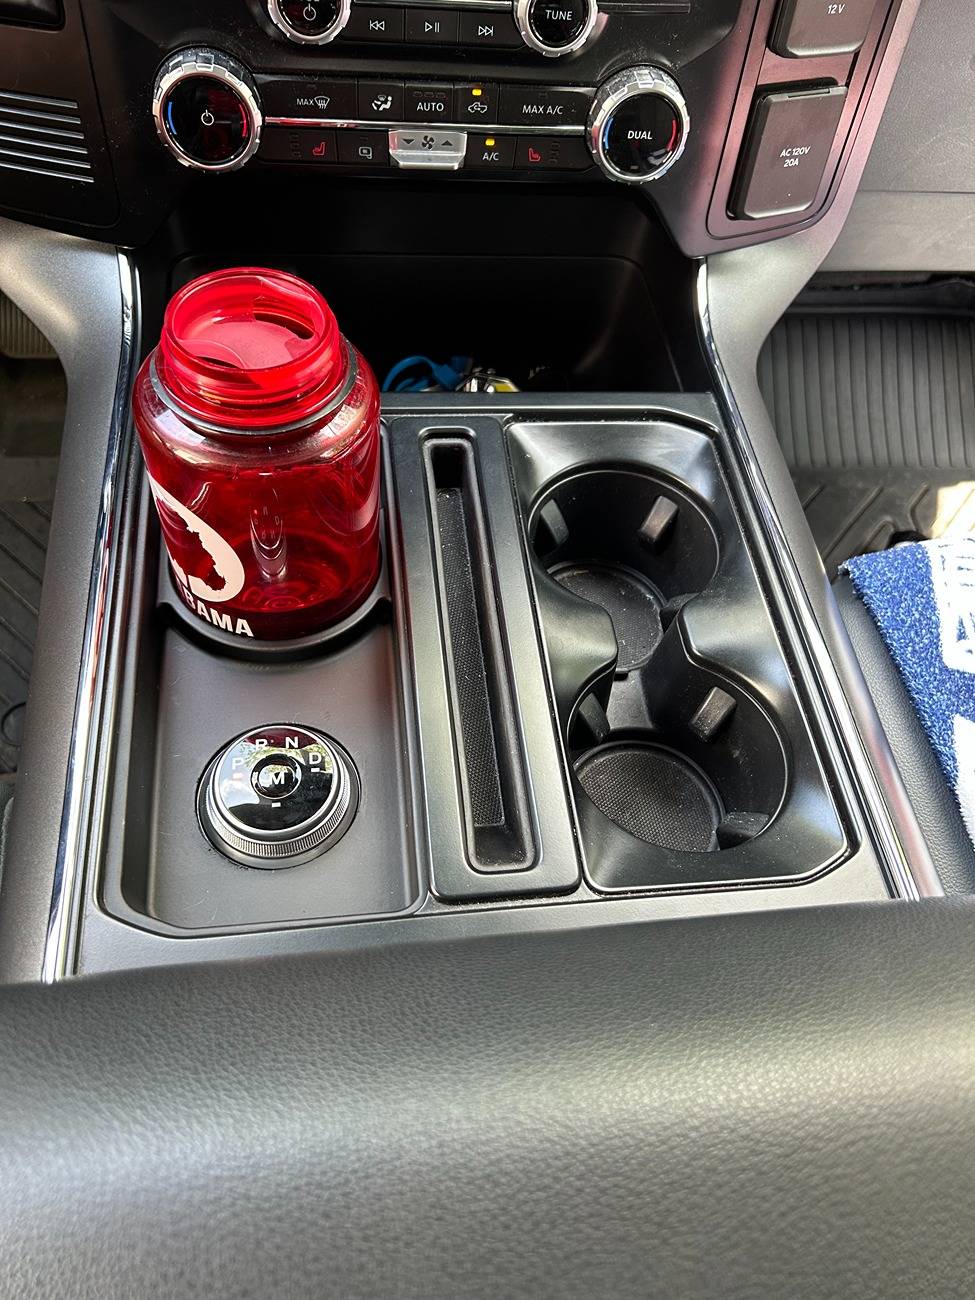
Just installed my version today and it worked great. I've got a handful of people to thank that made this possible.

@jmyer72 thanks for the initial idea and the link to the shifter on ebay.
@asianman35 huge thanks for printing this out for me after I was unable to print this on my own printer. He printed and shipped this thing in no time.
@ENDianDigital thanks for posting the original file on Thingiverse. I modified it to fit my Nalgene and it worked out perfectly.

I'm happy to share my version if anyone wants it.

Very happy with how it turned out!

IMG_1747.jpeg
IMG_1746.jpeg
Which rotary shifter did you get? Im using the same bin design. TIA.
 

Coachmrj

New member
First Name
Melvin
Joined
Mar 25, 2025
Threads
0
Messages
3
Reaction score
7
Vehicles
2024 Ford Lightning XLT SR
Occupation
Teacher/Coach
I got started with an assist on the print from @Drayday55 for the rear-seated tub with a large cupholder in the front, and have just made an upgrade after purchasing my own larger printer and grabbing the Bronco Sport shifter! I enjoy the way everyone is keeping the thread fresh with remixes of the original. I now have my first complete install and some printed bins that I didn't use while getting the print done. If anyone needs a hand, like I was given, just DM me. I printed mine in PLA+ because ABS went stringy on me ( I didn't have the dryer on the filament and wasted 18 hours). I did increase the walls in the build for more strength and changed the supports away from the tree style to the accordion. I haven't had any problems with the East Texas heat over 100 degrees so far.

Ford F-150 Lightning Stick to Rotary Shift Knob Conversion w/ 3D Printed Rotary Shifter Holder IMG_2934


Ford F-150 Lightning Stick to Rotary Shift Knob Conversion w/ 3D Printed Rotary Shifter Holder IMG_2933


Ford F-150 Lightning Stick to Rotary Shift Knob Conversion w/ 3D Printed Rotary Shifter Holder IMG_3126


Ford F-150 Lightning Stick to Rotary Shift Knob Conversion w/ 3D Printed Rotary Shifter Holder IMG_3125


Ford F-150 Lightning Stick to Rotary Shift Knob Conversion w/ 3D Printed Rotary Shifter Holder IMG_3123
 

Sponsored

jeff_h

Well-known member
First Name
Jeff
Joined
May 5, 2024
Threads
4
Messages
85
Reaction score
135
Location
WV
Vehicles
2023 F-150 Lightning XLT ER
Occupation
Paint-Drying Observer
I have one with round cup holder and found the below 2-pack for $4, used the black one (wife was happy to have the green one in kitchen for opening jars) and cut the diameter down about 1/4" at at time until it fit nice and snugly. Now the screw head (mine has one of the screws there) is covered, the rubber piece is snug in there and doesn't get stuck to the bottom of coffee mug, and if it needs cleaning it's easy to reach in and grab and remove and wipe down with cleaner as needed.

https://www.walmart.com/ip/Silicone-Jar-Openers-2-Pack/5605934707
 

HisSvt2

Member
First Name
Joseph
Joined
Jul 10, 2025
Threads
0
Messages
16
Reaction score
4
Vehicles
2023 F150 Lightning 2024 Mustang Mach-E
Occupation
Admin
I asked before but haven’t seen yet in any videos , if anyone with an XLT with the smaller infotainment screen has done this and has the exact proper removal procedure for trim pieces it would be greatly appreciated these trim pieces are quite expensive so I don’t want to break anything. Thanks
 

Coachmrj

New member
First Name
Melvin
Joined
Mar 25, 2025
Threads
0
Messages
3
Reaction score
7
Vehicles
2024 Ford Lightning XLT SR
Occupation
Teacher/Coach
I asked before but haven’t seen yet in any videos , if anyone with an XLT with the smaller infotainment screen has done this and has the exact proper removal procedure for trim pieces it would be greatly appreciated these trim pieces are quite expensive so I don’t want to break anything. Thanks
I have the XLT. Side pieces to the console with the non-marring pry tools first. Then work the trim piece from the door/glove box back to the start button, being careful not to let too much strain rest on the trim piece or your start button wires when it's popped out. Next, unbolt the radio bezel screws; then pop up the console cover piece and unplug the cupholder. From there, use your tools to unscrew the bolts holding the tub/shifter.

That's just a quick explanation. Reverse the steps after installing your new setup and reseating everything with the screws/bolts and clips.
 

HisSvt2

Member
First Name
Joseph
Joined
Jul 10, 2025
Threads
0
Messages
16
Reaction score
4
Vehicles
2023 F150 Lightning 2024 Mustang Mach-E
Occupation
Admin
I have the XLT. Side pieces to the console with the non-marring pry tools first. Then work the trim piece from the door/glove box back to the start button, being careful not to let too much strain rest on the trim piece or your start button wires when it's popped out. Next, unbolt the radio bezel screws; then pop up the console cover piece and unplug the cupholder. From there, use your tools to unscrew the bolts holding the tub/shifter.

That's just a quick explanation. Reverse the steps after installing your new setup and reseating everything with the screws/bolts and clips.
That’s perfect thanks that was my biggest question that big silver trim piece.
 

The Weatherman

Well-known member
First Name
Dean
Joined
Apr 20, 2023
Threads
35
Messages
2,026
Reaction score
2,982
Location
South Central KY
Vehicles
2022 RR F150 Lightning Lariat ER, 2020 Explorer PL
Occupation
Retired
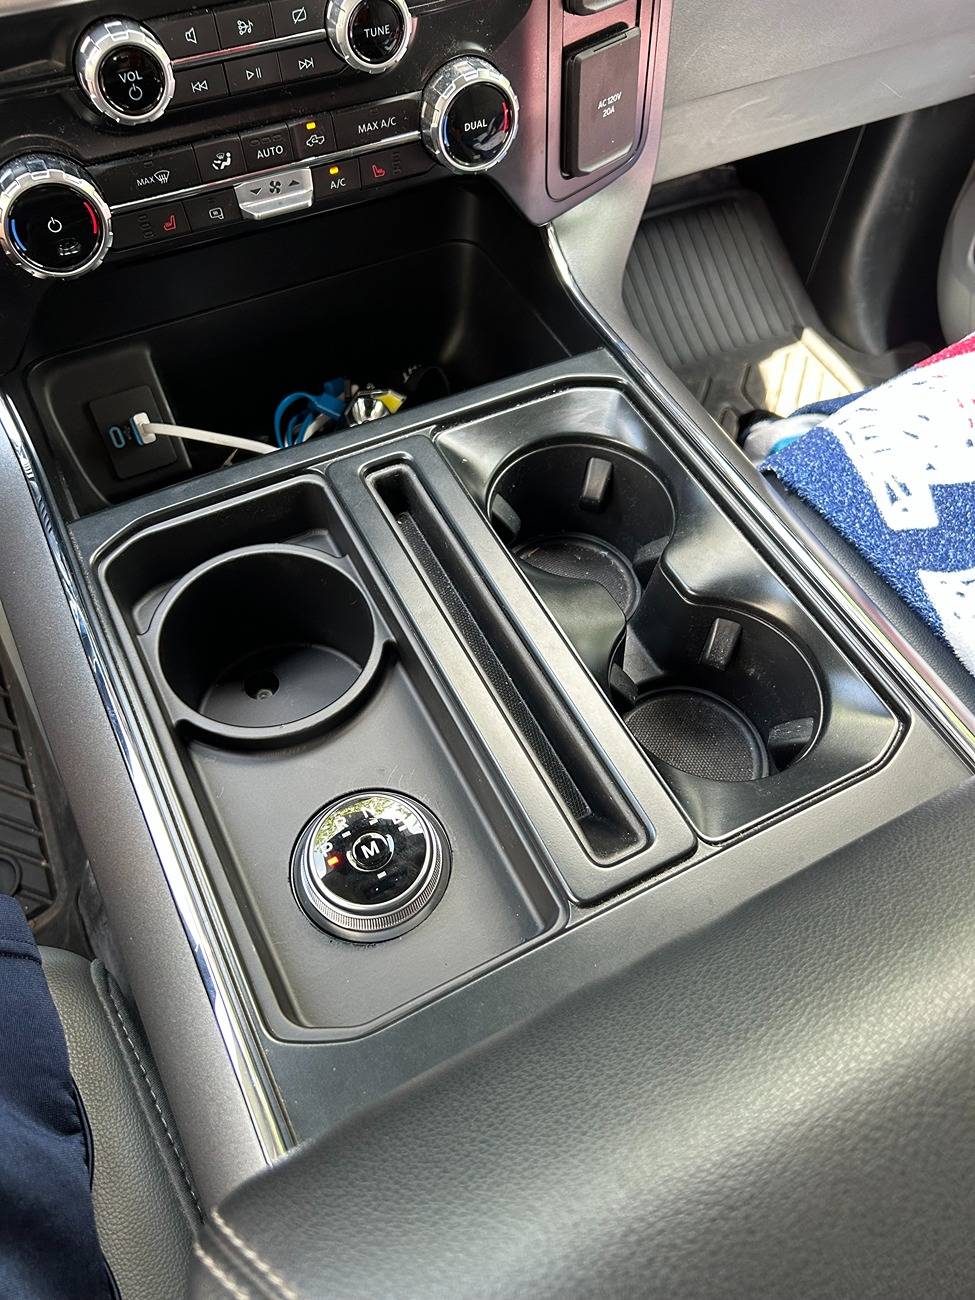
I just completed the conversion and I wanted to inform the future DIY’s that the removal and replacement of the trim (2022 Lariat 15” screen) is a little more difficult than it looks in the videos depicting the swap. The videos are accurate in their detail, but I found that removing the center console top trim was moderately difficult. Particularly the portion that sits under the screen area.

There are alignment pins on each side that need to come up and out of a tab that they center in. It is a tight fit and requires a good deal of careful finessing to get them out without breaking. Likewise care must be taken in reassembly them. The tabs have some flex and can be pushed down, but it is difficult to keep them down and maneuver the trim forward to allow the pins to drop in. It’s not impossible to, but it does take some effort and patience.

Removing the electrical connection from the key detector under the cup holder nearest to the back is also not clearly described.

You can not simply pull it lose. You need a small flat blade screwdriver or similar device to insert in the open end facing up and at the back of the connector. There is slip tab down in that connection point. It doesn’t take much pressure (by spinning the blade) while pulling downward on the cable connector. There is limited space to work with here as the trim can not be removed completely until this connection is removed.

Hope this helps all you future GSM modifiers. Again, it is not a truly difficult task, but if you are not aware of this issues, it can frustrating pretty quick.

I would definitely do it again.

Good Luck!!
Sponsored


Top