Sponsored

Coachmrj

New member
First Name
Melvin
Joined
Mar 25, 2025
Threads
0
Messages
3
Reaction score
6
Vehicles
2024 Ford Lightning XLT SR
Occupation
Teacher/Coach
I asked before but haven’t seen yet in any videos , if anyone with an XLT with the smaller infotainment screen has done this and has the exact proper removal procedure for trim pieces it would be greatly appreciated these trim pieces are quite expensive so I don’t want to break anything. Thanks
I have the XLT. Side pieces to the console with the non-marring pry tools first. Then work the trim piece from the door/glove box back to the start button, being careful not to let too much strain rest on the trim piece or your start button wires when it's popped out. Next, unbolt the radio bezel screws; then pop up the console cover piece and unplug the cupholder. From there, use your tools to unscrew the bolts holding the tub/shifter.

That's just a quick explanation. Reverse the steps after installing your new setup and reseating everything with the screws/bolts and clips.
Sponsored


HisSvt2

New member
First Name
Joseph
Joined
Jul 10, 2025
Threads
0
Messages
4
Reaction score
2
Vehicles
2023 F150 Lightning 2024 Mustang Mach-E
Occupation
Admin
I have the XLT. Side pieces to the console with the non-marring pry tools first. Then work the trim piece from the door/glove box back to the start button, being careful not to let too much strain rest on the trim piece or your start button wires when it's popped out. Next, unbolt the radio bezel screws; then pop up the console cover piece and unplug the cupholder. From there, use your tools to unscrew the bolts holding the tub/shifter.

That's just a quick explanation. Reverse the steps after installing your new setup and reseating everything with the screws/bolts and clips.
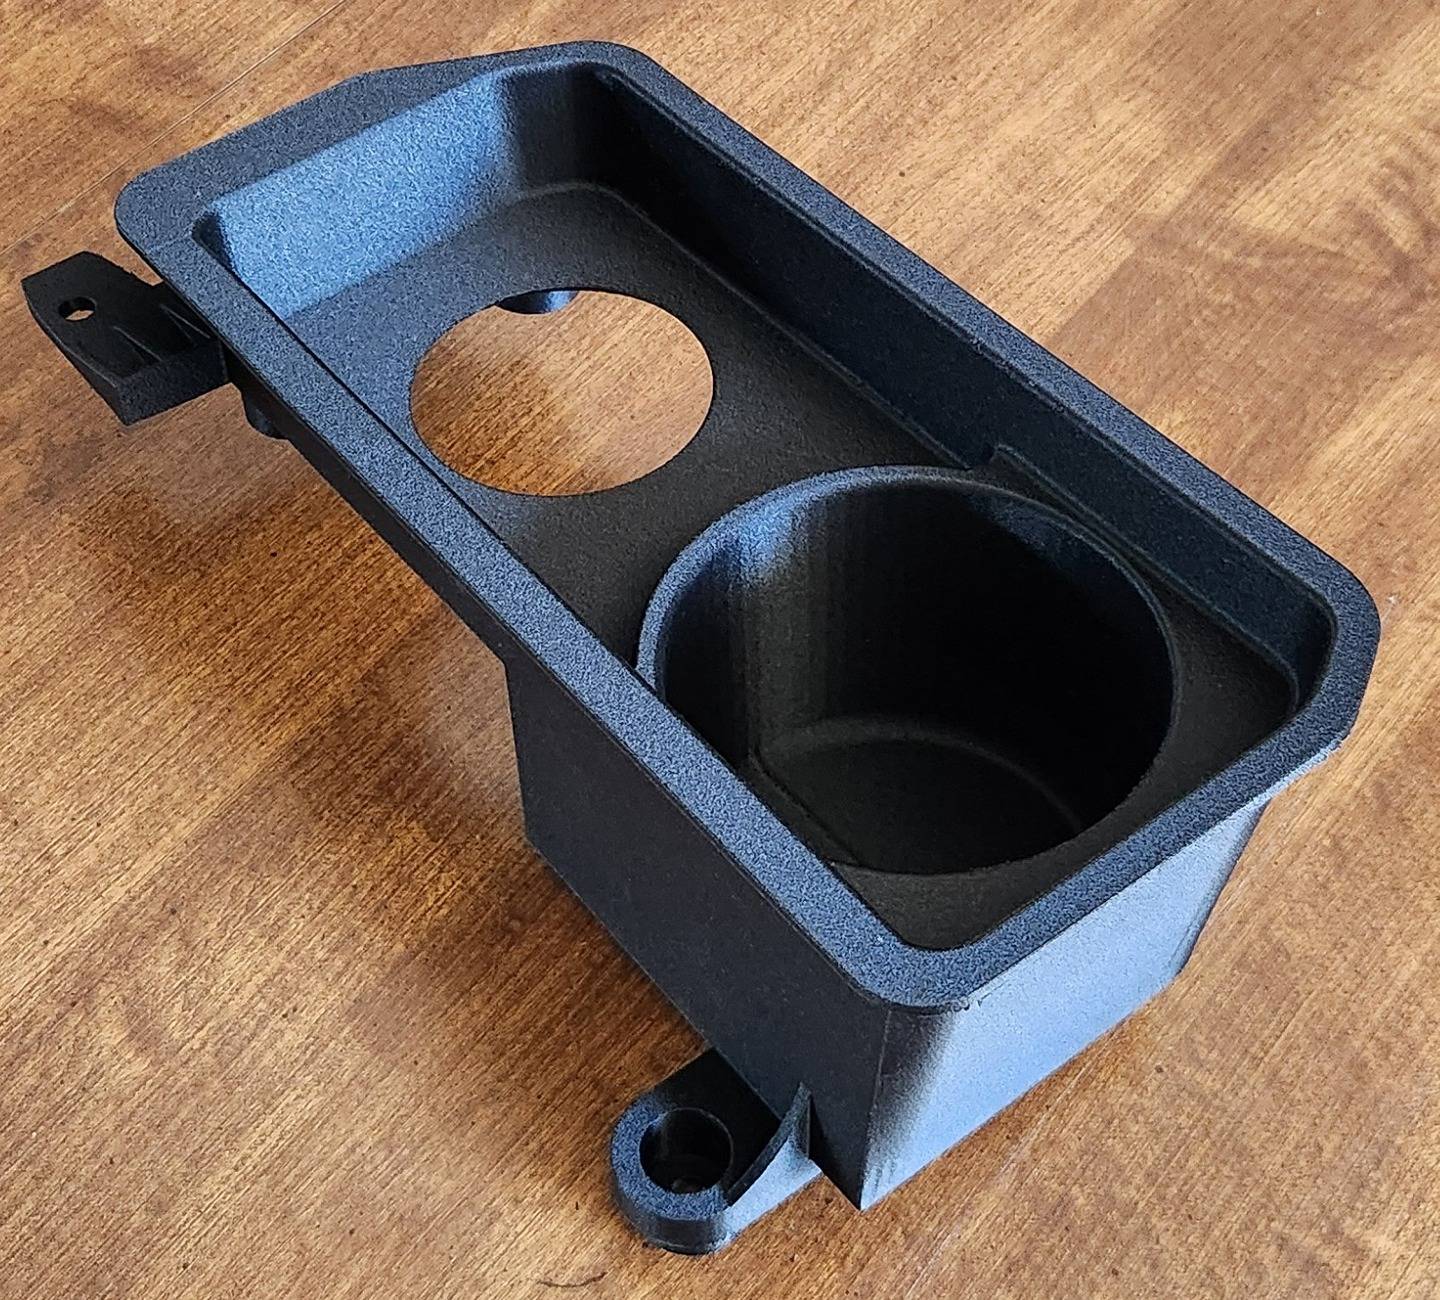
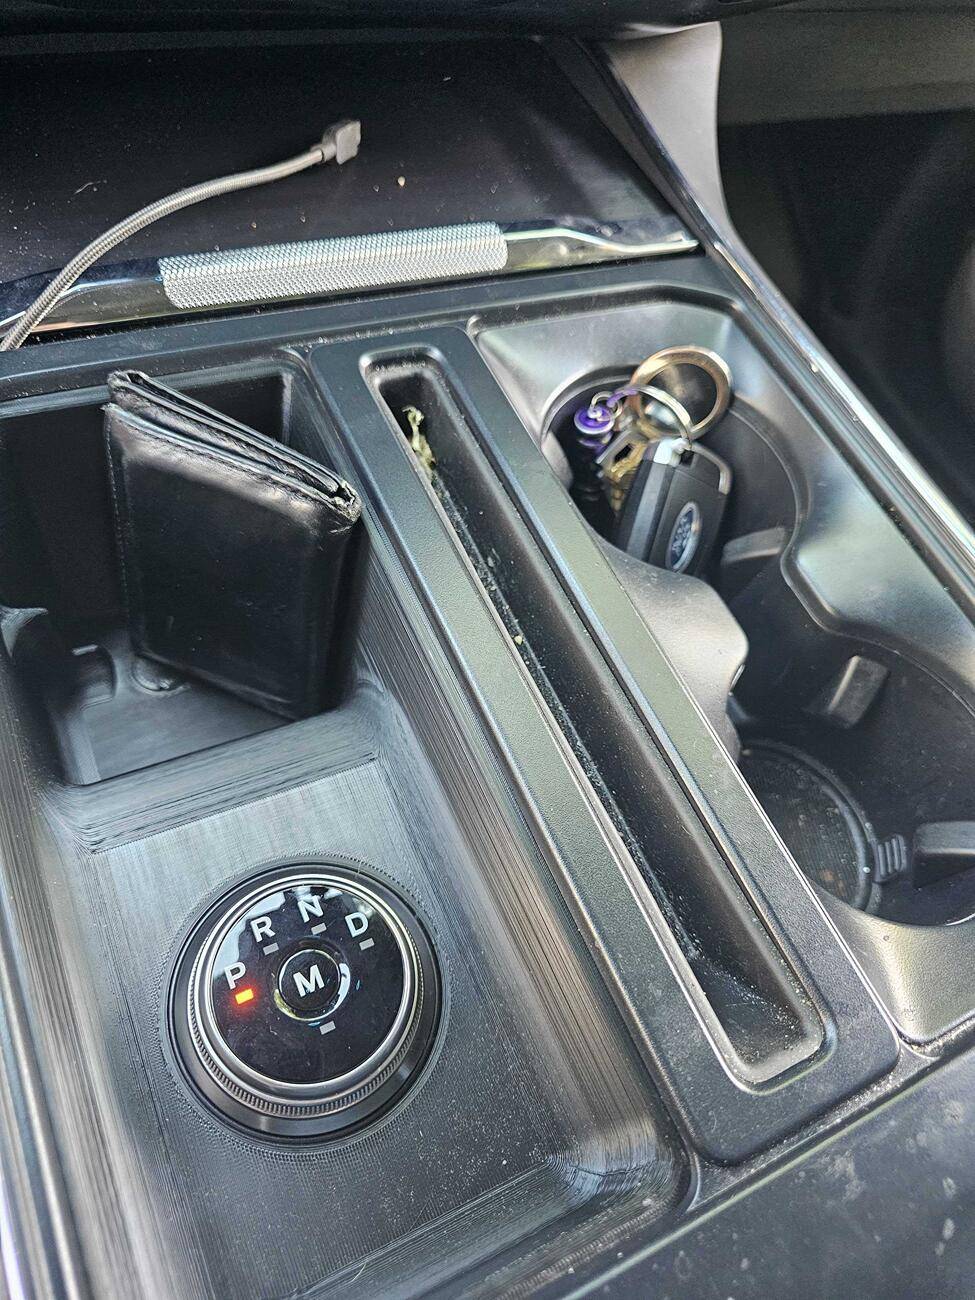
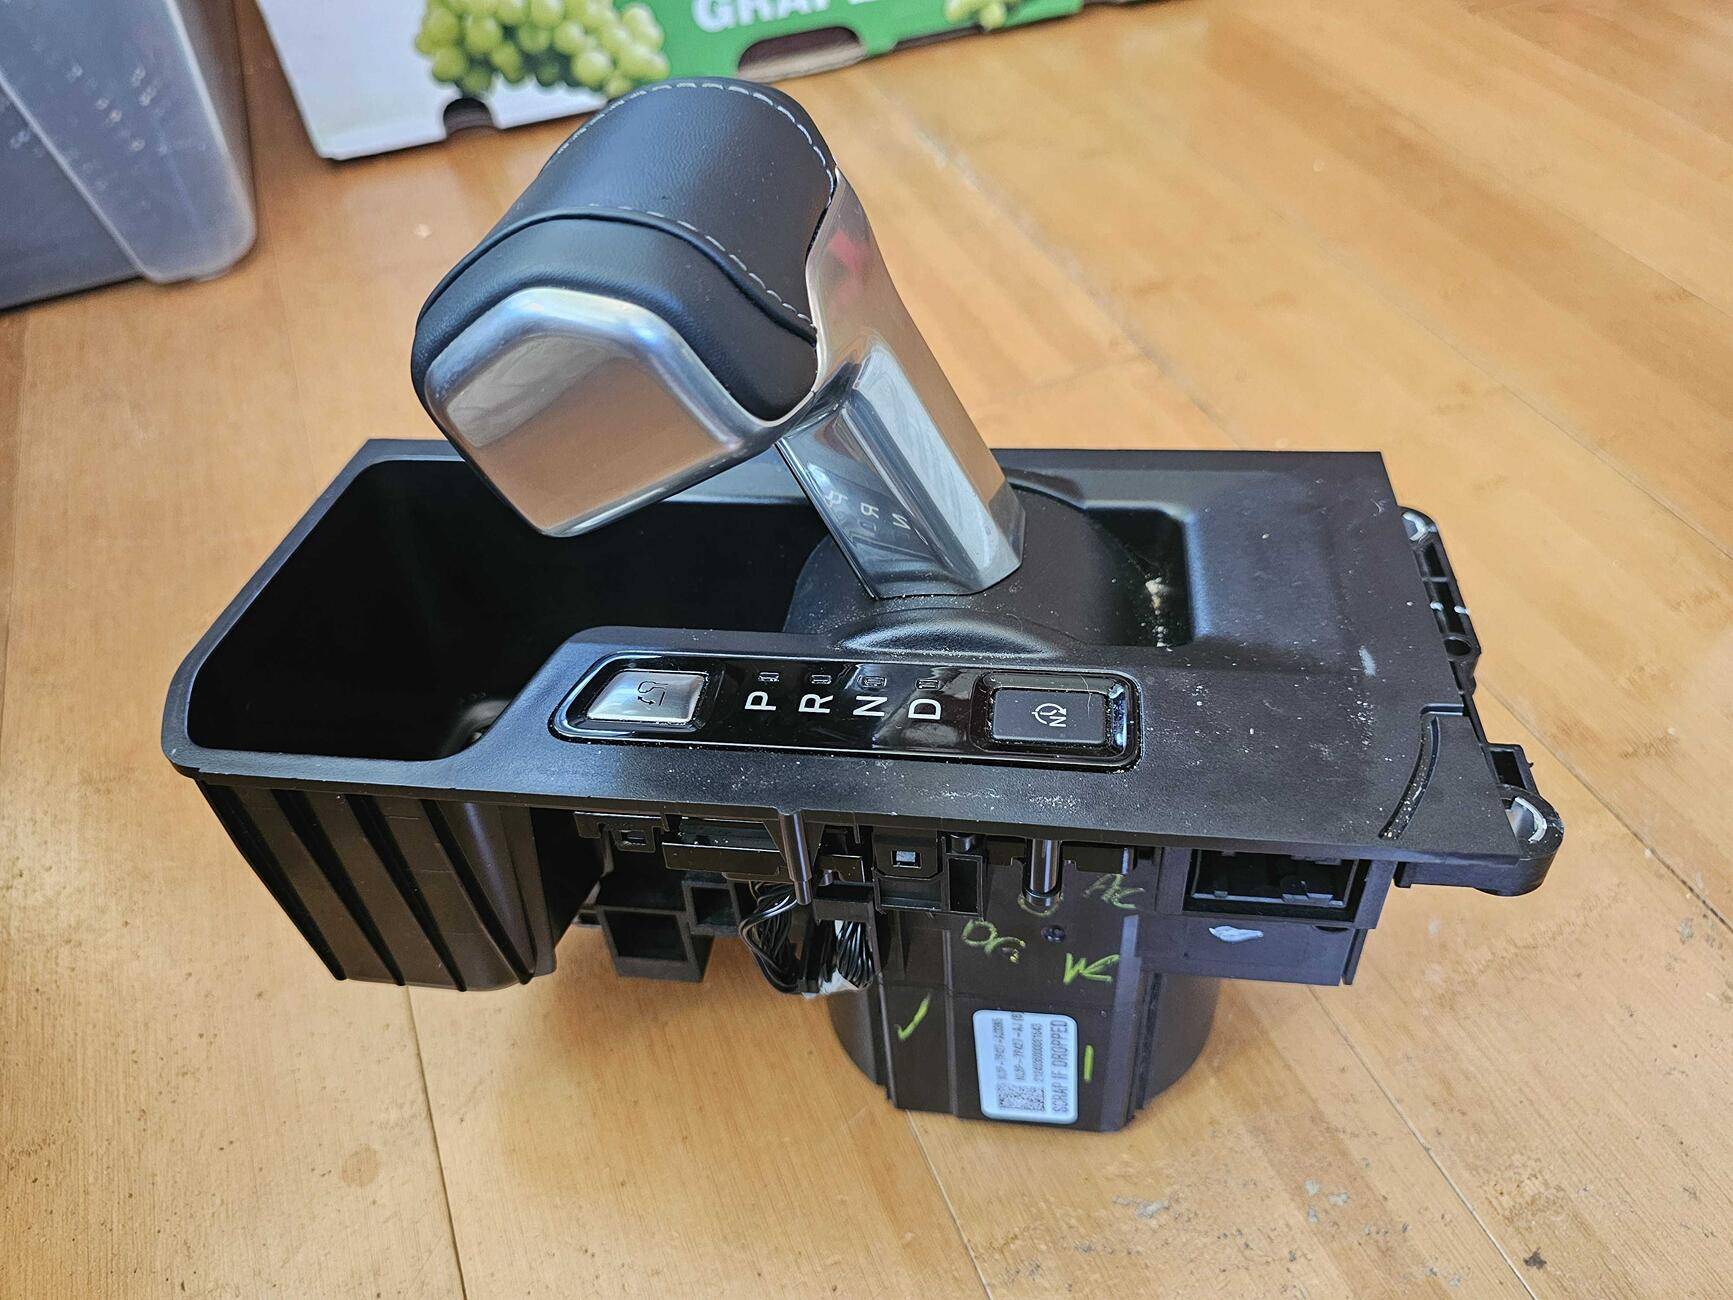
That’s perfect thanks that was my biggest question that big silver trim piece.
 

The Weatherman

Well-known member
First Name
Dean
Joined
Apr 20, 2023
Threads
28
Messages
1,542
Reaction score
2,174
Location
South Central KY
Vehicles
2022 RR F150 Lightning Lariat ER, 2020 Explorer PL
Occupation
Retired
I just completed the conversion and I wanted to inform the future DIY’s that the removal and replacement of the trim (2022 Lariat 15” screen) is a little more difficult than it looks in the videos depicting the swap. The videos are accurate in their detail, but I found that removing the center console top trim was moderately difficult. Particularly the portion that sits under the screen area.

There are alignment pins on each side that need to come up and out of a tab that they center in. It is a tight fit and requires a good deal of careful finessing to get them out without breaking. Likewise care must be taken in reassembly them. The tabs have some flex and can be pushed down, but it is difficult to keep them down and maneuver the trim forward to allow the pins to drop in. It’s not impossible to, but it does take some effort and patience.

Removing the electrical connection from the key detector under the cup holder nearest to the back is also not clearly described.

You can not simply pull it lose. You need a small flat blade screwdriver or similar device to insert in the open end facing up and at the back of the connector. There is slip tab down in that connection point. It doesn’t take much pressure (by spinning the blade) while pulling downward on the cable connector. There is limited space to work with here as the trim can not be removed completely until this connection is removed.

Hope this helps all you future GSM modifiers. Again, it is not a truly difficult task, but if you are not aware of this issues, it can frustrating pretty quick.

I would definitely do it again.

Good Luck!!
 

OtterJohn

Well-known member
First Name
John
Joined
Jul 31, 2023
Threads
6
Messages
168
Reaction score
201
Location
Philomath, OR
Vehicles
2023 Ford F-150 Lightning Lariat ER
I just completed the conversion and I wanted to inform the future DIY’s that the removal and replacement of the trim (2022 Lariat 15” screen) is a little more difficult than it looks in the videos depicting the swap. The videos are accurate in their detail, but I found that removing the center console top trim was moderately difficult. Particularly the portion that sits under the screen area.

There are alignment pins on each side that need to come up and out of a tab that they center in. It is a tight fit and requires a good deal of careful finessing to get them out without breaking. Likewise care must be taken in reassembly them. The tabs have some flex and can be pushed down, but it is difficult to keep them down and maneuver the trim forward to allow the pins to drop in. It’s not impossible to, but it does take some effort and patience.

Removing the electrical connection from the key detector under the cup holder nearest to the back is also not clearly described.

You can not simply pull it lose. You need a small flat blade screwdriver or similar device to insert in the open end facing up and at the back of the connector. There is slip tab down in that connection point. It doesn’t take much pressure (by spinning the blade) while pulling downward on the cable connector. There is limited space to work with here as the trim can not be removed completely until this connection is removed.

Hope this helps all you future GSM modifiers. Again, it is not a truly difficult task, but if you are not aware of this issues, it can frustrating pretty quick.

I would definitely do it again.

Good Luck!!
Appreciate the details; I'll be re-reading the instructions someone posted and watching all the videos I can find before I get my tools out. :)
 

VAL.ABAPO

Active member
Joined
May 16, 2025
Threads
3
Messages
44
Reaction score
20
Vehicles
2025 F150 LIGHTNING
I ended up doing this with the Escape shifter in a Glass-Filled Nylon (PA6).
I've had good luck with the heat resistance of Nylon compared to the standard PLA or PETG.

I like the finish the GF gives the print, so I'll probably just leave this "in the white" so to speak.
Regarding UV exposure, I believe automotive glass tends to block most if not all (unless you drive with the windows down a lot), so that wasn't a huge consideration for me.

I used the Escape shifter LX6Z-7P155-U.
No motorized knob, but it does have a bodge that will lock it in place until you depress the brake pedal to shift.
I did have one fault code pop up that cleared about 50 miles later, but that's probably because I swapped this shifter with the power on because I wanted to work in the AC lol. What can I say, I'm lazy...

I liked the original Nalgene model, but made my own remix with a couple of quality of life improvements that can be found here on thingiverse
1000009941.jpg
1000009953.jpg
can you please share which Glass-Filled Nylon (PA6) product you used. thank you in advance.
 

Sponsored

Jackdforme

Well-known member
Joined
Jun 3, 2025
Threads
5
Messages
68
Reaction score
63
Vehicles
Barry Allen: 2025 Ford F150 Lightning Flash
I have a muscle memory issue with the stock power shifter where sometime while rolling and wanting reverse I go to far to park. Curious if this happened to anyone here over rotating or is there some better detent?
 

The Weatherman

Well-known member
First Name
Dean
Joined
Apr 20, 2023
Threads
28
Messages
1,542
Reaction score
2,174
Location
South Central KY
Vehicles
2022 RR F150 Lightning Lariat ER, 2020 Explorer PL
Occupation
Retired
I have landed in N a few times since converting, but so far never P. 🤞
 

jeff_h

Well-known member
First Name
Jeff
Joined
May 5, 2024
Threads
3
Messages
72
Reaction score
114
Location
WV
Vehicles
2023 F-150 Lightning XLT ER
Occupation
Paint-Drying Observer
I have a muscle memory issue with the stock power shifter where sometime while rolling and wanting reverse I go to far to park. Curious if this happened to anyone here over rotating or is there some better detent?
I've had that happen a couple times, but then again also had it happen now and then 40 years ago when 90% of the shifters were on the steering column, so it's not common but does happen.
 

masonta

New member
Joined
Feb 4, 2025
Threads
0
Messages
4
Reaction score
15
Vehicles
F150 Lightning
Occupation
Electrical Engineer
can you please share which Glass-Filled Nylon (PA6) product you used. thank you in advance.
I used Bambu GF PA-6 on a P1S. I have to turn the print up 45 degrees to get it to fit within the build area but it has the added benefit of making the layer lines invisible.

I think the CF filled version might match a little closer to some of the other nearby trim pieces, but the GF does just fine and I didn't feel like paying the extra $$$ for the CF filament
 

spacepirate

Member
First Name
Ken
Joined
Sep 14, 2024
Threads
1
Messages
13
Reaction score
18
Location
Middle-of, CT, USA
Vehicles
2024 F150 Lightning Flash
Another successful replacement. I followed Brandon Flasch's video on YT which was spot on. The factory shifter is a real beast by comparison.

I agree with other posters that getting the top trim off is a PITA but the whole thing took me about 30m.

Ford F-150 Lightning Stick to Rotary Shift Knob Conversion w/ 3D Printed Rotary Shifter Holder 1753034805925-bl


Ford F-150 Lightning Stick to Rotary Shift Knob Conversion w/ 3D Printed Rotary Shifter Holder 1753034822532-b1
 

Sponsored

digitaldad

Well-known member
Joined
Jan 14, 2025
Threads
10
Messages
205
Reaction score
202
Location
ABQ
Vehicles
2023 Lightning Lariat ER
The factory shifter is a real beast by comparison.

1753034822532-b1.jpg
Nice!, FYI - I recommend stowing the original shifter (if able to) as a last step before disconnecting the harness to go to rotary...helps save some space if putting in a box/storage.

Do this AFTER pulling out the bottom bolt under stowed shifter! :)
 
Last edited:

The Weatherman

Well-known member
First Name
Dean
Joined
Apr 20, 2023
Threads
28
Messages
1,542
Reaction score
2,174
Location
South Central KY
Vehicles
2022 RR F150 Lightning Lariat ER, 2020 Explorer PL
Occupation
Retired
Nice!, FYI - I recommend stowing the original shifter (if able to) as a last step before disconnecting the harness to go to rotary...helps save some space if putting in a box/storage.
Wish I had thought of that or you had posted before I removed mine. 🤨
 

bmwhitetx

Well-known member
First Name
Bruce
Joined
May 21, 2021
Threads
45
Messages
2,537
Reaction score
3,549
Location
DFW-Texas
Vehicles
2022 F150 Lightning Lariat ER
Occupation
Retired engineer
Wish I had thought of that or you had posted before I removed mine. 🤨
You might try applying 12V to pin 1 and GND to pin 9 to see if the stow button will work.
(Connector view - part view will be mirrored)
Ford F-150 Lightning Stick to Rotary Shift Knob Conversion w/ 3D Printed Rotary Shifter Holder 1753056002469-uy
 

The Weatherman

Well-known member
First Name
Dean
Joined
Apr 20, 2023
Threads
28
Messages
1,542
Reaction score
2,174
Location
South Central KY
Vehicles
2022 RR F150 Lightning Lariat ER, 2020 Explorer PL
Occupation
Retired
You might try applying 12V to pin 1 and GND to pin 9 to see if the stow button will work.
(Connector view - part view will be mirrored)
1753056002469-uy.jpg
Sweet. I thought about asking the collective if they knew what pins might do that. Sweet! I’ll try that tomorrow and report back. 😊
 

The Weatherman

Well-known member
First Name
Dean
Joined
Apr 20, 2023
Threads
28
Messages
1,542
Reaction score
2,174
Location
South Central KY
Vehicles
2022 RR F150 Lightning Lariat ER, 2020 Explorer PL
Occupation
Retired
@bmwhitetx

Just tried energizing the shifter with a 12v link from my ATV battery and pressing the fold button.

No Joy. Sorry to report.

I tested leads using a volt meter and had 12.47v showing at the time. 🤔
Sponsored


Top